Show us your Rosettes!

sequoia

Well-known member
Joined
Oct 22, 2014
Messages
3,355
Reaction score
513
Location
Little River, California
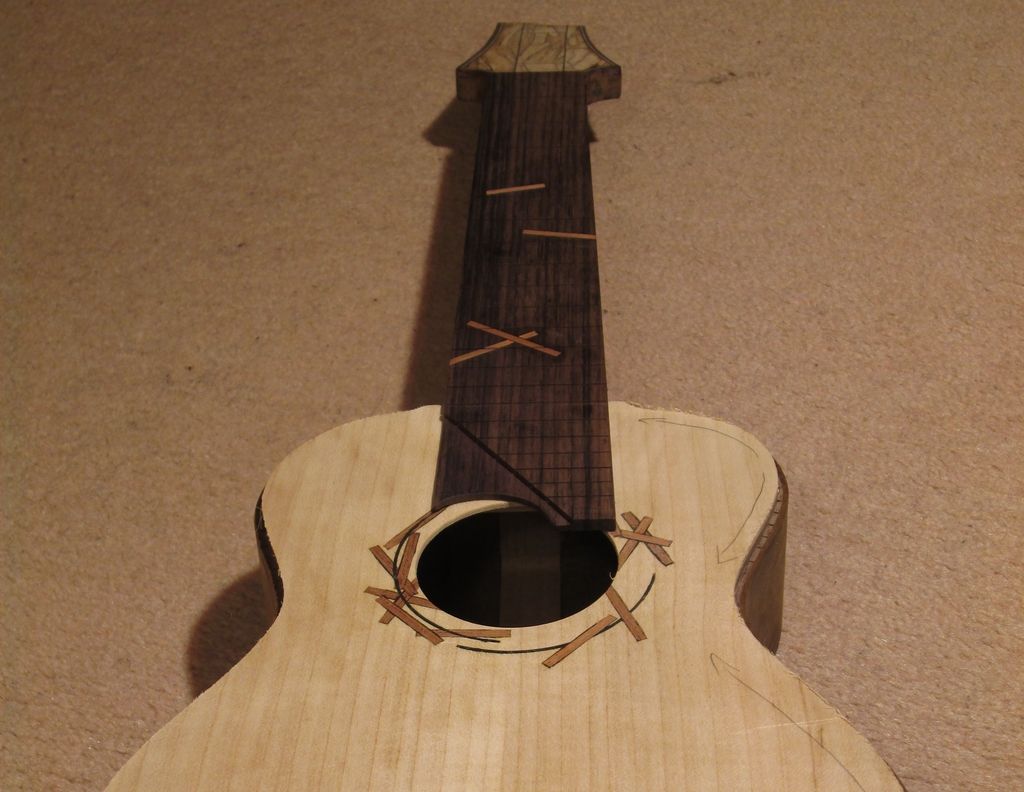
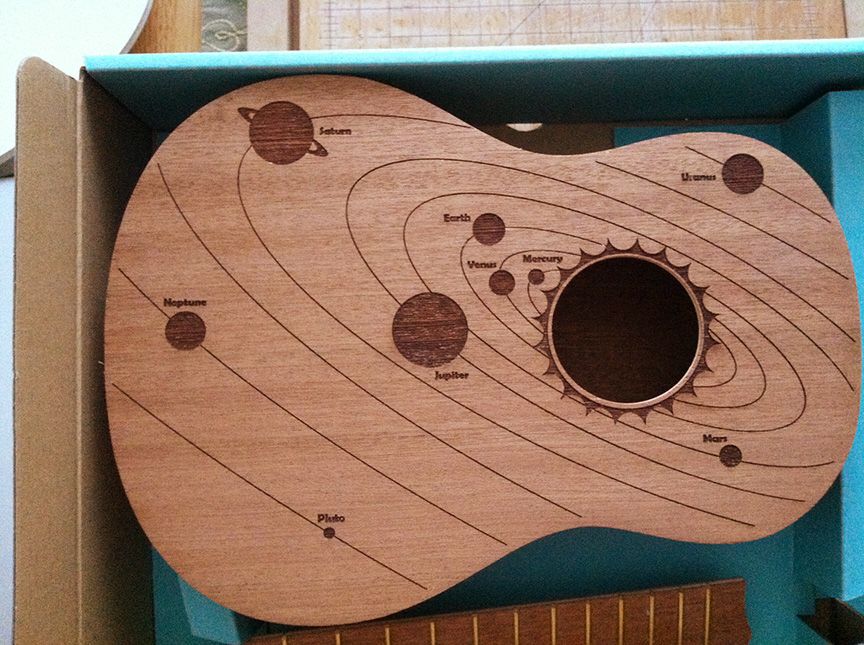
I was looking at the recent post by Hluth about his MOP rosette and was stunned. Lovely stuff. Very art deco and perfectly done. So I started to look at my more amateur attempts at the stuff. Below is my most recent attempt at a rosette. Simple but effective I think. Show us your attempts. It doesn't have to be perfect or even that great, but an attempt or something different...Or something even really great.

DSCN6088.jpg
 
I don't know if this will count for rosette, but I had a custom fretless u-bass made by Bruce Wei in Vietnam with the fretboard extended around the rosette as a thumbrest.

U-Bass thumb.jpg
 
Here's one that I did on a pineapple tenor a few months back. Its made from veneers, some of which I stained green. The centre section is made from tiles cut from a stick I made approx 1/4" square.

I cut a groove wide enough for the tiles, inlaid/glued the tiles in place. I then cut new grooves both sides of the tiles, trimming the tiles as I did so. I then inserted thin strips of veneer to complete the inner and outer patterns and flooded with CA glue. It scraped up well!

Its the only one I've done using this technique to date but I'll be doing this again on other instruments.


DSCF3834.jpg
 
Last edited:
Do you know what Mr. Timms, I was going to discuss these on my post, but I deleted it in case I offended!
I watched your YouTube clip regarding how you make these.

I'm in awe!
 
mahoganyuke_rosette_8611 (2).jpgThis one is a rather industrial approach. The rosette slot is cut with a hole saw in the drill press, then follows a search for materials to fill the slot. So there's nothing premeditated here, just quick work. A smaller hole saw is used to cut out the sound hole.

This one stands proud of the top, and I use it as sort of a logo.butternutuke_front2_8611 (2).jpg
 
Here's one of mine in progress. Still needs binding and fretting. The back and sides are cinnamon wood, so I tried to do a cinnamon theme for the rosette and fret markers.
BTW, is it against forum rules to post pictures like this? It makes it so much easier to see them.

467b6ffe-05b1-4c6c-a95d-eea089a12ca1_zpsjfjfxmzs.jpg
 
I really like the design here. So original. Please send pictures when the instrument is finished.

(Speaking of pictures and way off topic, you do know that if you click on the thumbnails they go full size? I guess I do the thumbnail thing because it takes up less space.)
 
After reading a tutorial on making this rosette, I decided to give it a try. I soon realized that I was way over my head. Working with small scraps of veneer, I used mahogany, walnut and redwood, was no fun at all, not to mention heat bending the circles! After many "fixes", from a distance it started looking vaguely acceptable.
After some searching, I found the tutorial, here's a link to it:
http://jayrosenblattguitars.com/201...e-geometric-guitar-rosette-by-jay-rosenblatt/

Bob
 

Attachments

  • rosette.jpg
    rosette.jpg
    62.5 KB · Views: 97
That looks very acceptable Bob. Plus you didn't have the luxury of hiding the gnarly joins under the fretboard like I do.
 
1st (and 2nd) rosette attempt

These are my first 2 rosette attempts I made today today.

Trial, a lot of error, (two ruined sound boards) and a use of sweary words, but I am ‘quite’ happy with the result.

Thankfully, I make for fun, not profit!
Practice, practice practice.

1 rosette is black strips and birch (i think) hand made veneer strips on Sapele soundboard.
2 rosette is black, birch and mahogany hand cut veneer on a cedar and spruce soundboard.

IMG_0512.jpgIMG_0511.jpgIMG_0510.jpgIMG_0509.jpg

KEV
 
Here is an easy way to make a good looking rosette that is simple and effective: Cut your rosette channel however using a razor, a popsicle stick and a nail (which I have never done) or use a down cut router bit and a pivot. Once you have your clean channel, use plastic perfling from StewMac to create your rosette. Get the small white and black stuff (I think it is 0.020 width) which is cheap. Sneak up on your channel width by nibbling until your w-b-w-b-w (or b-w-b-w-b for a light colored top) just fits into the channel tight. Then lay your plastic perfling into the channel and flood with CA (super glue). You might want to put shellac into the channel to stop staining from the CA. Then just scrap or sand out to get a classy uke look. This rosette scheme goes a long way back and never goes out of style. I think Martin first came up with it in the 1920's with their classic sopranos series, but I'm no historian. Anyway, it is easy, classic, and always looks good.

Sitting a little proud before sand out.

DSCN5486.jpg

Sanded flush and finished.

DSCN5516.jpg

Link to SMD for perfling.

http://www.stewmac.com/Materials_an...im/Plastic_Binding/White_Plastic_Binding.html
 

Nice subtle rossette ... however my eye was drawn to the fingerboard. Without highjacking a rosette thread ... I'm wondering how you manage to do those final few frets without risking them popping out if someone presses on the g or c string areas. guess it is not a high traffic area of the fretboard. nice work.
 
Nice subtle rossette ... however my eye was drawn to the fingerboard. Without highjacking a rosette thread ... I'm wondering how you manage to do those final few frets without risking them popping out if someone presses on the g or c string areas. guess it is not a high traffic area of the fretboard. nice work.

The fret ends are glued to the little pillars of wood. I epoxied the frets to the pillars after filling off the tang. Like you said, who plays there anyway!
 
Here's a rosette done for my niece (a teenage science nerd). It extends a bit further out than most rosettes, but hey it's the solar system we're talking 'bout here. The back has the complete periodic table of elements, just as a handy reference. This is of course all laser etched. The layout was done in Adobe Illustrator and etched using a 32" x 18" 50 watt Universal Laser. This is a Grizzly kit that I etched and gave to her to assemble herself. Big fun!.
Mahogany being laser etched smells a bit like gingerbread cookies baking. :)

solarsysrosette_zpszg3bawxu.jpg
 
Here's a rosette done for my niece (a teenage science nerd)...

That is awesome and tremendously thoughtful. Leaving it for her to assemble is also brilliant. She'll cherish that uke long after she's outgrown it.
 
Here's a rosette done for my niece (a teenage science nerd). It extends a bit further out than most rosettes, but hey it's the solar system we're talking 'bout here. The back has the complete periodic table of elements, just as a handy reference. This is of course all laser etched. The layout was done in Adobe Illustrator and etched using a 32" x 18" 50 watt Universal Laser. This is a Grizzly kit that I etched and gave to her to assemble herself. Big fun!.
Mahogany being laser etched smells a bit like gingerbread cookies baking. :)

solarsysrosette_zpszg3bawxu.jpg

that looks way cool!
 
Top Bottom