The Pete Howlett Safe-T-Sander project

Timbuck

Well-known member
Joined
Mar 10, 2009
Messages
6,617
Reaction score
1,891
Location
Stockton on Tees..North East UK.
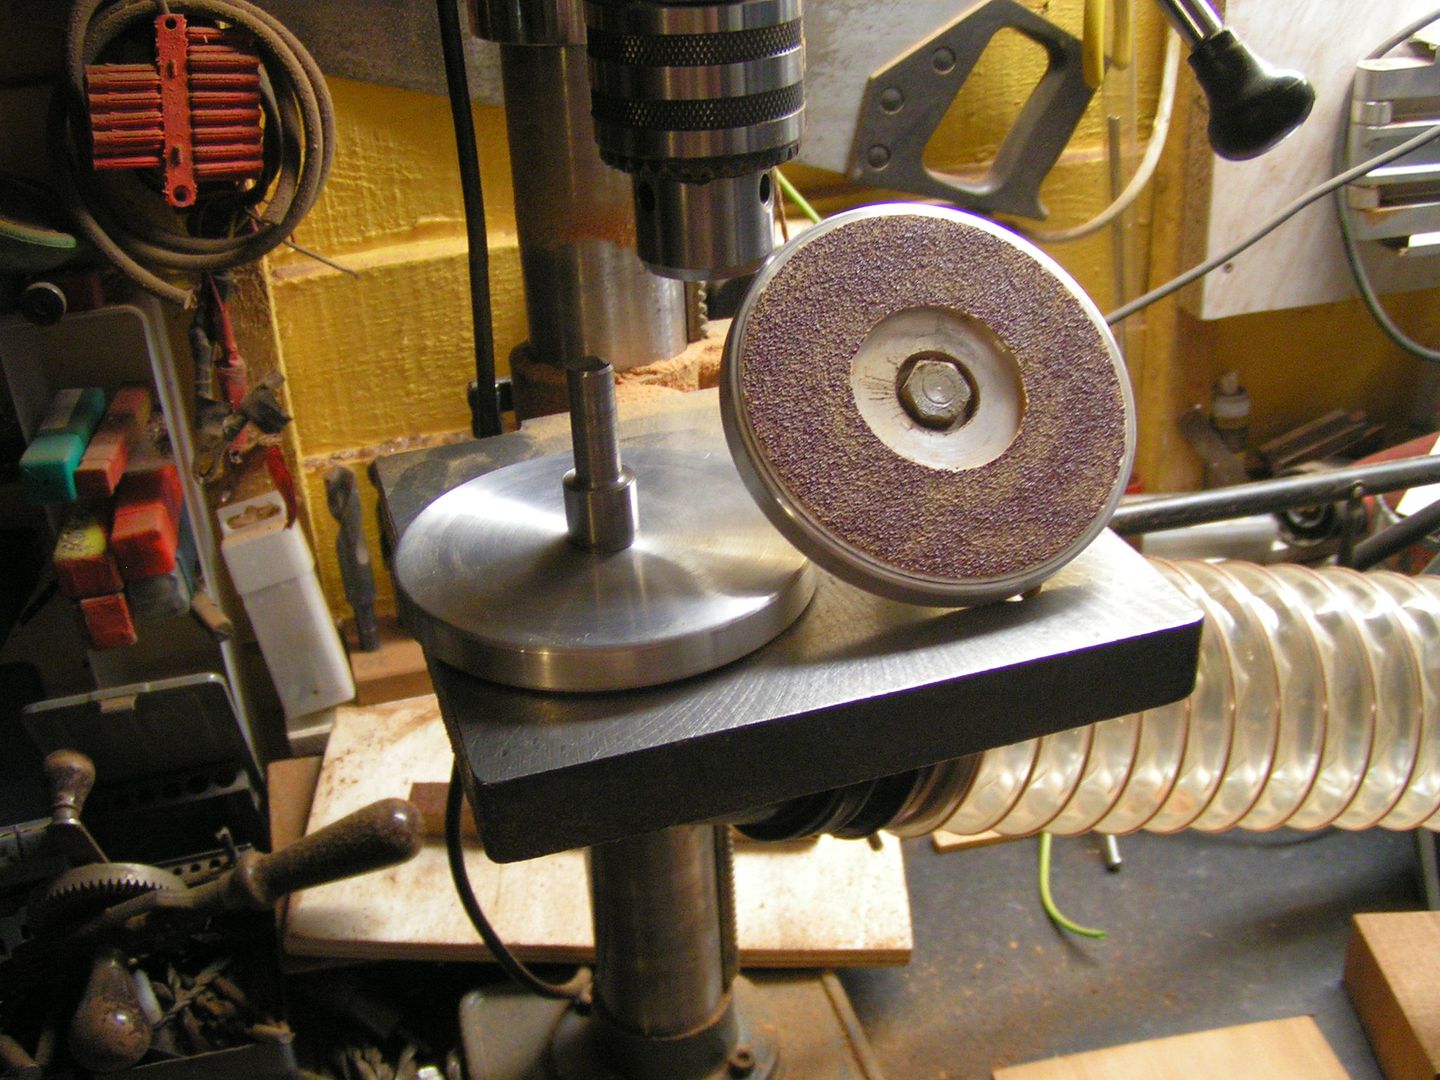
I had a chunk of aluminium plate doing nothing ..so Today i decided to make Petes sander thingie out of it ...So I got the old lathe up and running and a couple of hour later I had one made ready for testing.
He was right about the dust being generated and I had to hold my breath while I did a quick test..I should have set up the extractor before I started but you know how it is when you are keen to see if it works :rolleyes:....Mrs Timbuck gave me a good bollocking afterwards :eek:
Here is a short video of it in action.
https://www.youtube.com/watch?v=FhVP2mHPX38
 
Last edited:
Mine also works very well, or at least did. Unfortunately the paper I used wasnt of the best quality and suffered quickly. I've bought better paper since, but it'll be a hassle to replace it.
 
Hack.... cough, cough. I swear sawdust came out of my computer screen!...Yes, I understand how we get excited about experiments and just go ahead and damn the torpedoes! And yes Mrs. Timbuck was right. You should listen to her more. She is (almost) always right. Surprised you haven't figured this out by now.
 
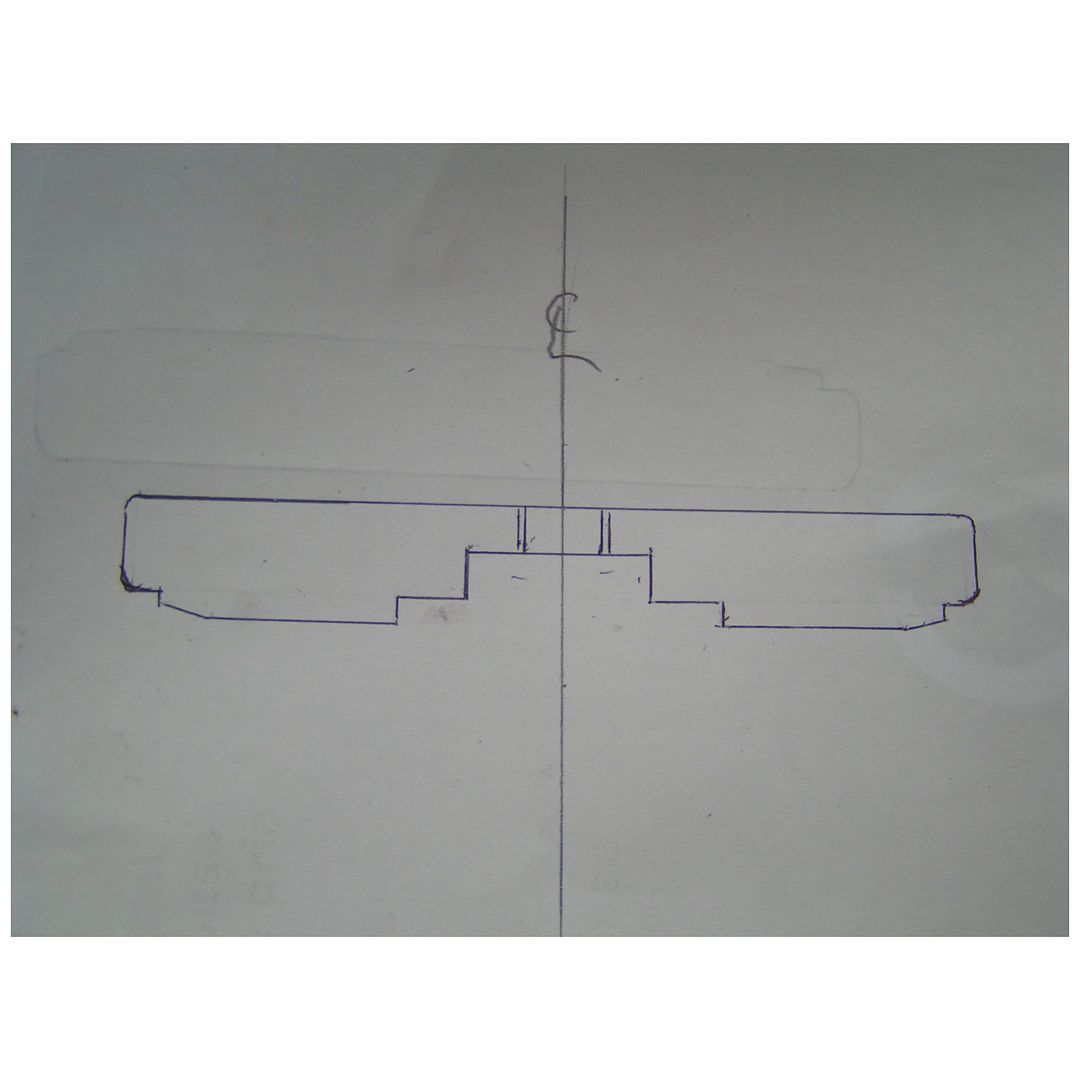
Gave it another go this last night with dust extraction ..I modified it a bit by adding a small chamfer to the leading edge, not a lot just about .015" tapering to zero over about 1/4" to stop the edge of the sanding material hitting the workpiece edge and gradually working up to the flat of the disc...It worked so good I made another this morning.;) ...The sanding discs are quite easy to make with a sharp set of dividers ...It was a good bit of fun , but! I dont know if I'll be using it much in the future ..I'll wait and see...(The diameter of this tool is 4 5/8" made from 15mm x 120mm aluminium plate)


Here is a rough cross section sketch.
 
Last edited:
You worked that out Ken! It was my design secret :( For doing the back of headstocks and trimming heel height these are great. I also find them useful for grinding the taper on the back of a neck if I am doing a run of them. I use a taper jig and some locating pins and hey presto, repeatability. This really is a small workshop tool for those who cannot afford the $800 for a thickness sander or who do not have the where with all to build one.

I had looked at licensing the design to Stewmac and was in discussions with them but now the cats is out the bag I see this as another one of Ken's uke related spin-off projects. Collecting the dust isn't all that difficult and bear in mind - I made 400 instruments with one of these before I invested in a thickness sander!
 
Gave it another go this last night with dust extraction ..I modified it a bit by adding a small chamfer to the leading edge, not a lot just about .015" tapering to zero over about 1/4" to stop the edge of the sanding material hitting the workpiece edge and gradually working up to the flat of the disc...It worked so good I made another this morning.;) ...The sanding discs are quite easy to make with a sharp set of dividers ...It was a good bit of fun , but! I dont know if I'll be using it much in the future ..I'll wait and see...(The diameter of this tool is 4 5/8" made from 15mm x 120mm aluminium plate)
If you dont end up using it...you can send one of them my way :)!
 
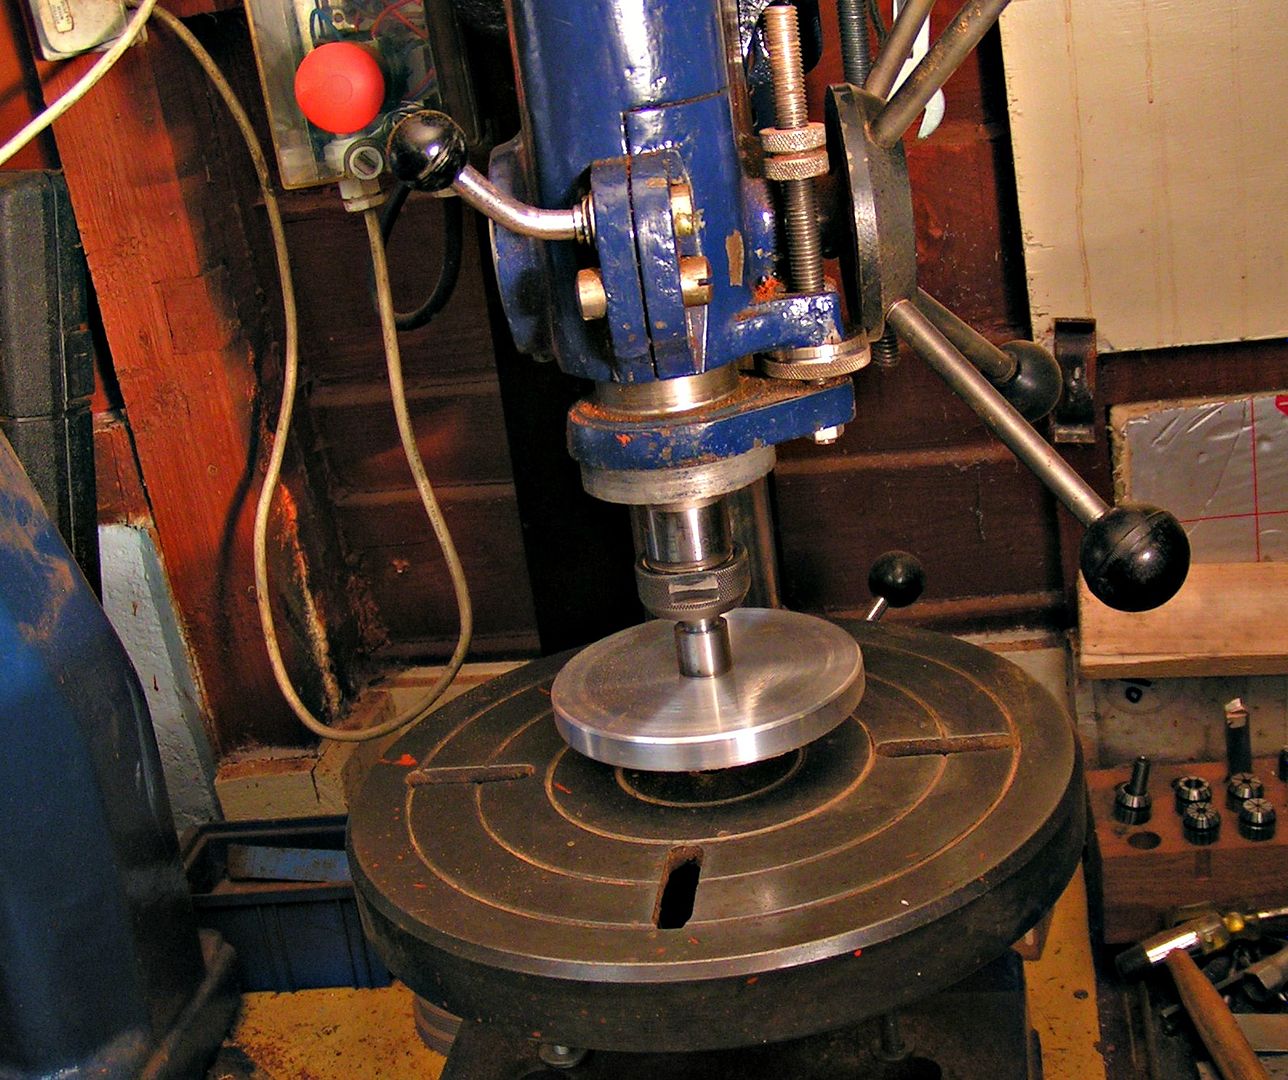
Done some more testing
If you've got one of these old style pedestal drills or a light milling machine with micro adjustment on the depth and a locking spindle, you can really work with precision...I'm also thinking of using this set up when the Safe-T-Planer arrives.
Well done Pete:cheers:
 
Last edited:
Aluminium is not the best material for these as it readily absorbs friction heat, eventually softening the sticky adhesive so the sandpaper slides off.
 
Mine stick like the proverbial to my Aluminium platter..... so much so they are hard to remove. I guess it's a question of using the right adhesive.
 
Ooh Pete - so what adhesive do you use?
In a completely different (non-ukey but maker-bot style) situation at my university, we have found aluminium to be an issue in situations where materials get warm.
It's that problem that aluminium absorbs heat... getting hotter and hotter and hotter as you work.

So PLEASE share. This could actually help my research! :D
mx
 
All sanding and grinding operations generate heat..In metals we use coolants to offset this problem...but it can be overcome by tool design ..I actually heat up the aluminium with a heat gun prior to fixing the sanding disc..this gives better adhesion...all the sanding equipment I have ever used including the belt and disc sander that I own has an aluminium cast back plate on the disc sander,
also the " Jet 10-20 and 16-32" thickness sanders have aluminium drums....it's a matter of speeds and feeds that generate heat .. An aluminium back plate will dissipate heat from the cutting surface faster than most materials..that's why motorcycle engines have have aluminium air cooling fins all over the engine block....Get the speed of the disc and feed of the material right and all the heat is disipated into the shavings..I learned this in my apprentice days in the machine shop thats why hot blue chippings fly off a well set up lathe while the workpiece remains cool enough to handle with bare hands....put too much pressure on the material and you will generate heat ...take it steady and let the abrasive do it's job and everything will be ok...Trust me! I have been through all this stuff for the last 50 years *Edit* make that 60 years (how time flies :eek:ld:)
 
Last edited:
When I designed this tool back in 1994 I had a company in the UK supply me with 200 5" self adhesive stone-cutting discs 80 grit. The brand was Hermes. My disc was aluminium and the only time these have failed (and I fitted the very last but one before I departed for the US last month) is when I have failed to clean the residue from the previous disc off of the platten. As Ken pointed out, using this requires some finesse. You can't grind off .0125" without generating heat so my recommendation would be:
Get a Safe-T planer and use this for stock removal!
Use Safe-T sander for 'finishing' as you would any similar setup!
Using tools like this are common sense. They work for anyone on a low budget and can be used for doing lots of different processes. I still use my sander for when I have to thickness slotted headstocks or I want to make some exceptionally fine veneer for a repair, reducing nuts and saddles and some profile work on the back of necks. After 22 years using these tools I think they have a place in both the hobby builders shop and the professionals' shop.
 
Well I was going to suggest an alternative material that can be machined into one of these discs using woodworking tools, that doesn't get as hot as aluminium in use (as being a poor conductor, the heat remains in the wood, instead of building up in the disc) and is inexpensive.

And an adhesive tape that is rated to 150deg C so you can use sheet abrasive instead of custom-cut discs.

But what do I know eh?
 
Making a success of something involves both thinking about it and testing it. I've done both and am happy to report my initial idea back in 1994 still works today. That's what I know...
 
Top Bottom