Timbuck
Well-known member
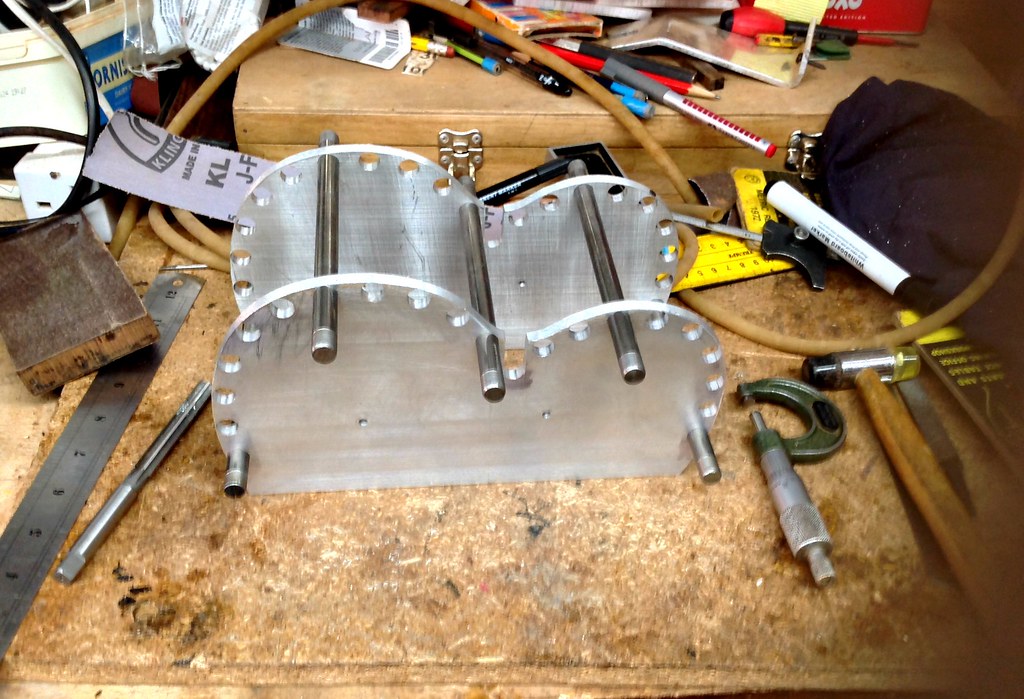
Im upgrading my Foxy type bender ..I'm making a new soprano side bending former ..It looks a bit odd shaped co's I'm trying this time to compensate for the spring back I get with mahogany.

Im upgrading my Foxy type bender ..I'm making a new soprano side bending former ..It looks a bit odd shaped co's I'm trying this time to compensate for the spring back I get with mahogany.
View attachment 111468
")
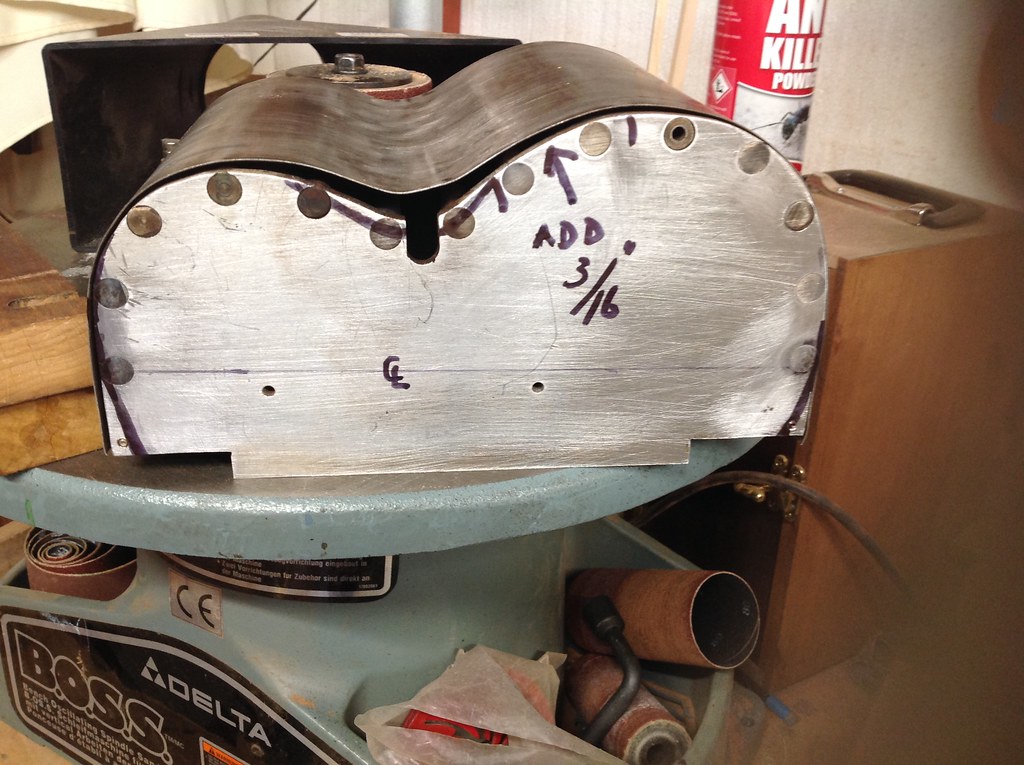
 IMG_1017 by Ken Timms, on Flickr
Keep the pictures coming Ken, it'll be interesting to see how this develops.

Nice Ken!
Is there a way you calculate how much tighter to make the mold for the spring back or do you just give it 1"tighter curve if it springs back 1"??
 IMG_1034 by Ken Timms, on Flickr
I don't get springback...
That I can easilly fix... all the rest of the bends were spot on and I'm now a happy bunny... I'll supply some pics tomorrow as i'm now relaxing :cheers: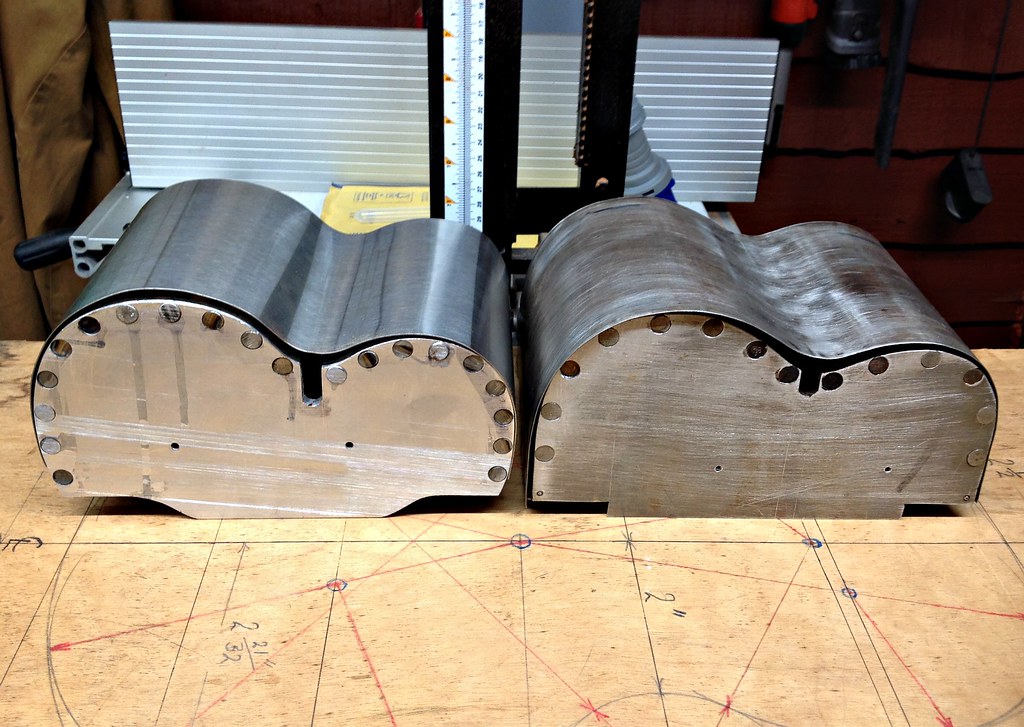 IMG_1128 by
 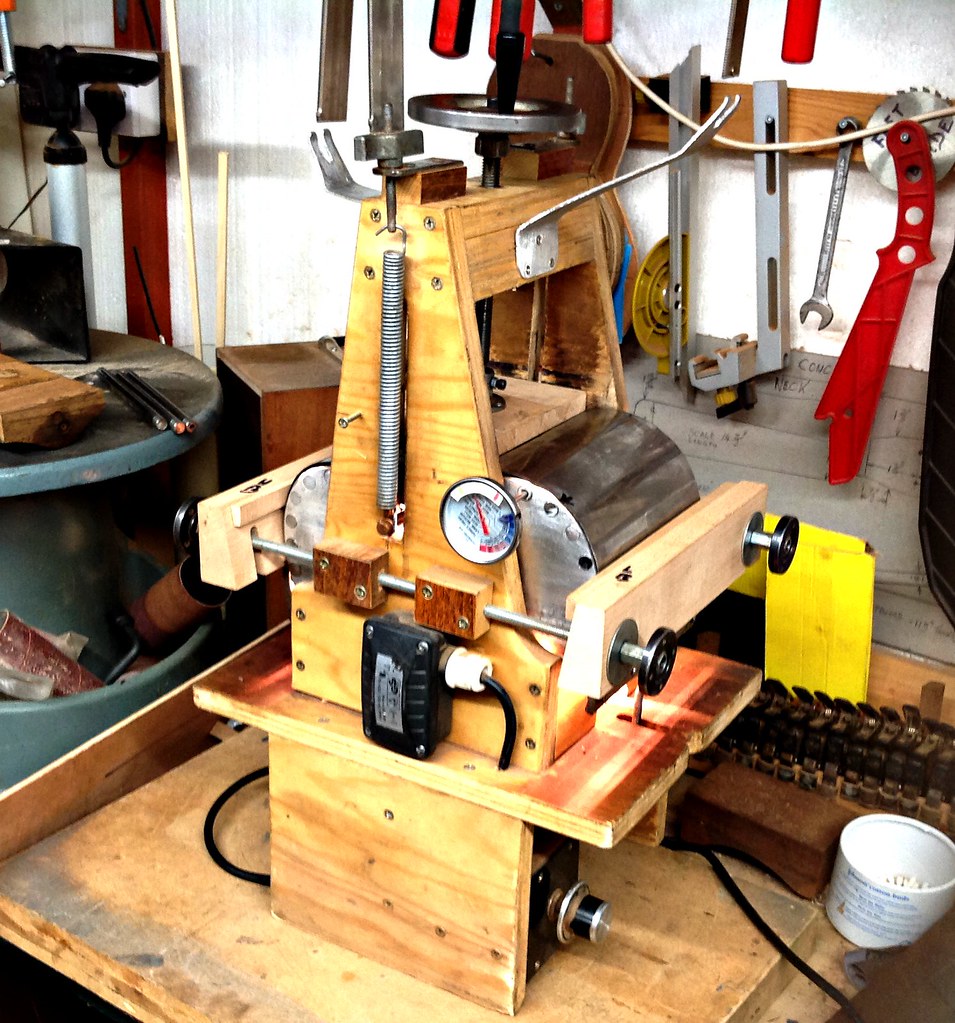 IMG_1138 by
 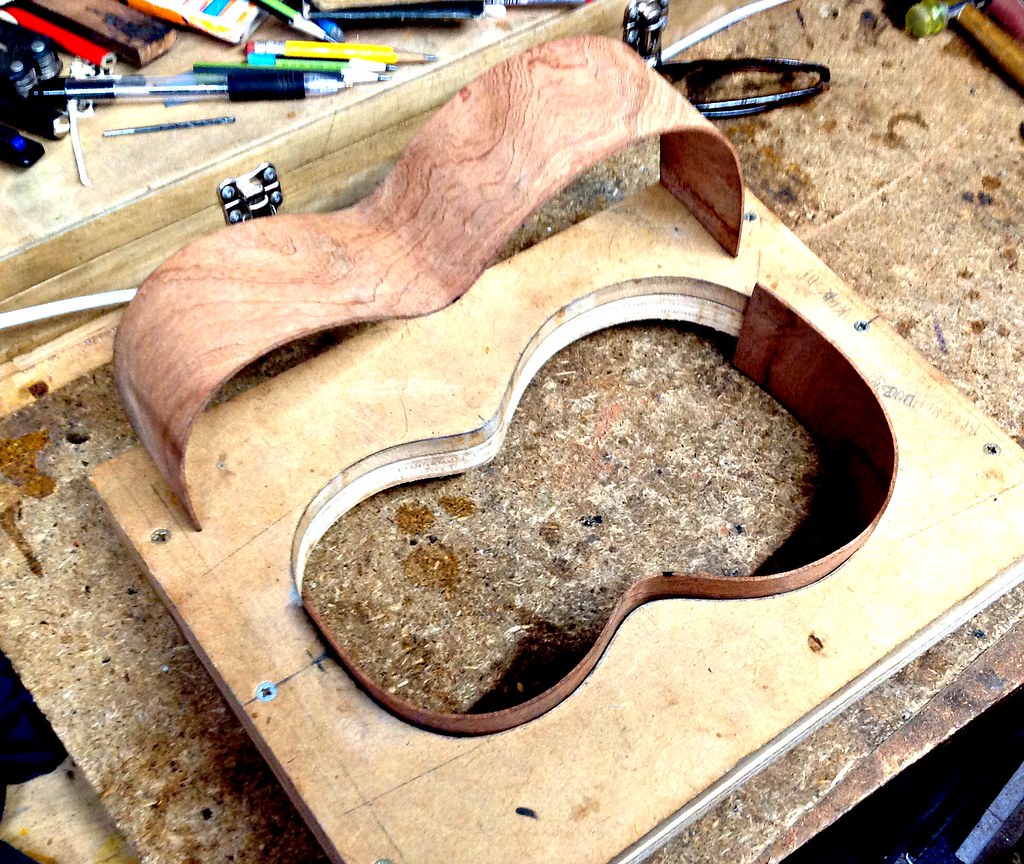 IMG_1144 by https://www.flickr.com/photos/150702140@N02/
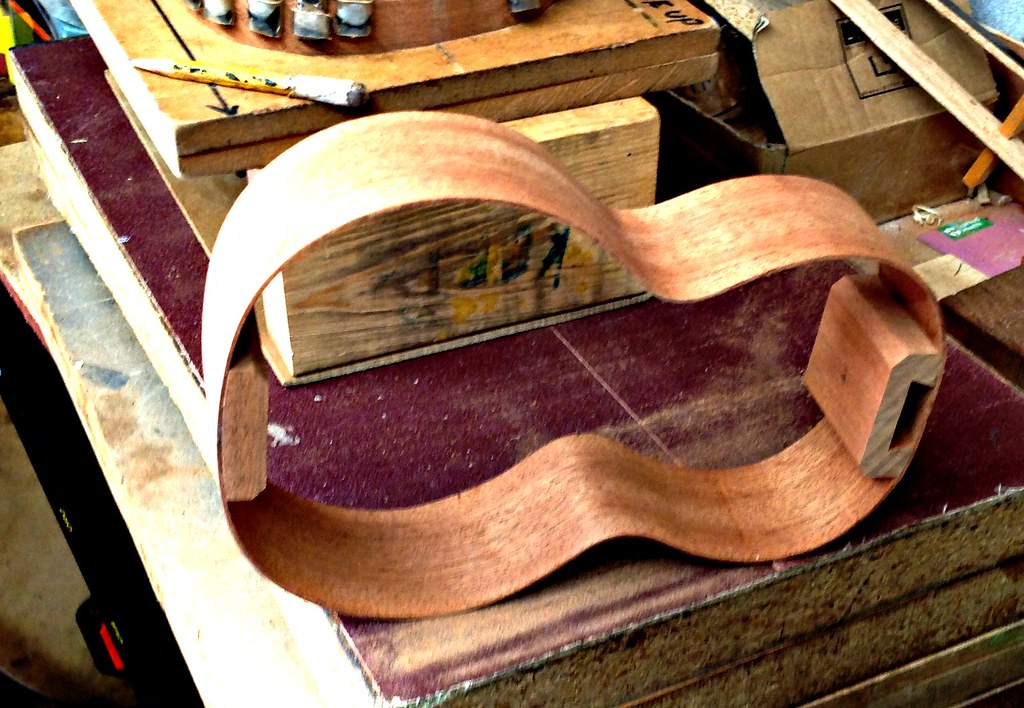 IMG_1164 by https://www.flickr.com/photos/150702140@N02/