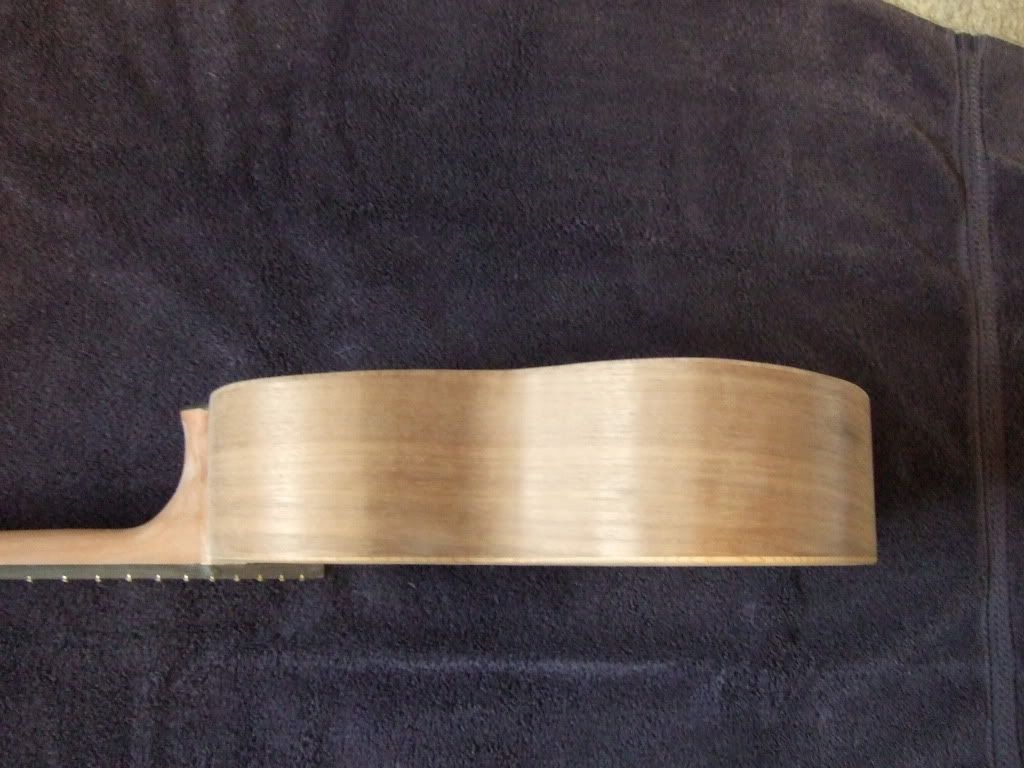
Ok, I'm not describing that very well, but perhaps you know what I mean; where most ukes will have sides that are flat where they attach to the top, but curved where they attach to the back, so that the uke has greater volume in the lower bout than it does in the upper. My Hana Lima manual/plan calls for me to cut the shape of the sides before hand, and then bend them, very precisely, so that all the curves end up symmetrical. So far I've a) made my ukes flat, and b) not cut my sides to length until after I've bent them (like that rapscallion dave_g does in his videos).
I figured I'd give it a try the Hana Lima Ia way (though my mold doesn't fit their plans, so I'll have to come up with my own side schematic), but before I do I thought I'd ask, how do you guys go about it?
I figured I'd give it a try the Hana Lima Ia way (though my mold doesn't fit their plans, so I'll have to come up with my own side schematic), but before I do I thought I'd ask, how do you guys go about it?

")