First Uke! Mahogany Laminate: Build Progress

smerdy

Well-known member
Joined
Feb 8, 2011
Messages
70
Reaction score
0
Hello UU!
I've been lurking about for awhile now, recently having decided to build my own uke.

First of all, I'd like to give massive thanks to Brad and to Kathy Matsushita (my former English teacher, actually) for their generosity in donating a lot of the materials I'll be using, and also to Brad for sharing his veneer method of building ukes.

Specs of the uke: mahogany veneer sides and back, laminated just like Brad's tutorial, Western Red Cedar top, Bloodwood fingerboard and bridge, bone nut and saddle, machine head tuners, no fancy binding or soundhole inlay (as my first uke), topped with Aquila Nylguts. I'm aiming for a warm (long sustain, mellow, deep tone, not too plinky) sort of tone, something I know which I messed up already by using the Nylguts.

Planning to use it at church (I'm on the worship team) and at my highschool (it's a trend going around, and I'll be the only guy who's made his own uke! Plus, the Christian Club is often in need of musicians for when we're singing songs), and just to express myself musically (Jake Shimabukuro is the bomb!).

I'll be posting pics of the build along the way. Mind you, I might be slow for the next few weeks, as it is AP exam season and I have to study up. Should be finished mid-June, hopefully.

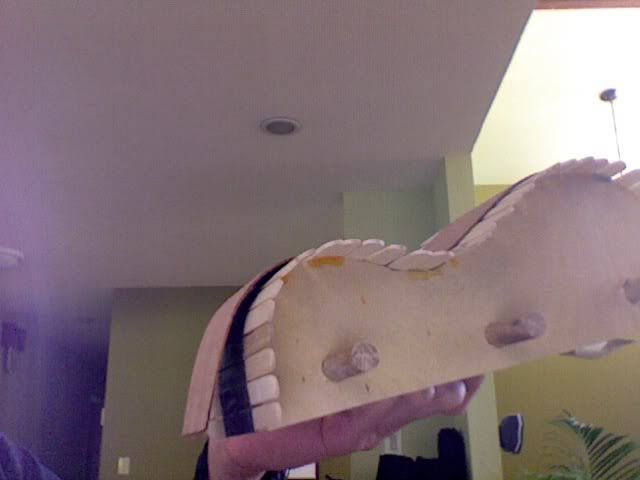
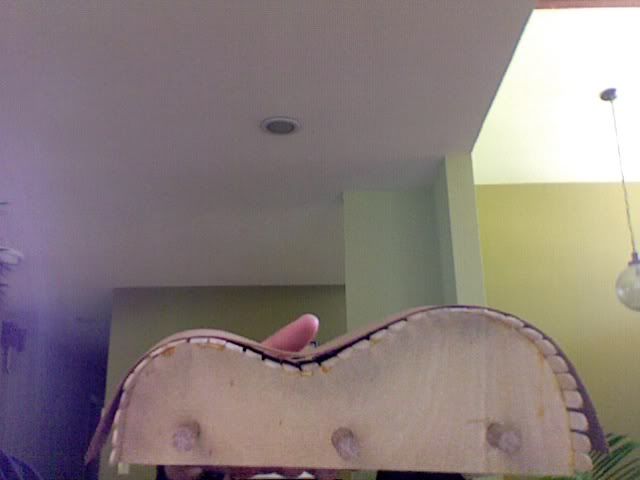
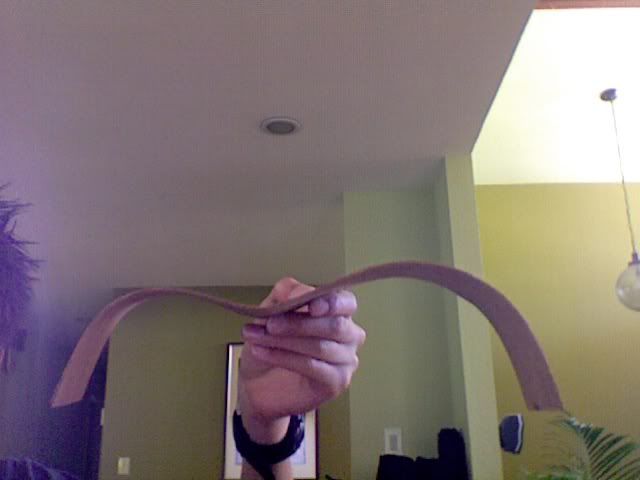
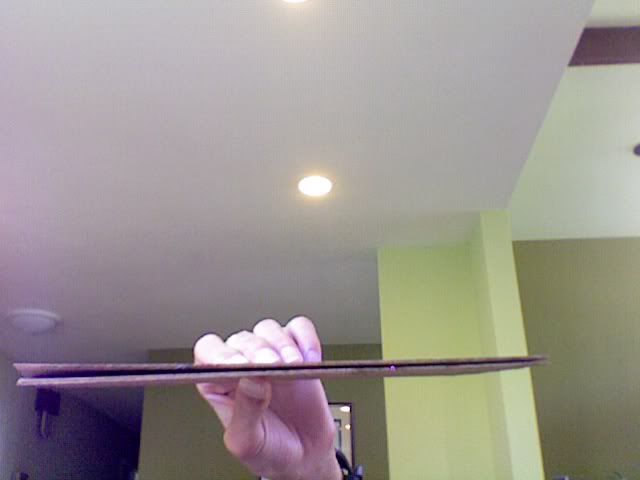
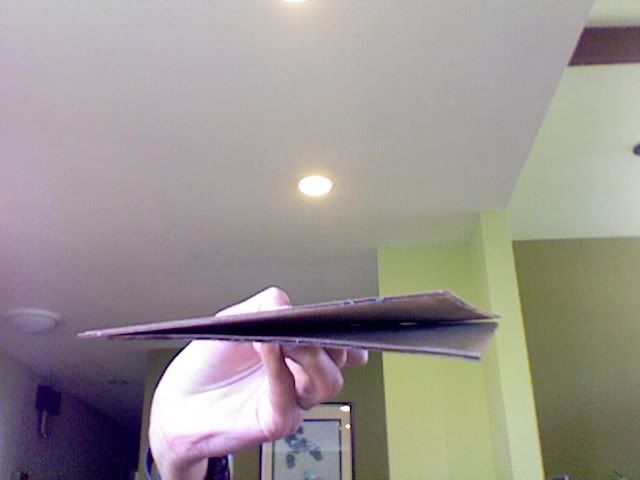
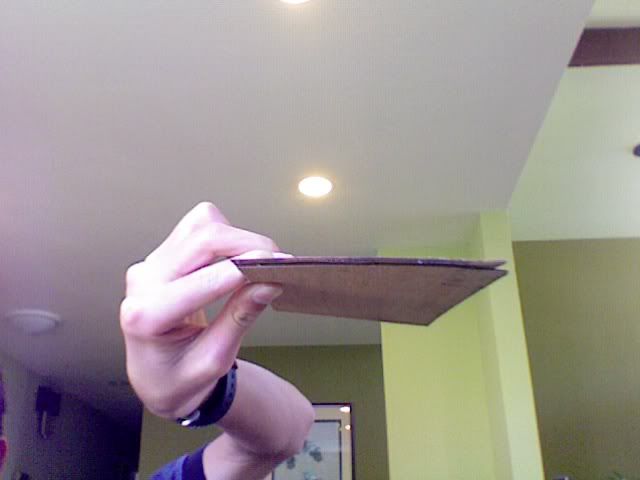
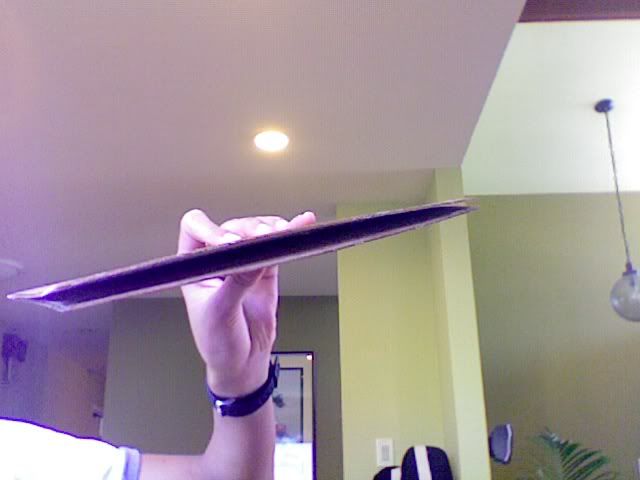
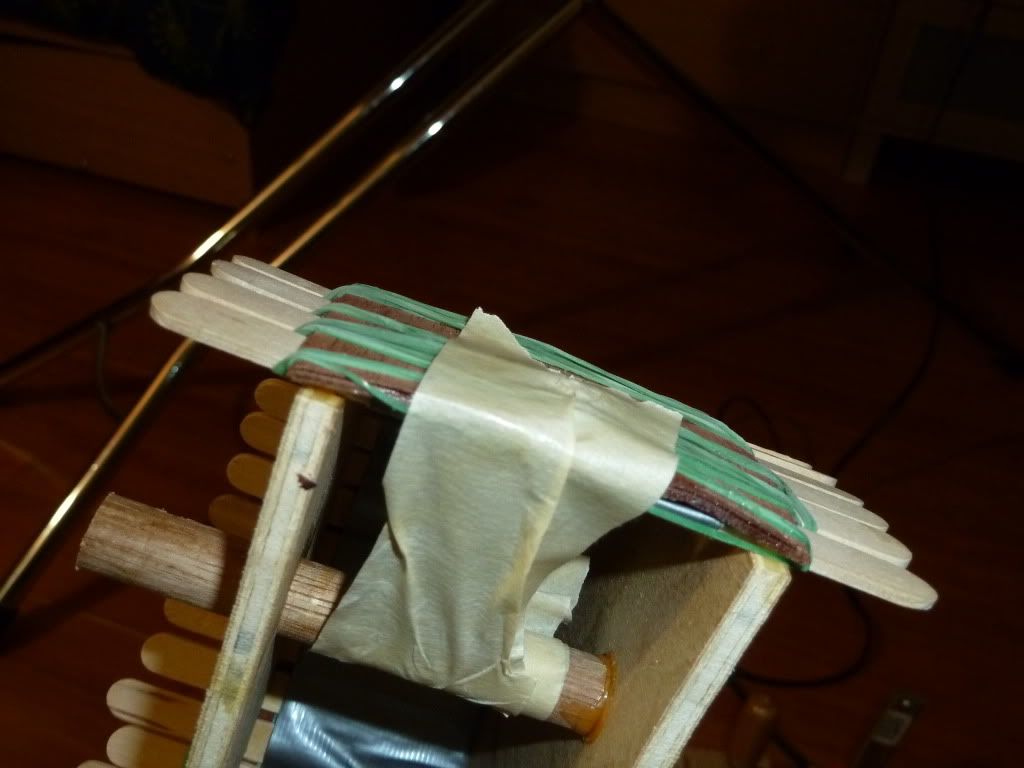
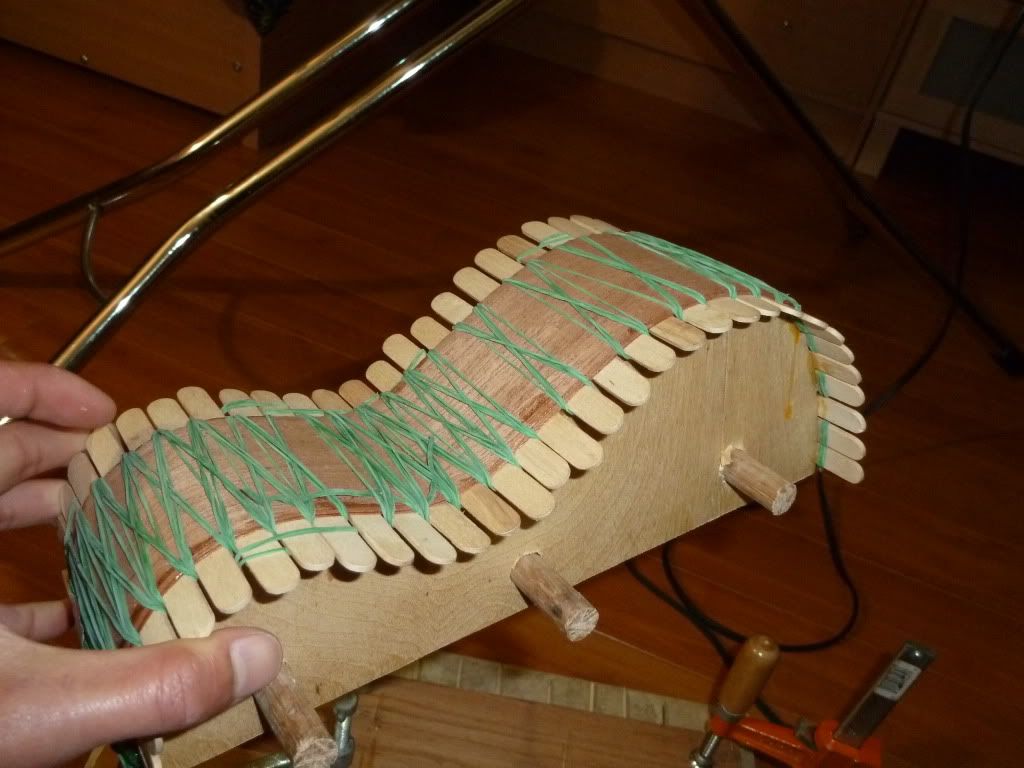
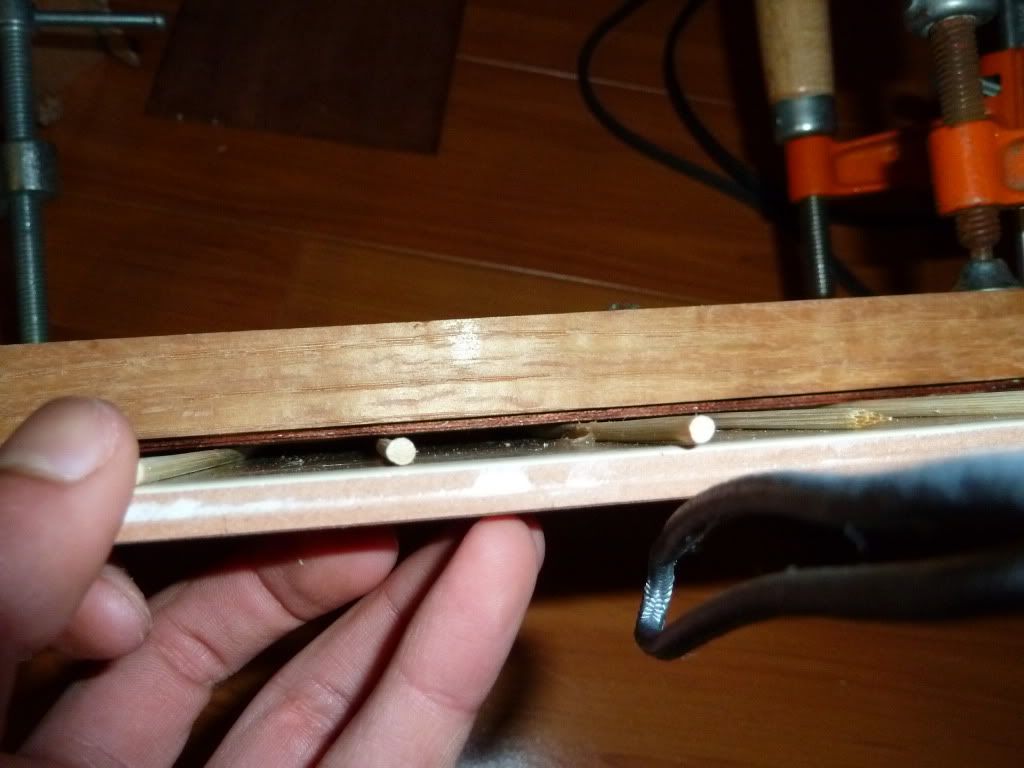
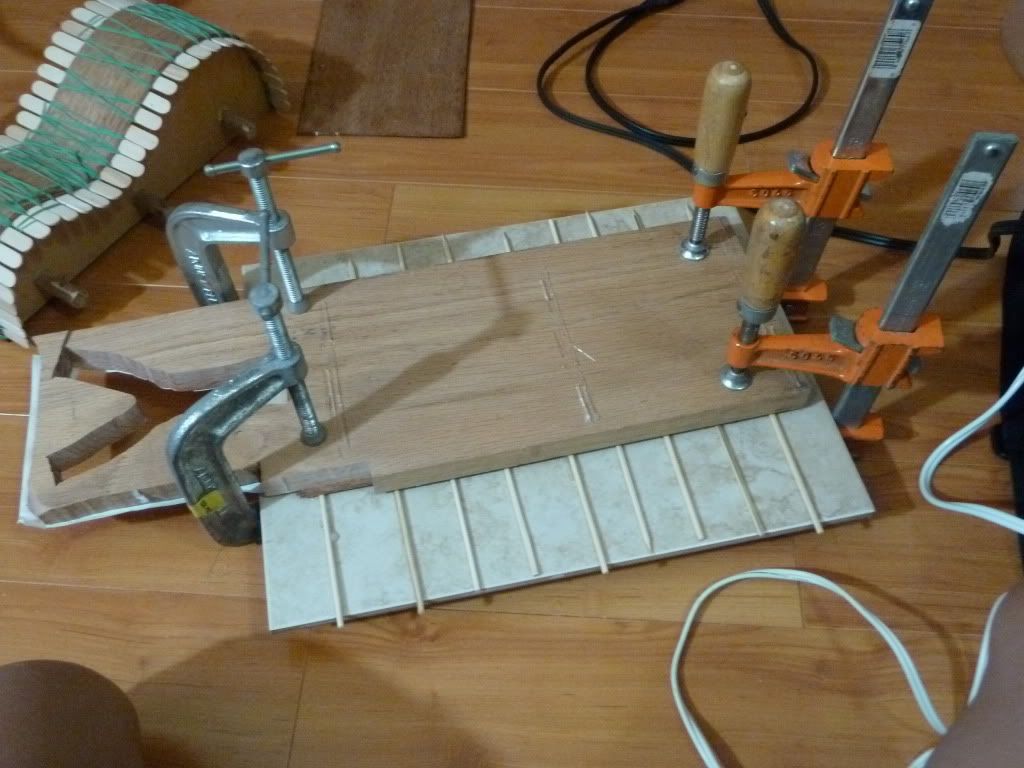
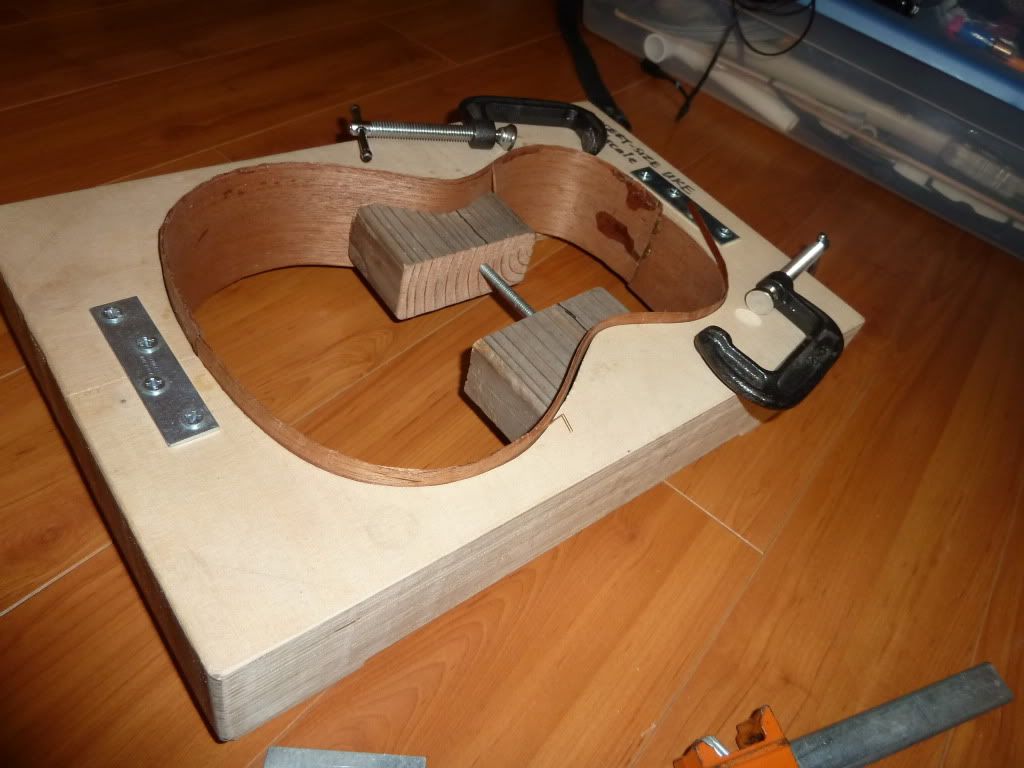
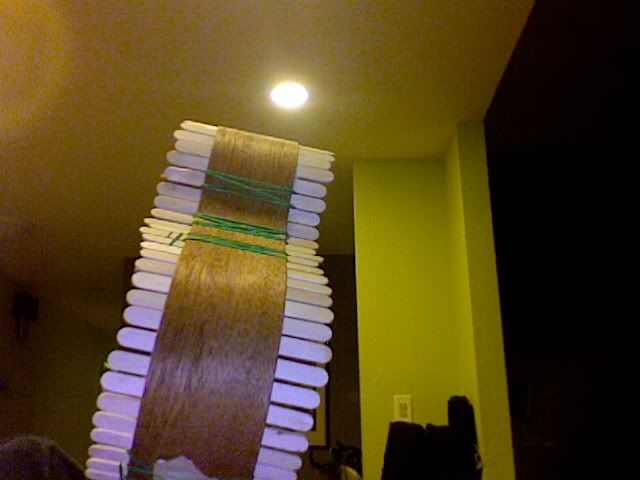
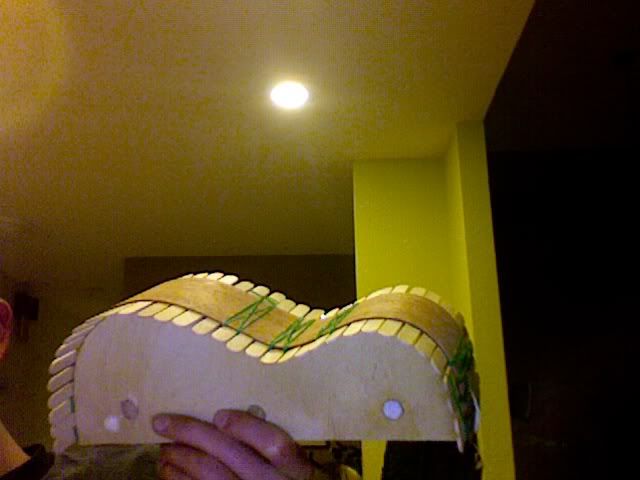
First progress pic: the first 2 veneers for one side are clamped up in the veneer, currently. Many of the rubber bands have been removed from how many were originally on there. Outside (it's dark, no picture, sorry) I have a very crudely clamped back laminate drying up. The other half came out fine (It's a two piece, to be joined), so this should be, too.

Photoon2011-04-25at2120.jpg


Photoon2011-04-25at2119.jpg
 
Help!!

Upon releasing all of the rubber bands holding the first two laminated veneers to the mold, I noticed quite a bit of springback. Pics of this are attached. Is this because I didn't laminate the pieces perpendicular to each other (like Brad suggested in his video), causing some sort of structural problem?

Photoon2011-04-26at1317.jpg

Photoon2011-04-26at13172.jpg

Photoon2011-04-26at1318.jpg

Photoon2011-04-26at13182.jpg


Should I worry about this at all?

At this point, I see two choices:
1. Continue on laminating the third piece, and whatever resulting final springback will be eliminated when I put everything together in a standard mold that goes on the outside of the body (gluing the top, bottom, and neck on will provide structural support that prevents the springback, maybe?).
2. Delaminate the two sides (how? heat gun? steam? does the resulting glue residue come off easily, or can be reused for another 30 mins after or so?) and cut up the top laminate to glue on via the suggested cross-grain method.

If I go with choice 1 for this side, would it be advisable to go with choice 2 for the second side, learning something from this experience, or just stick with choice 1 again for the other side?

The reason I hesitated to glue the sides cross grain in the first place was because of the extra work to cut the long veneer up into short lengths that would fit the width of the bottom veneer.

Any help is appreciated!
 
Hey smerdy, you are cool! I had more springback than that with only two laminations. Go ahead and laminate the third piece to it, I think you will be surprised on how much things stiffen up then. And as Sven suggested, even if there is still some springback, laminates by their nature are springy, go ahead and assemble things and it will be fine. By the way, thanks for posting this. I feel that this method of construction has a lot of potential for hobby builders with limited tools and budgets. I am sure there are some kinks to be worked out of the process, your contributions will be a big help. Number one is five months old now, i have been abusing it regularly and it plays and sounds fine. There is some top deflection at the bridge, more than I would like if it were a solid instrument. Next time I'll either enlarge the bridge patch or add a couple of small fan braces.

Brad
 
Thanks for the verification, Brad. I'm also glad to be documenting this process and helping others learn from any problems I encountered. It's the least I can do to give back to the uke community for all the help I've received already.

All right, it's gluing up as I'm typing... These periods of time are the hardest part of building anything -- the gluing, and the wait!!!

Also, I came across a problem after the two back pieces were fully dried. I suspect it was a problem with my gluing setup: I had two plywood boards laying around and no formica, so I used aluminum foil to prevent stickage of the back to the plywood. It turned out pretty well, in terms of not sticking. Any sticking was easily separated.

After that, I let the back pieces air-cure for half a day. To my dismay, the back pieces appear pretty badly warped. Pics included. I learned from this: next time, either use formica pieces as you (Brad) did or wax paper glued onto the ply, with HOLES DRILLED for it to fully cure under pressure like that.

Photoon2011-04-26at16303.jpg

Photoon2011-04-26at16302.jpg

Photoon2011-04-26at1630.jpg


As for now, I think the warping problem will be fixed when I glue them together and add braces, and any leftover warp when the back's glued to the sides. It will be a rough road, but I just have to remember to clamp everything down good, and add lots of glue.
 
About the braces, for top and bottom: is it necessary that their cross section is curved/tapered on the top half?
It would save time sanding them to shape and the cutting dovetails to notch them into each other if I don't have to.
 
You are bringing back memories smerdy, I had similar warping when I removed a top from the drying jig too fast. Here's the thing about liquid hide glue, just like regular hide glue it can be reactivated. To flatten the back, you need an iron, like you iron shirts with. Set the temp of the iron to around 275 degrees F. Take a damp cloth and moisten one side of the back, and then pressing firmly, iron the back. Turn it over and do the same thing on the other side. Quickly clamp things back in the drying jig and let it stay there overnight. As for the braces, you can shape them after they are glued in, or leave them square, its up to you.

Brad
 
[QUOTE
As for now, I think the warping problem will be fixed when I glue them together and add braces, and any leftover warp when the back's glued to the sides. It will be a rough road, but I just have to remember to clamp everything down good, and add lots of glue.[/QUOTE]

I would not do that.You are adding a lot of stress to the joint/back.

Best is to wet to wood a little bit and clamp them in a fixture and leave them for a couple of days.


Best regards,


Edzard

wet.jpgclamps.jpgpackage.jpg
 
All right. I went with those suggestions... The two back pieces are outside right now clamped between two pieces of tile. I had followed Brad's suggestions and wet both sides of the laminate and then ironed it until flexible beforehand. We'll see how it turns out. I'll be leaving it clamped up for two days, just to be sure, so I won't see results until tomorrow afternoon. Thanks for the help!
 
Update: Just removed the back pieces from the clamping setup... They are still warped!!! I suspect it might be because I didn't get them hot enough under the iron, so that the glue would melt. But they are a little better, a little less warped. I think I will stick with that at this point...
Also, I removed the first two layers of the second side laminate from the clamp. The upper end end didn't have enough glue or something, because the two layers there broke right apart (not the whole thing, just there)! I'll just add glue to that, and clamp it with I add the third veneer tonight. Lesson learned: always always make sure you have enough liquid hide glue.

Pics to come.
 
Last edited:
UPDATE:
Pic of the warp. At least the ends of the wood are not warped -- it's only the middle of the edge that is pretty warped. What do you think -- is this passable? Or else... any ideas on how to get rid of this warp? Is there a specific method using the iron -- i.e. duration spent over area, to make sure it's hot enough? Should I steam it? I'm willing to try one more time to get rid of the warp... but if it doesn't work, I'll try to find myself a solid back somewhere.

Photoon2011-04-28at1533.jpg


The third layer of the side is clamping now, by the way. I just peeled off the second layer from the first, just enough to add some hide glue in there (a few sizeable blobs, actually, just to be sure!). We'll see how it turns out tomorrow morning.
 
Well smerdy, welcome to the often very frustrating world of lutherie. But thanks again for bringing things up, others will be wiser from your problems. This is one of the rare times when using plenty of glue is a good idea. I used enough that there was some squeezeout when clamped and about 20 -30% of my surfaces showed some bleed through when removed from the clamping cauls. It cleaned up very easily with a damp cloth. I would go ahead and try the iron again, you do not have much to lose at this point. Get it fairly damp and hot. Hopefully at this point your clamping cauls have holes in them to let things dry. If it doesn't work out, I will send you a back.

Brad
 
Thanks for the advice, Brad. My clamping cauls do NOT have holes in them, unfortunately... I am using two slabs of tile flooring, which gives a guaranteed straight surface for clamping.

Perhaps something like the setup Edzard suggested previously would work? i.e. laying it out like this: (ignore the "......"'s. the "O"s are end views of wooden dowel rods that run along the length of the back pieces, sandwiching them and allowing them to dry properly with air)

------TILE---------
O.........O.......O
----Back piece 1--
O.........O.......O
--Back piece 2----
O.........O.......O
----TILE-----------
 
Steam press them as Bradford suggests, and sit on them for a while, no point getting in a hurry you will just cause yourself more grief and time wasted later on. Just my 2 cents anyways.
Cheers Ron.
 
Okay, I wet the first back piece (doing it all one at a time now), ironed it so that it was REALLY flexible, then clamped it up with this new setup -- red oak board, 1 back piece, skewers/shishkabob sticks to allow a little gap for it to air out (hot glued down to the tile so it's easier to put together), and then the tile.

I've also included a picture of the third layer on the second side clamping up. A problem I encountered was the ends arching because the rubber bands didn't give pressure in that direction. So, I took masking tape attached to the cross-dowel on the jig and used that to apply pressure so that the end wouldn't arch widthwise anymore.

P1000256.jpg

P1000255.jpg


P1000253.jpg

P1000252.jpg
 
Last edited:
I took the back piece out of the mold. It is STILL warped... as in the edges/corners are all curved up (in the same direction) and the middle of the piece is wrinkly and bumpy. Maybe it's because in my ambition I submerged the whole back piece under running water... But the sides came out excellent, despite a few splinters off here and there due to how the sides were tapered BEFORE I molded them, and how one piece's tapering was not exactly like the others, leaving an edge of one layer protruding out and prone to breaking off with little force. However, that will be easy to fix... I'm sanding the taper further down anyway, so that the edges are clean.

Here are the side pieces clamped into the mold:
P1000270.jpg

As you can see, I cut out cauls and made a clamp out of old scrap wood using a scroll saw, similar to what I'd seen on Ms. Matsushita's site for her concert uke. It's actually the same mold, too! She let me borrow it! A 1/4" bolt , countersunk deep into the caul so it won't damage the side, and a hex nut keep the tension.
 
Last edited:
I've not really got any experience of this sort of thing, but I was wondering if some of the warping may be down to how the veneer had been cut?

http://www.capitalcrispin.com/veneer_production.aspx shows a variety of different techniques. I was thinking that if the veneer had been rotary cut for example then it would be more likely to curling.

I imagine (and this is entirely speculation) that gently steaming the veneer would soften it and incline it to curl in its preferred direction (if it has one). If it does, I'd then try gluing together so that the curl is pulling the sheets in opposing directions. Better still might be to try again with some flat cut or quarter cut veneer.

It may be your best bet though is to go with the pre-made solution. Model shops sell really thin plywood these days, in the UK at least the 2mm isn't too pricey (but might be a bit too thick?) with the price going up as it gets thicker or thinner. I've not used the stuff myself so I don't know how it behaves, but if you have somewhere near by that stocks it then I'd certainly give it a look.
 
Thanks for the suggestions...
I'm aware that DJ Hobbies carries solid 1/16" short-widthed lengths of wood, but a three-piece back is pushing my skill. But Brad has generously offered me a solid back piece. I learned a lot from this back making process but I'm afraid it failed. Better luck next time.

p.s. Now that AP Exam season is over, I can get back to working on this. Hopefully progress will resume either this following week or the next week (after some school projects)
 
Top Bottom