Cracked Back

Timbuck

Well-known member
Joined
Mar 10, 2009
Messages
6,617
Reaction score
1,891
Location
Stockton on Tees..North East UK.
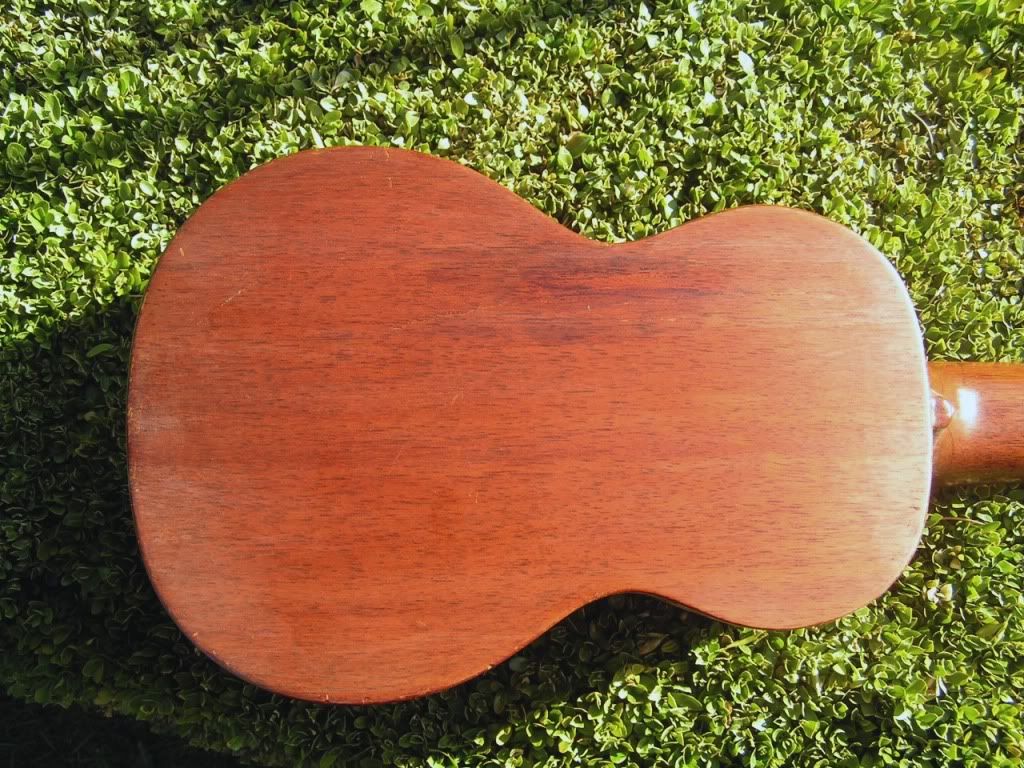
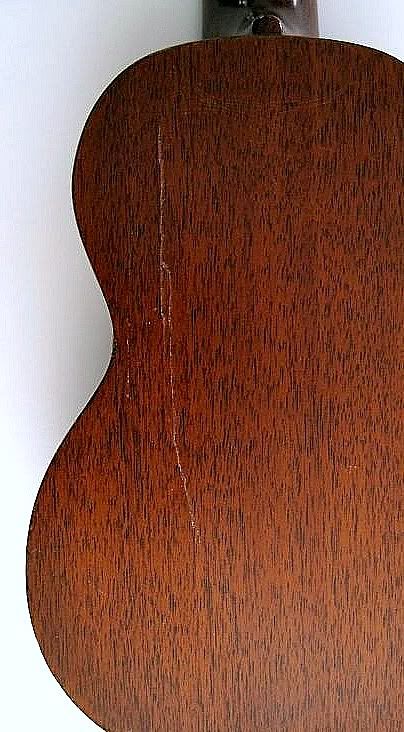
I'm about to start on a repair to a Martin soprano..a 150mm long crack..someone has previously try'd to repair it from inside with epoxy..could give me a few problems :confused:..I'll see how it goes.:)
crackedback.jpg
 
I had a blinged up tenor similar to the image a posted here with cracks in the front and side where it left the wall and bounced on a stone floor. Since all of the front cracks were very tight, superglue did the job and they are invisible. Epoxy grainfilling will further 'hide' any damage and tie the top together which had separated at one point (needed fixing with epoxy ther because of the combination of materials). Finally, in case any bracing had worked loose I flooded the top with very thin superglue (gasps of horror)... We could have a discussion about this but I won't - it's an insurance thing I do since I don't want any surprises when I string the piece up. The 2cm hole in the side required the hole-and-string treratment and was never going to be an invisible repair - too much splintering. The lower bout side crack had a titebond and spool clamp repair. All of these took a short while but stripping the finish - it needs a complete refinish after all these repairs took me a good 3 hours, carefully scraping around the bridge and fingerboard... epoxy grain filling has really restored the look. I'll finish this next week since I am working on it a surface at a time and it takes 2 applications to get the pores finished.
 
Last edited:
Please tell us how you do it. I've never had to do one but I'd like to see how a pro does it.
I ain't no Pro ..I've never repaired a crack like this before..but ive read a lot about it on the Web....First I filled the crack with thin hot Hide glue and used the percussion method to get the glue well into the defects..I left it overnight to set, and this morning it had pulled together quite well...a lot of the laquer around the defect is cracked and splintering, so I have been sanding away the damaged laquer to a feathered edge.
 
I had a blinged up tenor similar to the image a posted here with cracks in the front and side where it left the wall and bounced on a stone floor. .
Sounds nasty..if you Had it..where is it now? Pete...or did you mean "Have":)...anyway this uke's crack seems to be getting repaired ok...a good thing is that the laquer turns out to be " Shellac"..and Mrs Timbuck has taken the job off me (now that the difficult part is done:rolleyes:).. co's She says "You'll only make a mess of it if you do it"
 
Last edited:
Mrs Timbuck gave me the uke back...the crack has been sorted..it's not completely invisible but it is sound..the Guy who put epoxy into the crack from the inside should be shot :( it prevented me from pulling the edges completly in and it distorted the wood a bit .. and it had to be sanded flush....But it will do for me:D..it's still going to have another couple of coats of FP and then some Beeswax.
PICT0003-8.jpg

Looks like a very nice job to me! Please, what is "FP?" Also, is the Beeswax to even the surface sheen?

I recently restored the back of an old Hawaiian koa ukulele; it had three tight cracks and one very bad open crack that had sunk into the body of the uke at its edges. Worst of all, a previous owner collaged old magazine pictures over the entire back, I suppose, to hide the cracks. I tried everything to remove the pictures without damaging the finish, but that was just not going to happen. So, I painstakingly wet sanded them off using 600 grit paper. Still, the residual glue was clotted all over the back. I had to sand through it to get it off. I fixed the cracks like Pete did his, with CA glue, clamping the larger one on the sides and pushing the crack back to level with my fingers inside of the sound hole. Then i filled in the remaining depressions with epoxy and finished it with Tung oil slightly tinted with a colorant in an effort to blend the areas where i sanded through the finish with the areas I was able to preserve. It looks fine, certainly much better than it did, but I wonder if the beeswax, given that it is also slightly colored might be effective in evening out the tone.
 
Top Bottom