Dominator
Well-known member
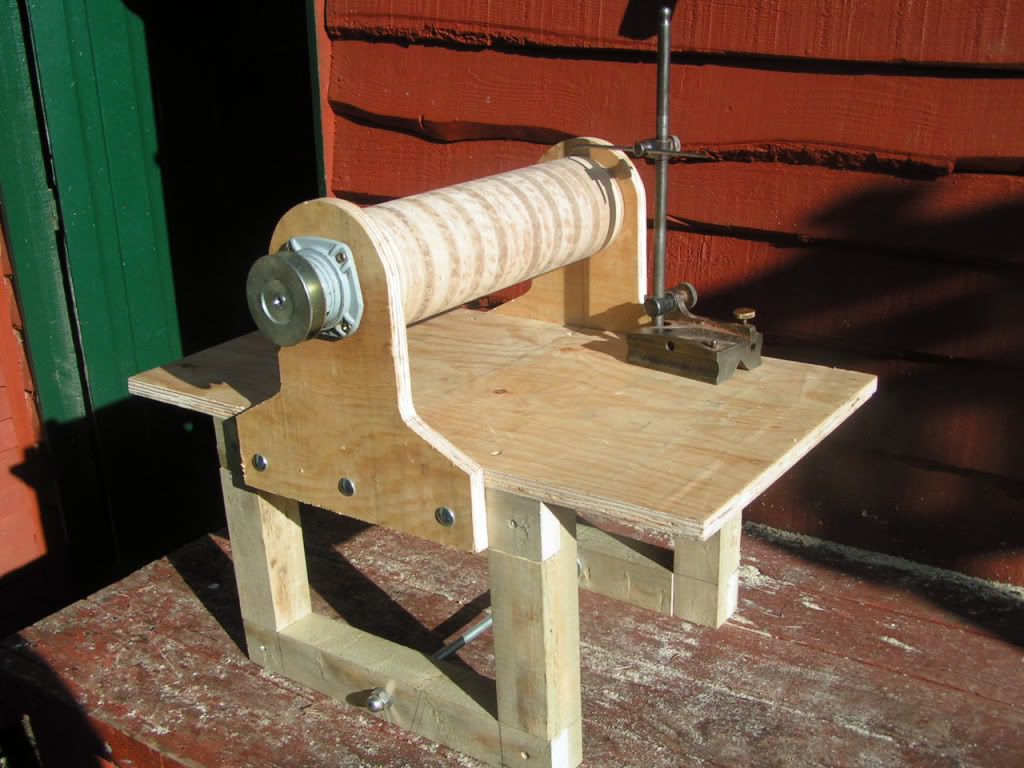
I built my thickness about 8 years ago and though not perfect it has served me well. The other day I was thicknessing some plates and noticed a hump in the center portion of the drum. I decided it was time to tear it apart and have a look.
I've gotten into a habit of placing narrow pieces like fretboards, braces and sides etc. against the side rail of the table and run them through. After I got the velcro matting off the drum I could see a big difference where all those years of running stock through at the end of the drum had compressed the plywood discs I used to make the drum.
I needed a way to be able to re-surface the drum and make it parallel to the table. I saw a video of a guy on YT using a router to make a rolling pin sander. I did a quick mockup of the jig out of MDF and made one of those sanders. The router worked well so I decided to try the same concept on the larger drum. Again I went low budget and just used some L brackets and plywood. The sides have a groove for the modified router base to travel in. With the table level I placed some small spacers under the drum and sandwiched the sides against them and clamped everything down. It looks like it actually worked. Won’t know for sure until the new Velcro matting gets here next week. Hopefully, I can get another few years out of it anyway.
 i had the same problem ..but I used MDF discs for the drum and some of the Mdf was soft type and fluffed up with sanding and made the surface uneven..to cure the problem I coated the drum with epoxy and made it thin and runny with a heat gun so it would soak into the soft stuff..and after it had cured i skimmed it in the lathe then sanded it down level again... and that fixed it.