Neoprene lined clamps

Stompfrog

Active member
Joined
Aug 17, 2013
Messages
30
Reaction score
0
Location
Reading, England
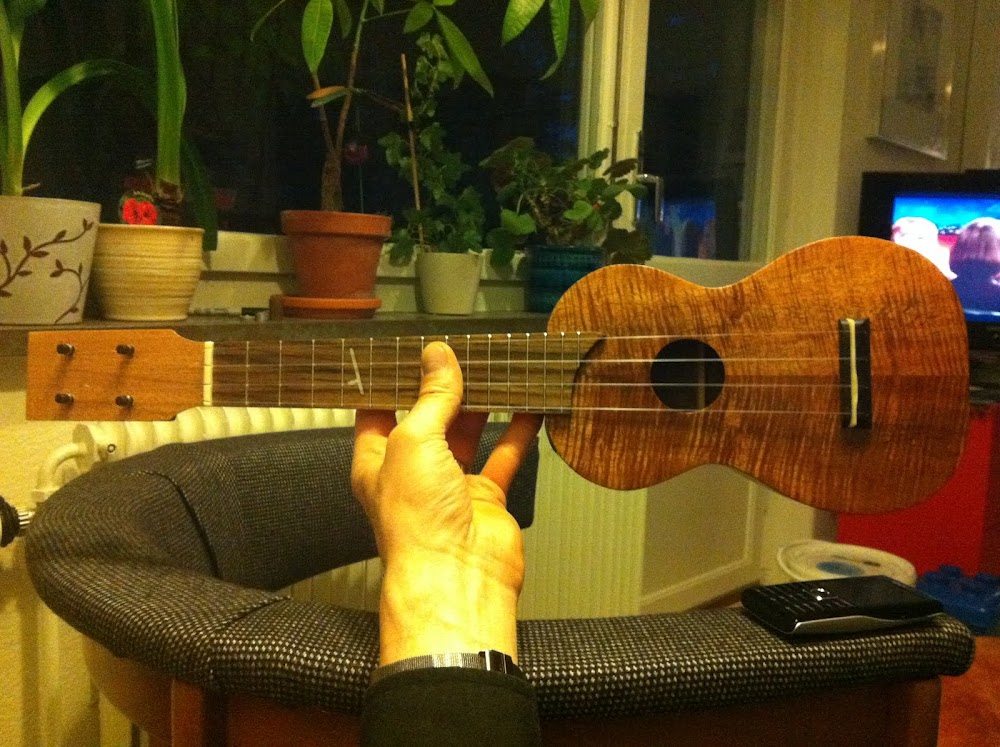
Today I began work on my first ever ukulele. Before I get anywhere near the tone woods I am planning on making a whole load of moulds, jigs, clamps etc as I intend to make more than one uke.

As well as staring work on the mould today I also began making a clamp (spreader?) to hug the inside of the uke waist and exert an outwards pressure onto the surrounding mould.

I wanted to pad the end of the curved wooden blocks making up the clamp to prevent any damage to the uke sides and to spread even pressure. I was considering getting some cork but had concerns about durability. in the end I bought some 3mm neoprene off eBay which I think will work really well.

My only concern... And question to the experienced folk of the forum is... Will the neoprene react with any tone woods unfavourably?

Many thanks in advance.
 
I work a bit with neoprene for compression and braces at work.

It reacts to heat, and repeated exposure to heat, by getting sticky, melting at high heat, and/or becoming crumbly. However, your wood will probably not be hot going into the mold with the spreader. Since it is the inside of the ukulele, any reaction would be hidden.

To be safe, though, simply line the inside ofthe uke with waxed paper or a bit of a plastic bag.

Anne Flynn
 
Neoprene is fine but you probably don't need it. The spreader clamps really shouldn't need that much pressure. If you have to push the side more than 1/4" or so you should probably touch up the bend on a hot pipe.
My main uses for the spreader clamps: 1. Hold the sides in place while I mark the ends to trim. 2. Give the sides some support while I sand the rim or cut the back taper. Once the end blocks are glued in, the sides should fit the form pretty snugly.
 
Yes! make the sides fit as snug as you can .. I use spreader clamps mainly to hold the assembly firm when radius sanding, to avoid chatter. :D
 
Last edited:
Thanks for all the input guys!

A very welcoming response to my first post on the forum.

I'll upload some photos of the mould/spreaders when I am done :)
 
Mr. Timms: What is the green sandpaper you are using to radius? I like the size of it.
 
Last edited:
Quick photo of the mould progress so far...

mould-1.jpg


mould-2.jpg


The more I think about this neoprene thing the more confused I get. Assuming I have no neoprene in my clamp and I make it from my main body template it would end up like the green block in the diagram below. Whilst this fits snuggly into the main mould (dark grey below) perfectly it will not fit once a layer of wood or indeed neoprene (orange below) is put inside the mould. This extra thickness changes the profile of the curves and the "perfectly shaped" block becomes a bit of an awkward fit.

Does this make sense?

Does this mean it is impossible to make the spreaders fit the uke sides until you have made your first uke?

It all seems a bit chicken and egg :)

mould-3.png
 

Attachments

  • mould-1.jpg
    mould-1.jpg
    42.5 KB · Views: 9
  • mould-2.jpg
    mould-2.jpg
    80 KB · Views: 11
  • mould-3.jpg
    mould-3.jpg
    7.7 KB · Views: 8
Last edited:
If you shave the clamp back by the thickness of the sides should do it?
So if your bout is a 6" radius and your side is 1/4 inch thick then the radius on the clamp should be 6 1/4".
Does that make sense?
H
 
Quick photo of the mould progress so far...

mould-1.jpg


mould-2.jpg


The more I think about this neoprene thing the more confused I get. Assuming I have no neoprene in my clamp and I make it from my main body template it would end up like the green block in the diagram below. Whilst this fits snuggly into the main mould (dark grey below) perfectly it will not fit once a layer of wood or indeed neoprene (orange below) is put inside the mould. This extra thickness changes the profile of the curves and the "perfectly shaped" block becomes a bit of an awkward fit.

Does this make sense?

Does this mean it is impossible to make the spreaders fit the uke sides until you have made your first uke?

It all seems a bit chicken and egg :)

mould-3.png

You have to allow for the wood thickness on each sides and sand your blocks to fit them. After you build a few, you're going to figure out you don't need those spreader bars.
 
Let me be a little clearer. After you build a few ukes, you'll discover your don't need those spreader pieces. If you have to use them, fit the blocks to the inside of ukes sides after you bend them. Accurate fit of the sides to the mold comes from accurate bending the sides before they go into the mold. If you try to force the shape of the uke to the mold after bending, your bending methods are in error.
 
The fit of the sides to the mold would have to be really wacked out before the human eye would pick it up. You are worried about inconsequential details. Bend the wood as well as you are able. Mahogany (for instance) has a lot of spring back if bent in a bender and needs to be coaxed into fitting the mold with spreaders. You can hand-bend to a perfect shape if you are capable, or use a bender and touch up by hand. Rosewood (for instance) will take an accurate bend and stay there. Regardless of the species, if you trim the ends correctly the sides will tend to spring themselves into the shape of the mold. Its really cool when that happens. Its what you want to work towards. Old hands like Duane probably take that for granted. In the meantime, small discrepancies between the mold and the sides won't make any difference.
 
I am the king of asymmetric ukuleles (hey that could be the brand name! Dibs!)

I sketched this up in powerpoint during a particularly dull conference call yesterday. I figure it would be cheap to make and easy to adapt to your own curvature. It is loosely based on Mr Timms one of course. Anyone see any problems with it?


I know there should be no need for these if the bending is done properly, but I am not there yet.

Max
 
But I must say I like the shape of your mould - looks almost exactly like my sopranos with the flat or almost flat area at the neck end.

Thanks Sven. The shape is based on the Grellier plans but as you spotted I flattened out the neck end a bit. Hopefully this will make it easier to shape the neck heel, assuming I get that far. I think I'm gonna try a bolt on neck.
 
I am the king of asymmetric ukuleles (hey that could be the brand name! Dibs!)

I sketched this up in powerpoint during a particularly dull conference call yesterday. I figure it would be cheap to make and easy to adapt to your own curvature. It is loosely based on Mr Timms one of course. Anyone see any problems with it?


I know there should be no need for these if the bending is done properly, but I am not there yet.

Max

I hope I didn't sound snobby about bending. If I don't get a good bend (mostly with mahogany) I never touch it up on a pipe. I use spreader bars. At any rate, the spreader bars will be necessary to stabilize the sides in the mold while the edges are sanded, especially if you use a powered radius dish---or a flat one, for that matter. Its nice when the instrument closely resembles the mold it was built in, but small differences won't matter and will be invisible to most people, and the instrument won't care at all. I should post a picture of the Dalton clamps we use at H&D to get the guitar sides to hug the mold before the spreader bars go in. They are a wonder on mahogany sides that have sprung way back.
 
You did not sound snobby to me. I'd like to see those clamps if you get a chance.
Max
 
Quick photo of the mould progress so far...

mould-1.jpg


mould-2.jpg


The more I think about this neoprene thing the more confused I get. Assuming I have no neoprene in my clamp and I make it from my main body template it would end up like the green block in the diagram below. Whilst this fits snuggly into the main mould (dark grey below) perfectly it will not fit once a layer of wood or indeed neoprene (orange below) is put inside the mould. This extra thickness changes the profile of the curves and the "perfectly shaped" block becomes a bit of an awkward fit.

Does this make sense?

Does this mean it is impossible to make the spreaders fit the uke sides until you have made your first uke?

It all seems a bit chicken and egg :)

mould-3.png

Again, why is the neoprene (or anything else for that matter) necessary? I've never had any problems with my naked spreaders.
 
I hope I didn't sound snobby about bending. If I don't get a good bend (mostly with mahogany) I never touch it up on a pipe. I use spreader bars. At any rate, the spreader bars will be necessary to stabilize the sides in the mold while the edges are sanded, especially if you use a powered radius dish---or a flat one, for that matter. Its nice when the instrument closely resembles the mold it was built in, but small differences won't matter and will be invisible to most people, and the instrument won't care at all. I should post a picture of the Dalton clamps we use at H&D to get the guitar sides to hug the mold before the spreader bars go in. They are a wonder on mahogany sides that have sprung way back.

Back when I was a potter, students would sometimes worry about small discrepancies in roundness or centeredness. I would tell them that unless someone put the pot back on the potters wheel and spun it, no one would ever notice.
And I too would like to see those Dalton clamps!
 
Top Bottom