I need some advice on perfecting the compound dovetail neck joint.

Gary Gill

Well-known member
Joined
Mar 5, 2010
Messages
457
Reaction score
0
Location
Indianapolis, IN USA
This is the fifth tenor I have made using this pear shape. This is the first one after I made both ends of the body with a 6” radius. I have studied Timbuck’s method.

I believed I had a reasonable fit of the dovetail neck to body in the unfinished state. Four days passed from the time I did the fitting until I sprayed the sealer on the neck and body separately. I then sanded the sealer, prepared to glue the neck to the body and found the fit was loose compared to the day I did the fitting. I used some strips of a brown paper bag as shims and glued joint with light pressure from just my hands. I considered a using a clamp as I have done that before and caused deflection of the finger board. Notice the slight gaps. My shop is not air conditioned and the temps were 70 to 80 F and humidity was 40% to 55%.

Do you have any suggestions for improving my methods? Maybe I should have stopped the original fitting just shy of “done” and completed the fitting after applying the finish sealer
PT front.jpgR-side Finished.jpgHeel.jpgL-side finished.jpgL-side unfinished.jpg
 
Last edited:
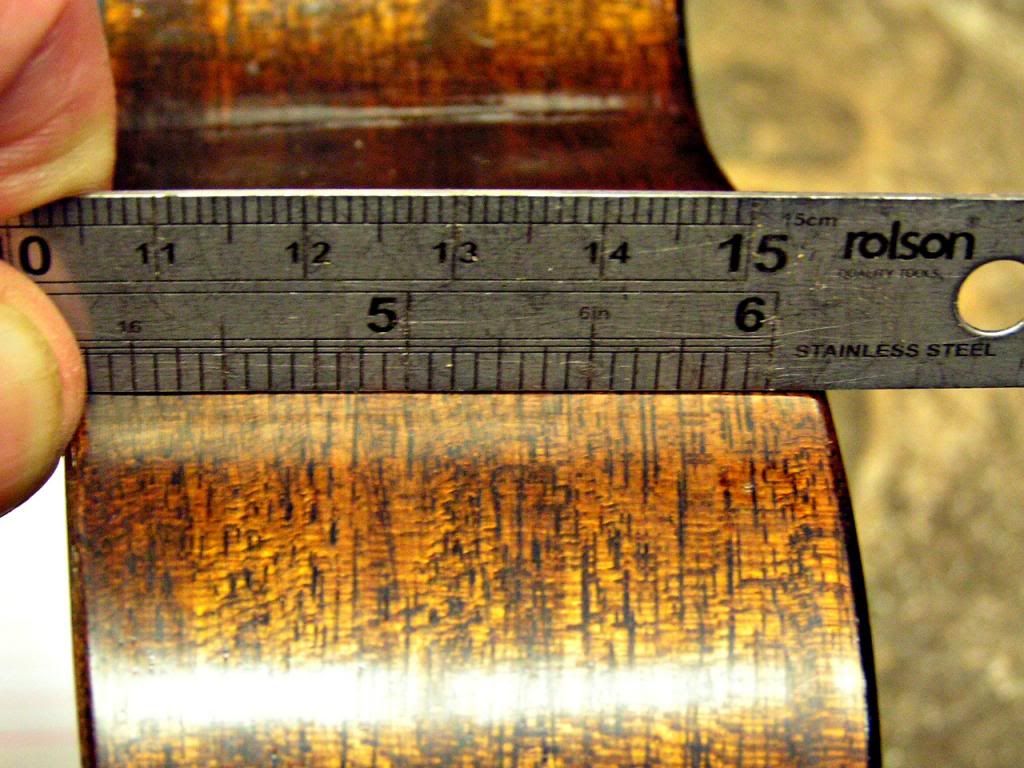
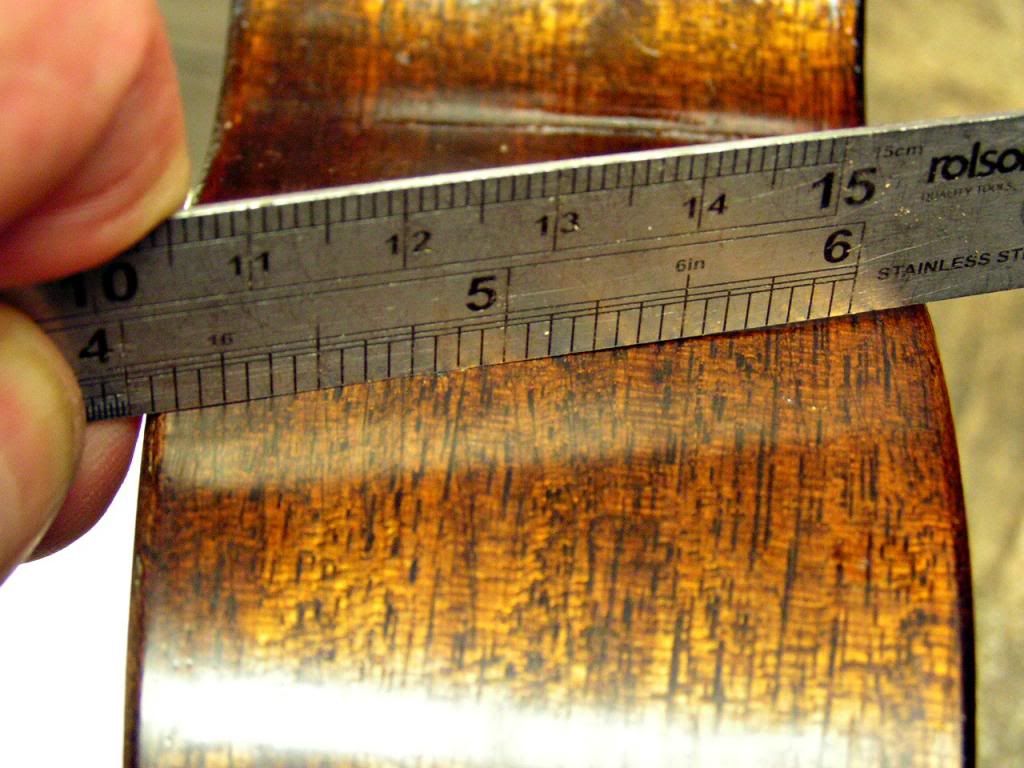
Don't be too dismayed Gary... To get a perfect fit is very difficult with the compound joint ..just removing 10 thou from the face of the angle can make about 3mm difference to the fit...Pete Howlet recommends using a softwood shim against one of the side faces so it will compress when clamped ....I try and leave it slightly proud by a couple of mm's and sand to fit the neck after finishing...Also I floss the heel side of the joint a little I to reduce the small high spot in the centre that you get when the heel taper runs at an angle across the radius of the sides...as per photo's below.

Parallel to the sides

At an angle to the sides (Note high spot in the centre) [/B]
 
Last edited:
There are two important 'tips' that help the dovetail joint easier to fit: i. make sure that the sides are dead flat. ii. undercut the shoulders slightly.
The rest is practice, the joint becomes pretty easy.
Then again I don't know why you are using a dovetail joint when the Violin type mortice joint is available.
Yes! I agree if the sides are flat it's almost easy.
But these sides aint Flat they are radiused and require scribed cheeks.....If it was easy! Martin wouldn't have had to invent the "Applied Dovetail" method.
 
No, no. I don't mean flat in that plane. Flat across the width of the side or along the length of the joint. I don't want to sound smug but there are much more difficult joints out there. The dovetail is difficult if you've never done it before and can seem impossible. Once you get the 'feel' fitting almost becomes automatic. I used to say that the dovetail joint only requires 6 saw cuts - 4 on the male part and 2 on the female part, with the waste being cleared with a chisel. It's an elegant joint although I no longer use it as I've switched to the simpler (but effective) mortice joint.
 
No, no. I don't mean flat in that plane. Flat across the width of the side or along the length of the joint. I don't want to sound smug but there are much more difficult joints out there. The dovetail is difficult if you've never done it before and can seem impossible. Once you get the 'feel' fitting almost becomes automatic. I used to say that the dovetail joint only requires 6 saw cuts - 4 on the male part and 2 on the female part, with the waste being cleared with a chisel. It's an elegant joint although I no longer use it as I've switched to the simpler (but effective) mortice joint.
I built my first 40 or so ukes with the flat ended dovetail method (that many builders still use) It's not too difficult.. But I noticed that it didn't look right compared to the old Martins that I was trying to recreate, especially from the back view...I studied in detail Mandolin building, due to the fact that many Mandolin designs have a small radius end joint (similar to Gary's pear shape uke) this gave me a better understanding of the problems involved..if you click on the link at the bottom of this post..there is a detailed thread explaining how I do it.
 
Well if you are copying old Martins the dovetail is the joint to do. I don't know how you would tell the difference between that and a mortice joint once it was all assembled though:

 
...Also I floss the heel side of the joint a little I to reduce the small high spot in the centre that you get when the heel taper runs at an angle across the radius of the sides...

Floss???? what do you mean floss
 
oh yes- ive been doing that lately- using slippery baking paper as backing against the finish and 400 grit so as not to scratch the finish. Great way to get a perfect result (Even for an Australian!) ;)
 
Top Bottom