JB-Uke follow-up

Bruce Sexauer

Well-known member
Joined
Feb 5, 2009
Messages
127
Reaction score
0
Location
Petaluma, CA, USA
This is an extension of the 2011 "Ukes at Healdsburg" thread that I sort of hijacked into being about my steel strung tenor Uke I made for that 2011 even, the Healdsburg Guitar Festival. This previous thread resulted in an order for a second JB-Uke, and that has resulted in a third which provoked me to make a 4th which is not yet done (and IS available). Also, I now have an order for a conceptually similar instrument done as a Baritone.

So, two things I want to do, one is share this YouTube video I just received of JB-Uke #2 being played by a friend of the buyer:

https://www.youtube.com/watch?v=zrxzOaipSKI

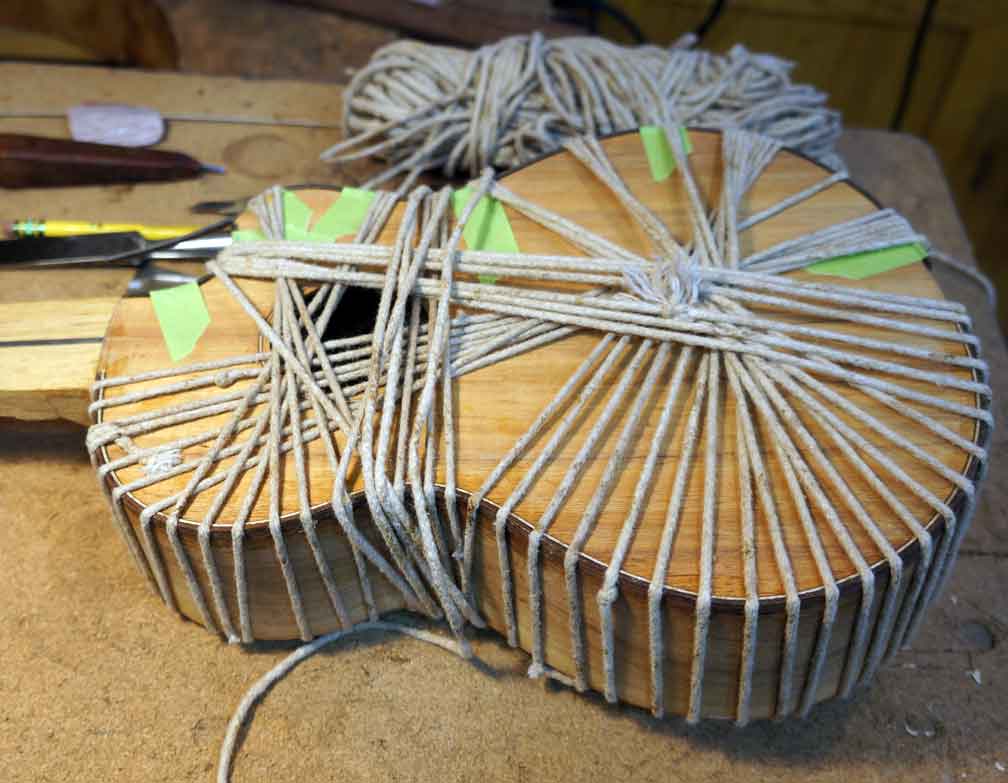
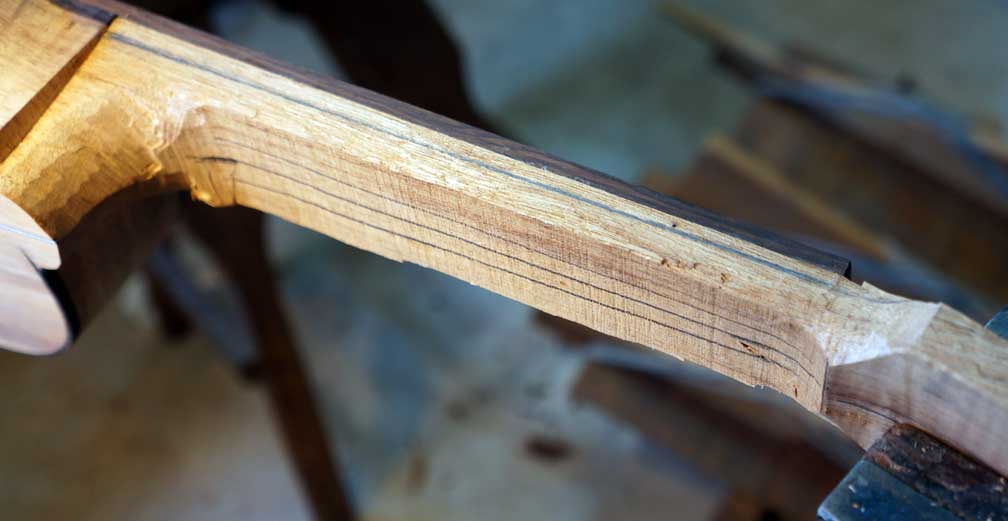
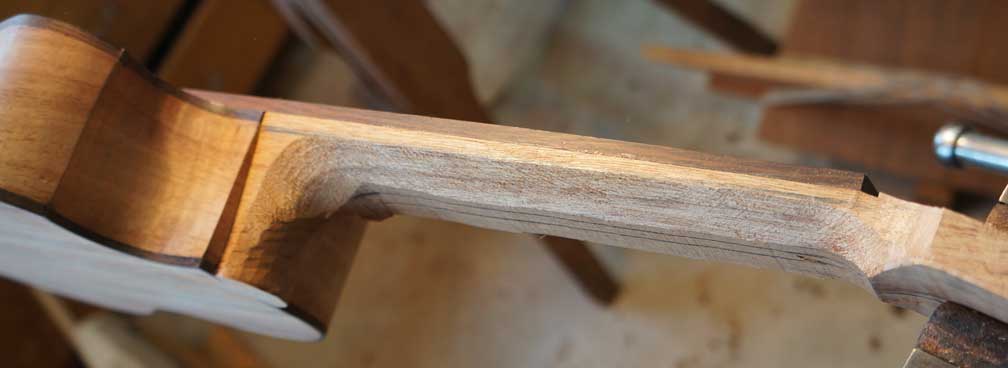
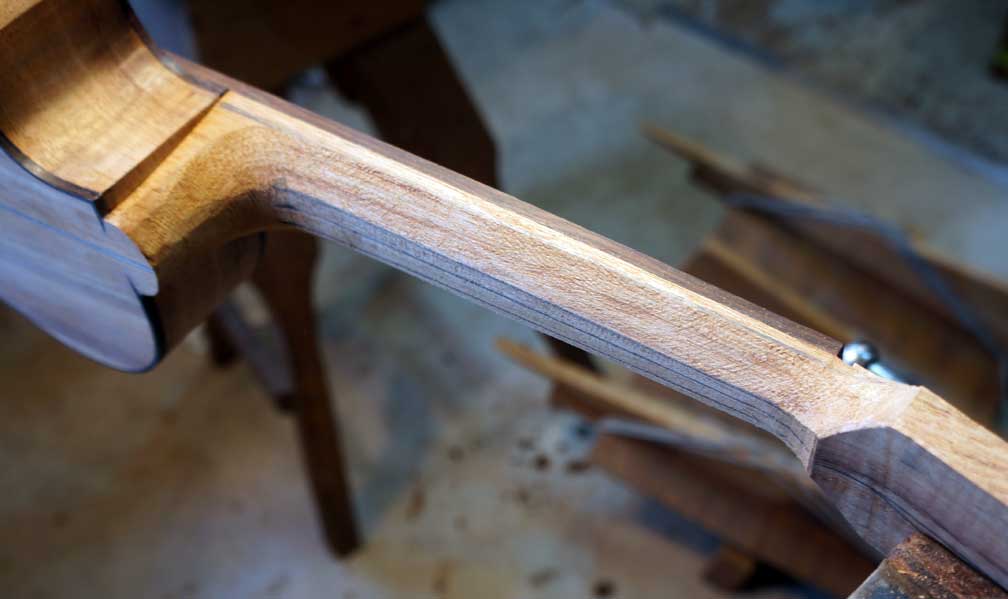
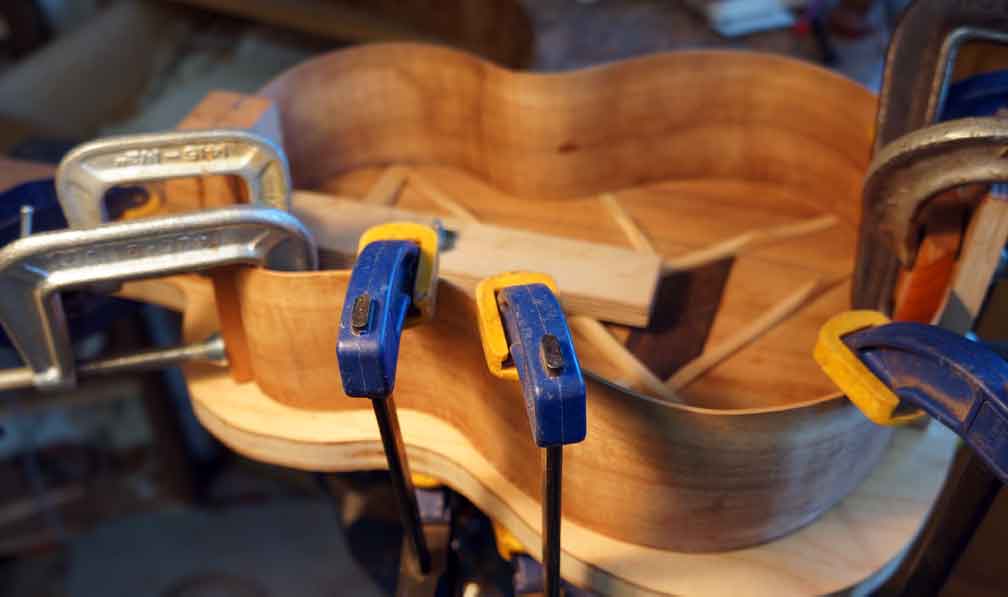
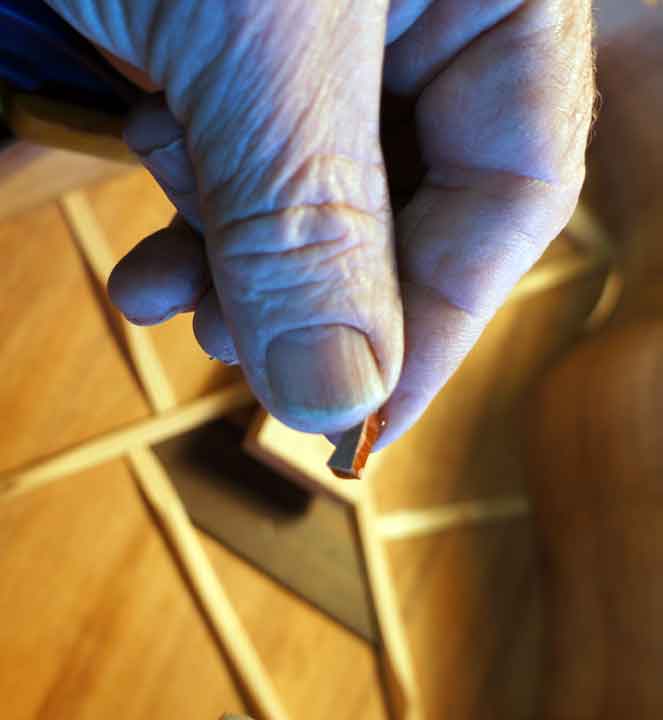
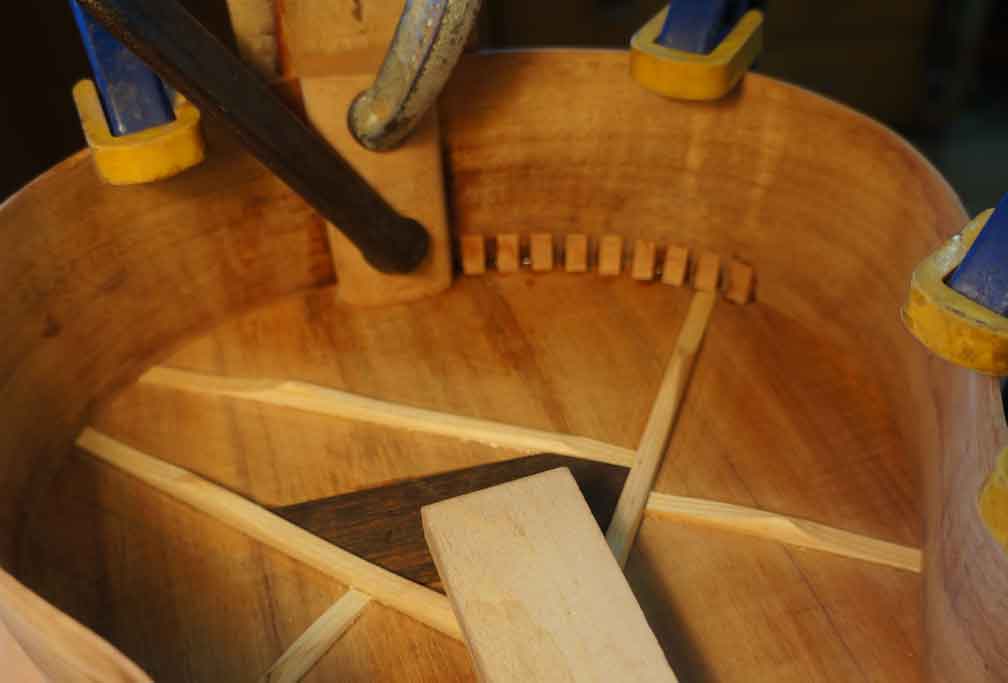
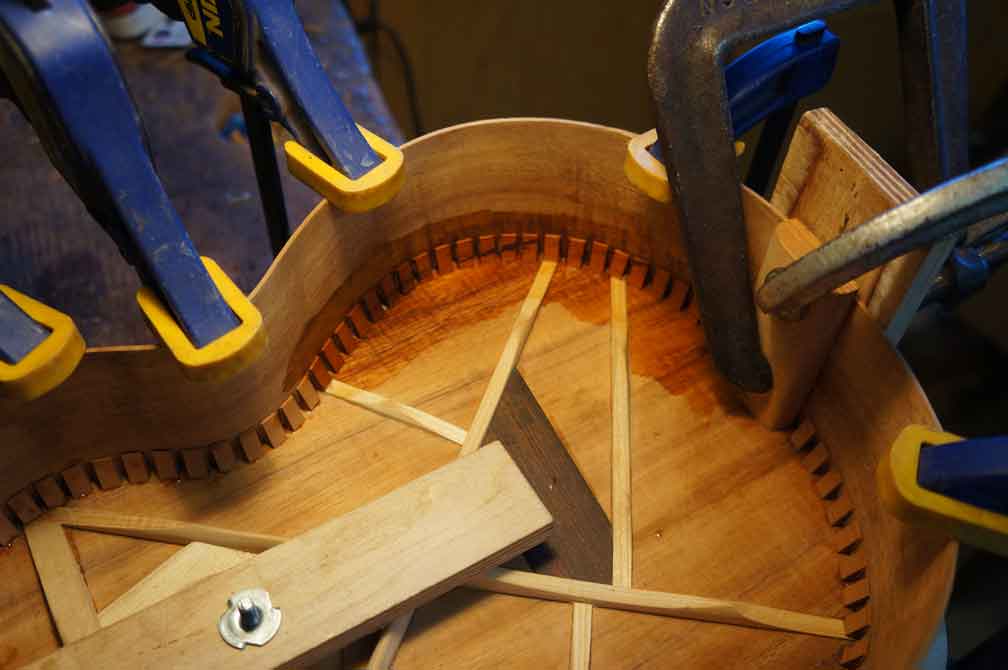
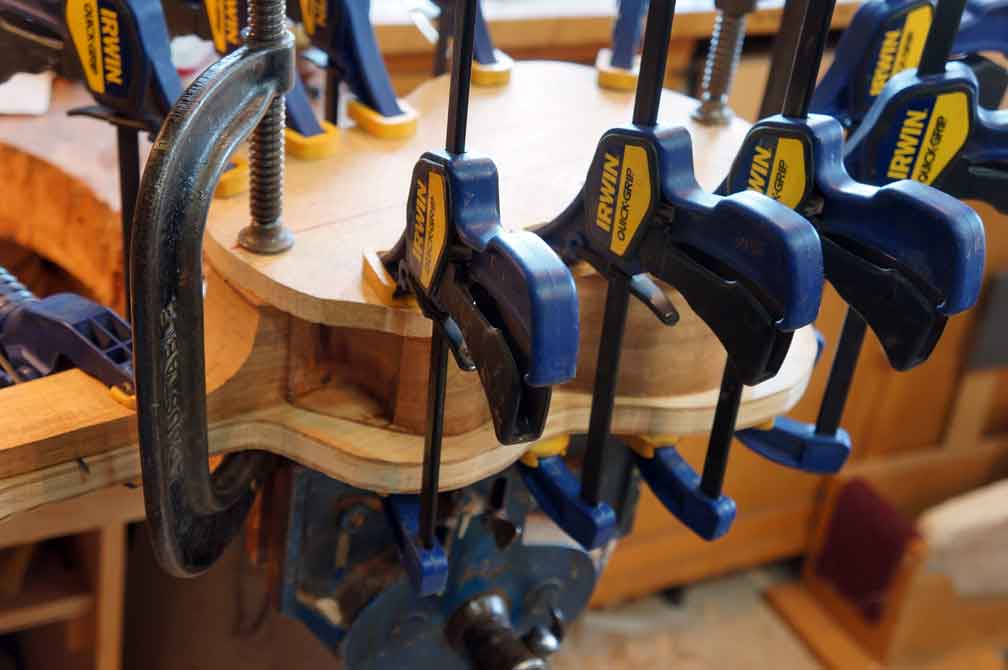
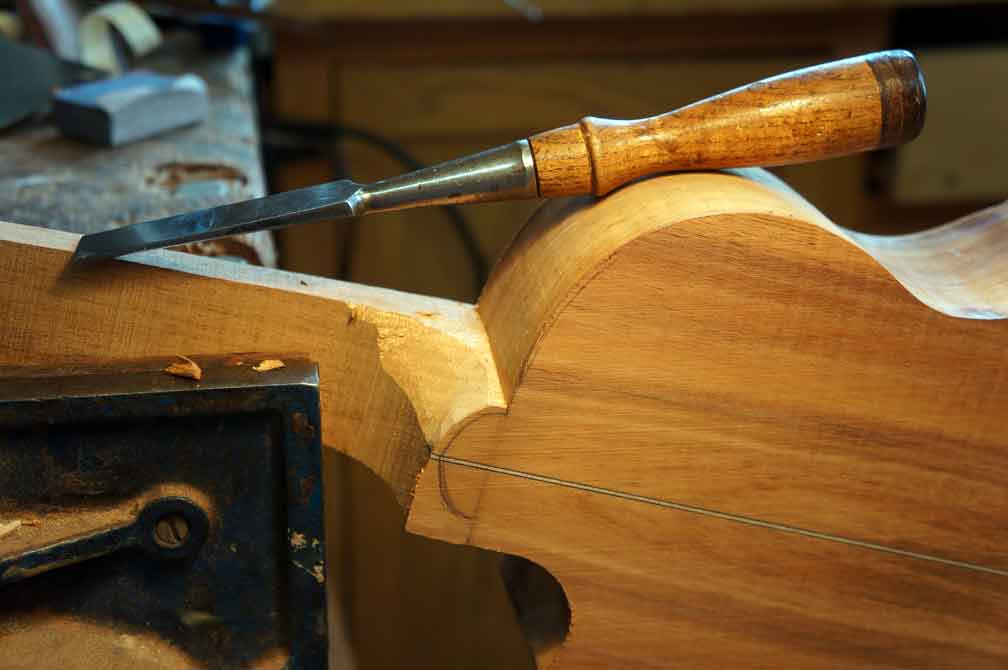
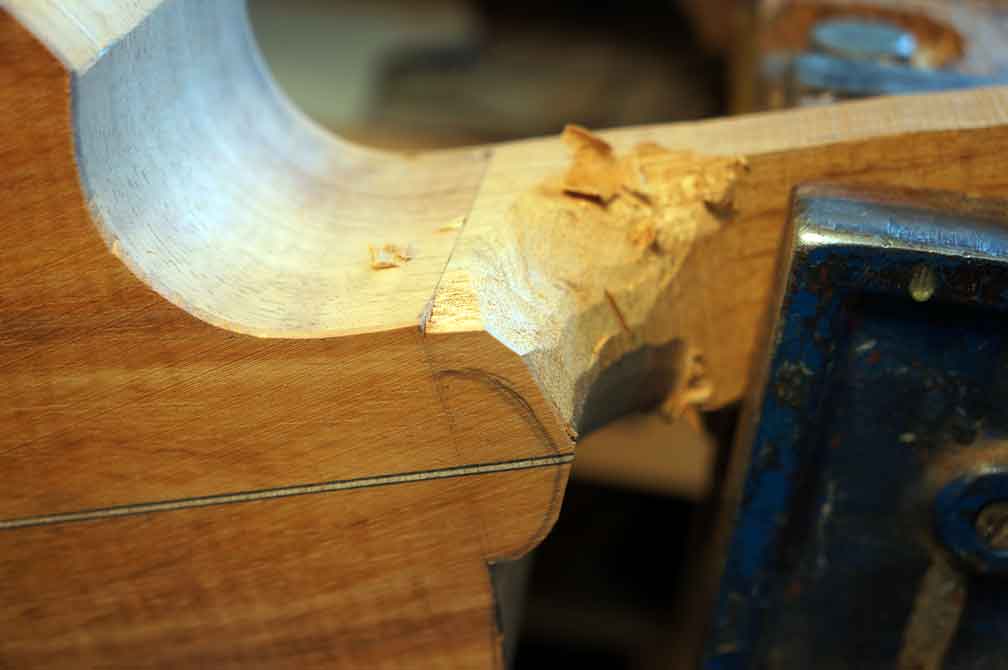
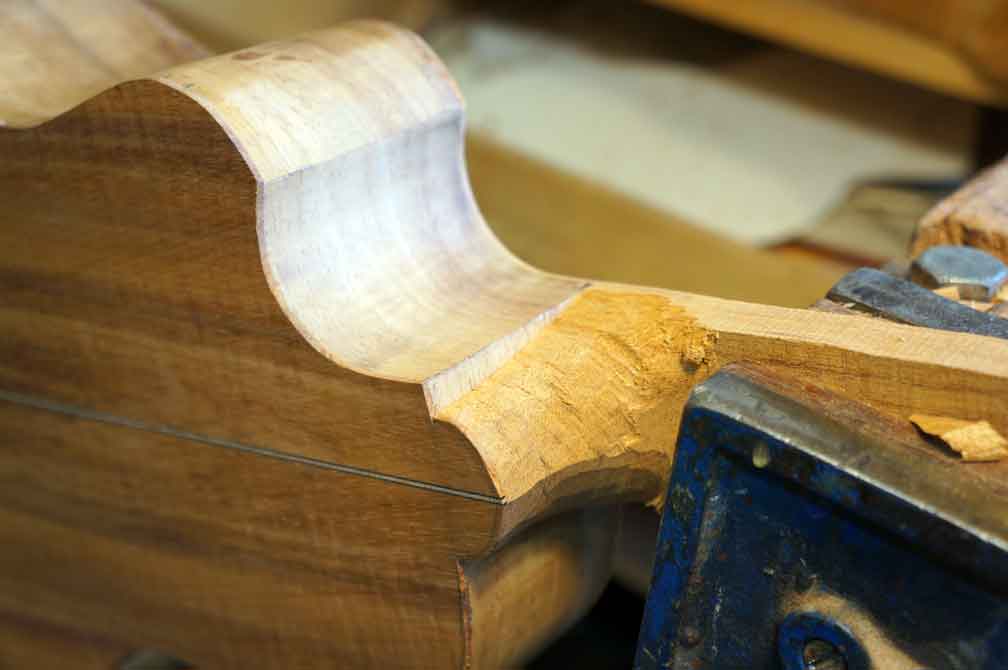
And two, ask your opinion about whether or not it is acceptable to post a "build thread" in this part of the forum. Or, if not, is there another part of the Underground where it would be appropriate? A build thread is a verbal/pictorial exposition of the building process, in this case one of my JB-Ukes. I take most of these pictures anyway for the customer, usually, and it isn't much trouble to also put them up for your perusal. This passes for a luthier's social life!
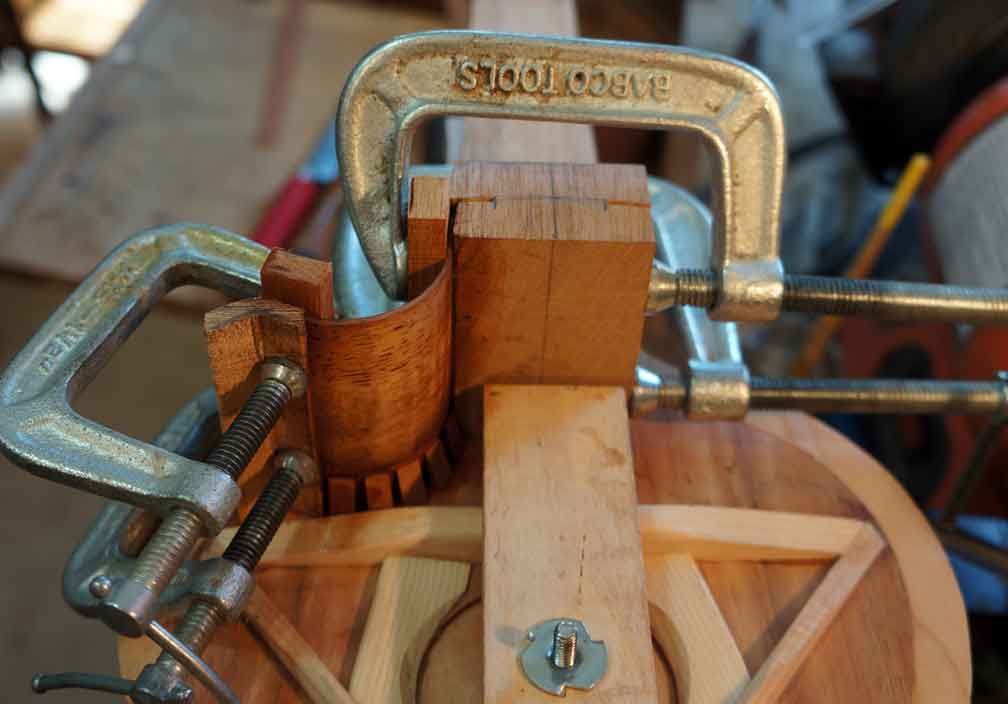
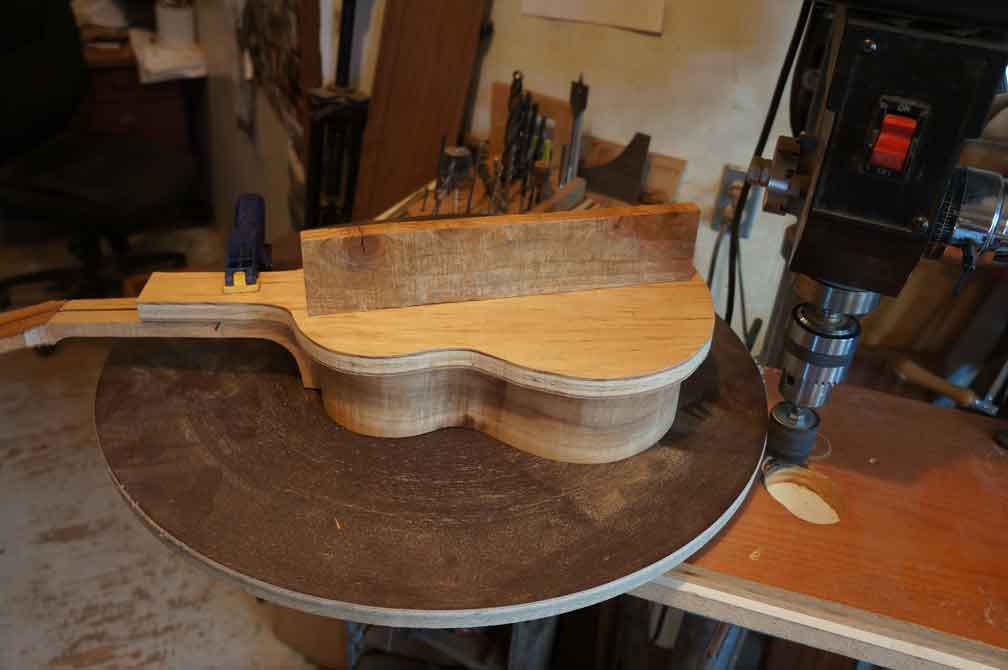
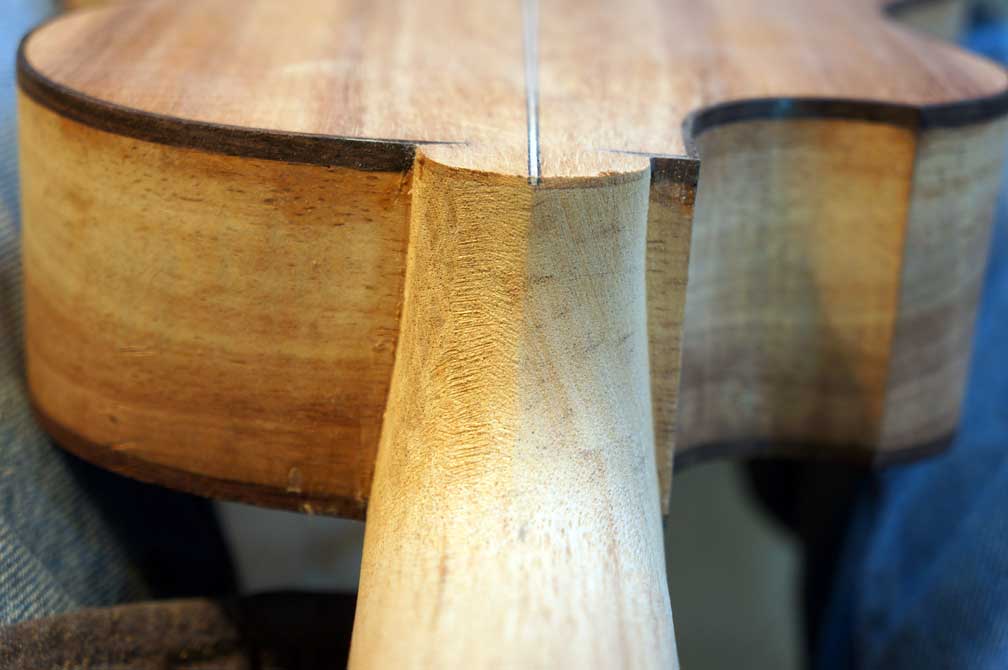
 
I just wanted to say, as its caretaker, that JB Uke #2 is a wonderful instrument. (Thanks again, Bruce!) If you haven't checked out the video of it being played by someone (not me) who knows what he's doing with it, please go back and take a look. I realize that steel string ukuleles are not thought of as being traditional (actually, they sort of are traditional, as a cavaquinho or a steel string machete (the instrument from which ukuleles are thought to have evolved) tuned to GCEA instead of the more common DGBD), but there's room for them in the stringed instrument family, and JB Uke #2 is fantastic.

For what it's worth, as a non-builder, I really enjoy the build threads on this site, especially when accompanied by some information about the thought process behind the build.
 
Last edited:
Well, it doesn't take all that much encouragement to get me going, so I will set to the task. JB-Uke #4 is well underway, so I'll pick it up as it is.

My technique is to install the rosette, brace the top up complete, glue on the neck in the Spanish style and of course the tail block, then bend and instal the sides without any form of mold, just the template I've sawn the top to. The sides are glued to the blocks, clamped lightly to the top to hold them in place, and then "peone", again in the Spanish tradition, are individually placed using HHG to connect the sides to the top. I use HHG for everything I can in the body as I am a believer.

Today is the day that I hand placed the peone, so here are some pics of the process.

It's called a cutaway, but I actually put it in first! I like something between the venetian and florentine style, a bit of each, and it requires a third block which will be carved most away before I close the box.
peone1.jpg


I leave the side slightly long and trim the miter in with a chisel. Hopefully the scorch is superficial!
peone2.jpg


Here are the sides in place, glued to the blocks, and the near half clamped in position:
peone3.jpg


Then the peone blocks are individually placed, and fit where they encounter braces. Here is one with the glue on it:
peone4.jpg
 
Continuation of previous post:


And here are the first few in:
peone5.jpg


HHG can be easily cleaned off with hot water. I try to do it at that magic moment when it is strong enough to hold, but wet enough to wash off easily:
peone7.jpg
 
JB is what I call my asymmetrical MultiScale instruments, which this is. J and B are the initials of Jack Brennemen, the student policeman (glorified High School Hall Monitor) who cold cocked me for "being clever" when I was in the 11th grade, breaking my nose in 3 place and rendering my face forever asymmetrical. I recently found him in facebook and made an attempt to communicate, but for some reason he didn't want to. As you can likely see, his attempted "cleverness" intervention was unsuccessful!
 
About twenty years ago I saw the wisdom of the dish system for bracing plates, and came up with this simple drill press driven sanding device for forming the rim to fit the back. I make my own dishes as well, and have a unique system for that which any small shop could easily recreate for making dishes of whatever radius. But that is another subject. The bearing for the sanding device is a standard heavy duty LazySusan unit. I am on my second LazySusan, only recently changed.

disk1.jpg


disk2.jpg


Titled, numbered, signed, and dated:
disk3.jpg


Ready for the back:
kerfing2.jpg
 
Bruce,
I am enjoying your build thread. It is interesting to see it done in another way.
Max
 
If anyone has specific question about my process, I will address them if I can.

I am heating the HHG to put the label in +/- where is is sitting in the following pic. Then the back goes on.
ungluedlabel.jpg
 
I imagine the JB-Uke #2 had a similar build experience. Have you made any design changes since building the JB-Uke #2?
 
Just offhand, this one has string lengths about 1/8" longer. Beyond that, there are a virtually infinite number of small differences because I don't use molds or have bracing patterns or neck templates, and I don't use precut parts at all, making every piece specifically for the instrument of the moment. This work philosophy theoretically allows my instruments to improve constantly, although the opposite is equally possible. However, since improvement is the goal that's been the rule, so far.

Anther noticeable difference has occurred to me, which is the headstock is slightly larger, being wider at the top. I use paper templates for the headstock and carve it with bandsaw/handplane/rasp, and it is an aesthetic moving target for me. So is the body template, and I have drawn a new one which I will likely use in #5 if there is a #5. It is very subtly different, you'd need to minutely compare two instruments to see it, most likely.
 
Late yesterday I glued the back on:
backgoeson.jpg


And this morning I am rough carving the heel preliminary to binding the body:
heelcarve1.jpg


heelcarve2.jpg


heelcarve4.jpg


Also, I believe that scorch on the cutaway DID turn out to be superficial. Thank goodness!

In case you noticed earlier, now you can see why I mitered in a little piece of side under the heel; it is exposed when the neck is carved.
 
In case you noticed earlier, now you can see why I mitered in a little piece of side under the heel; it is exposed when the neck is carved.

I did notice and did wonder!

Also, if you don't mind me asking, I was wondering why you have the individual tentalones on the top to side join and regular kerfing of the bottom to side join?

th
 
Good question, Terry. I use tentalones (I call them "peone") on the top because pre-gluing a kerfed lining to the top w/o a mold would be too challenging for me, because getting it to glue to the top accurately seems unlikely, because it allows me to space them out to control stiffness of the connection, and because I have been using this method since I started. I use a kerfed lining on the back because gluing in individual blocks is too challenging for me, ;) , because it seems like the best way given that I am going to be power sanding them against my drill press driven disk, and because I have been using this method since I started, too!.

I did buy about 40 pounds of Spanish cedar kerfed linings from my friend "Kerfing" Tom Peterson a few years ago. I will never run out of it in this lifetime! For the Ukes I cut them down from 11/16 tall to 15/32 tall, but I do it from one side for the back and from the other side for the top. That's because the top has purfling on my Ukes, but the back does not. I believe that having too strong a join between the sides and the plates is counter productive. This is quite controversial in the guitar world, probably here too.
 
The binding goes on in six stages, three on the top w/purfling, and 3 on the back. It is possible to do more than one section at a time, indeed, I have seen Ervin Somogyi do an entire guitar at one go . . . twice! But it's too much stress for me, and also it comes out slightly better this way, at least when I do it.

Here's the first section bound on:
1stsixth.jpg
 
Bruce, thanks for the explanation, really appreciate it.

I believe that having too strong a join between the sides and the plates is counter productive. This is quite controversial in the guitar world, probably here too.
I've heard arguments supporting both viewpoints. I haven't formed an opinion yet but I'm sure that given time, I will. LOL
 
This morning I put that last little bit of binding on, and then I glued on the fingerboard as well. About 12:30 I took the clamp off the FB and went right into carving the neck.

Here's the un-carved neck:
FB1.jpg


Then I pared off the extra mahogany and faired in the headstock to the FB using the 3/4 chisel:
FB2.jpg


Finished shaping the side of the heel to get the gentle curve I have learned to love, a simple line with NO recurve. Also you can see the guide line I use to achieve symmetry in my initial neck carving.
FB3.jpg


Here are 3 of the four guide lines.
FB4.jpg


Continued in next post!
 
Here are the rough facets:
FB5.jpg


And here I have refined the back surface, redrawn the lines on it, and using my StewMac course Dragon Rasp Brought the shape ery close to the lines:
FB6.jpg


It takes as long to describe the process as it does to actually do it, about 20 minutes for these two posts worth of work. The beauty of this method (to me) is that by varying the juxtaposition of the four lines I can (re)create a variety of neck shapes with surprising accuracy. As you may glean from this thread, I am all about versatility.
 
After roughing out the tapered bevels with the course Dragon, i use the fine Dragon to fair the bevels into the actual neck shape. I use my eye extensively to sight along the curves for fairness, and then follow up with a wide hard sanding block and 80 grit to take off the high spots. I also use the 80 to remove the rest of the Dragon's claw marks, and it is as easy as sanding between any two grits is; I do love the Dragon Rasps.

Here is one side rasped and one side sanded, about one minutes work!
neckshape1.jpg


The next two pics are the kind of "sighting" I use my eyes for. My goal is to be able to find no incidence at all of a reversing curve from any view I can find.
neckshape2.jpg


neckshape3.jpg
 
Top Bottom