Hello UU,
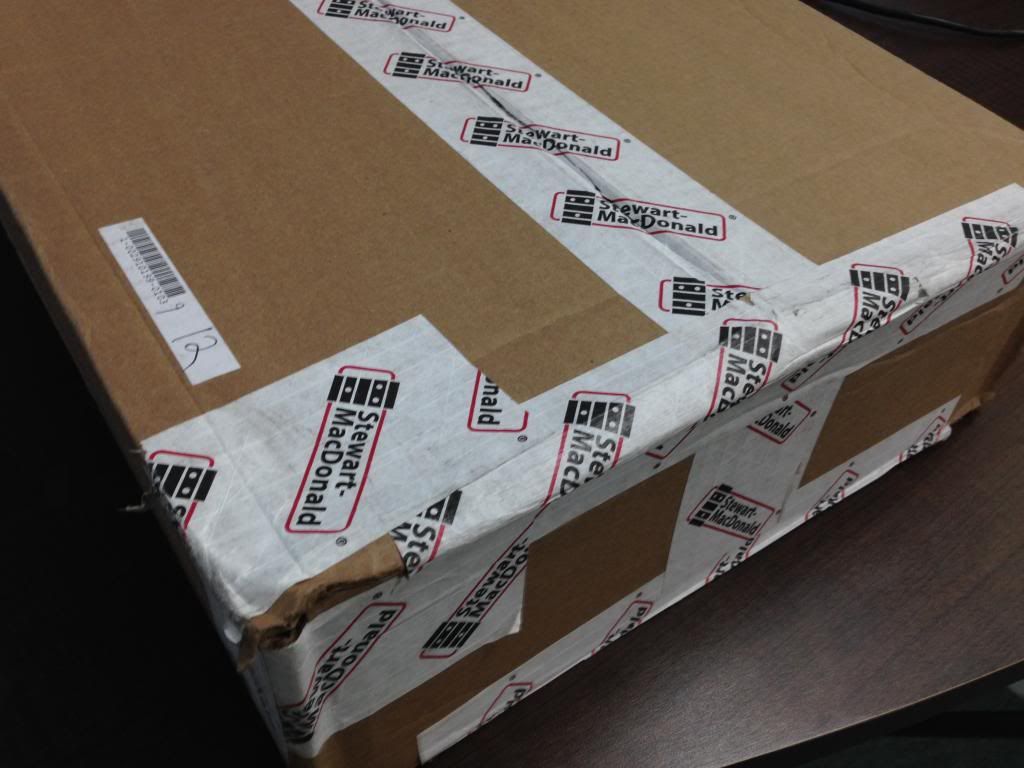
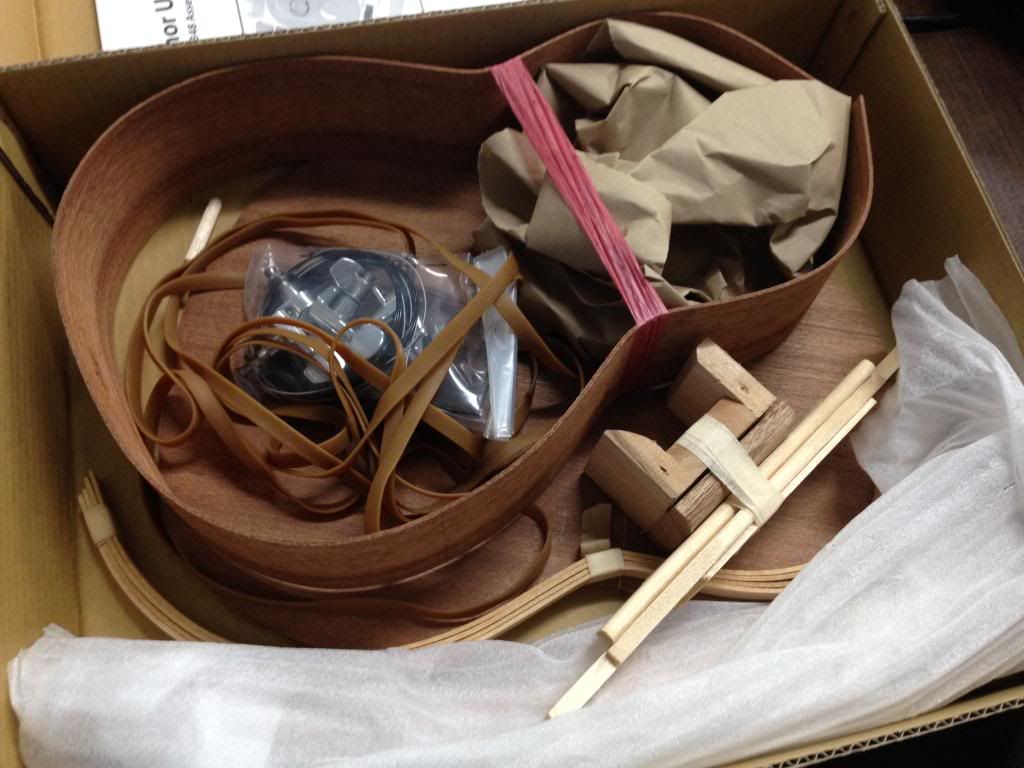
I've decided to tackle my first build and starting out small with the StewMac Tenor Ukulele Kit, but converting it to a bolt on neck with a couple of customizations. Eventually, my dream is to build a solid uke from scratch/raw materials, but this is just as exciting! The best part of this build is that my newlywed wife of 9 months has decided to build this with me!
My sole intention with taking the time to document my experience in this thread is in hopes that it will help anyone who decides to take on this challenge as well. At anytime along the way, I would greatly appreciate any advice/suggestions from those who have more experience. Because I'm very new to this, at any point in this build for which I have learned from a mistake, I will highlight and describe it using this notation:
I'm a project manager by profession, so I forced myself to go through the Plan/Define/Design stages before I started building. Here are the steps I've laid out for myself, pretty much in the order I will go about this. I would appreciate if anyone has any recommendations to improve this strategy!
I'll be updating this post with dates as I complete each step:
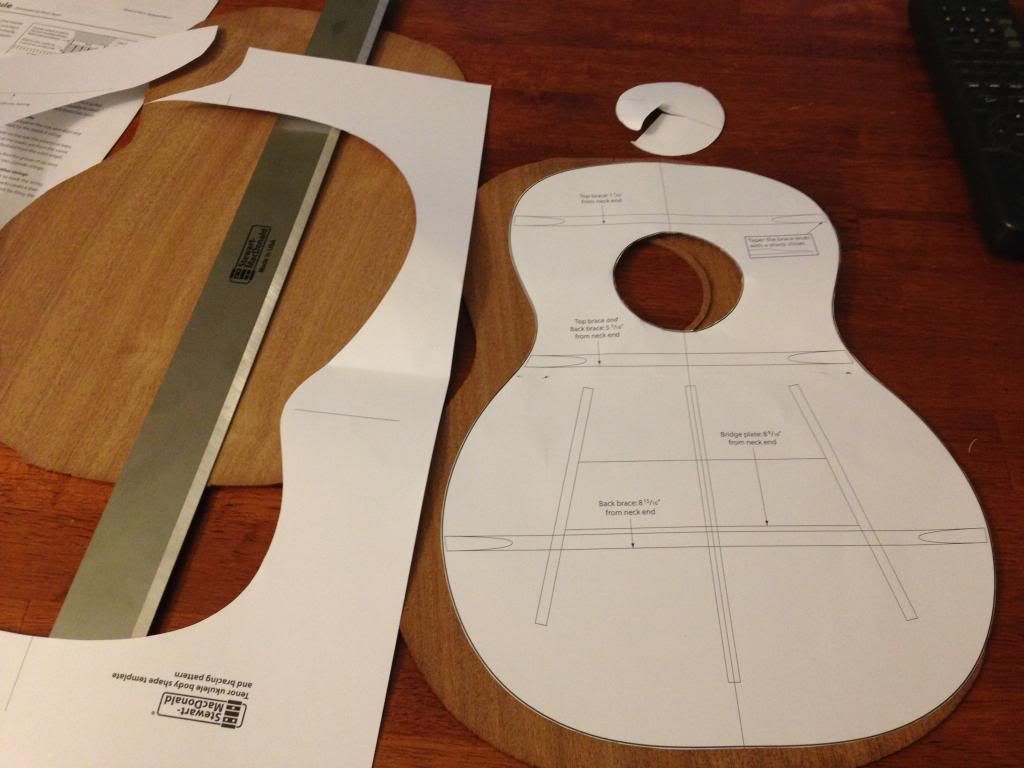
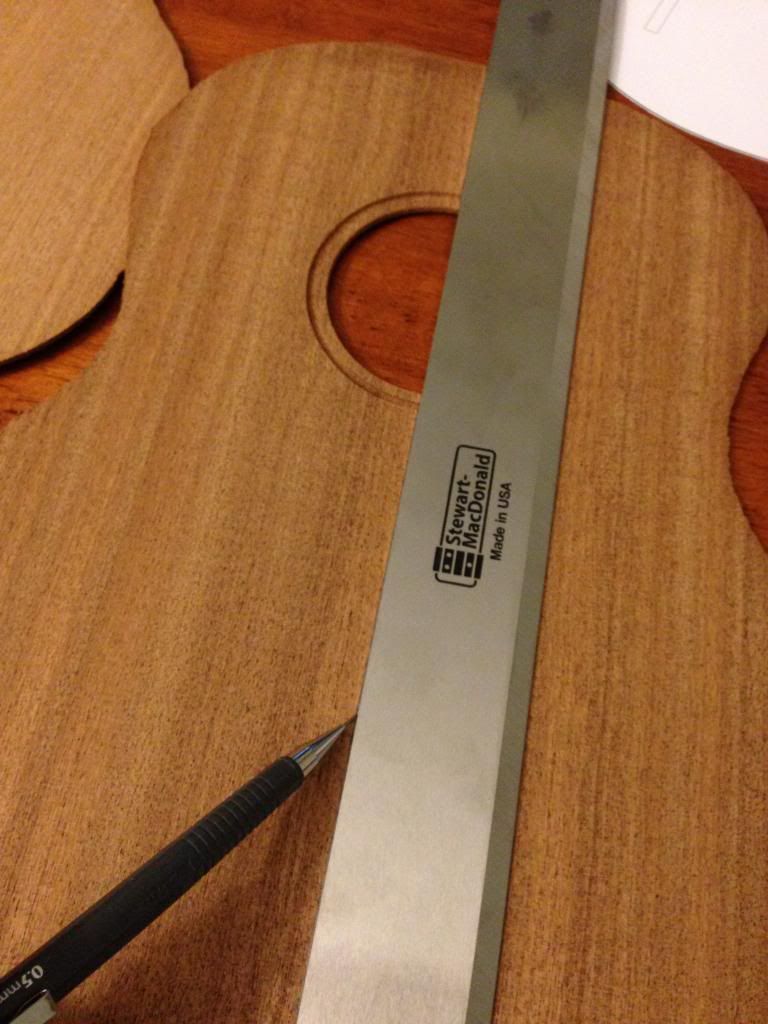
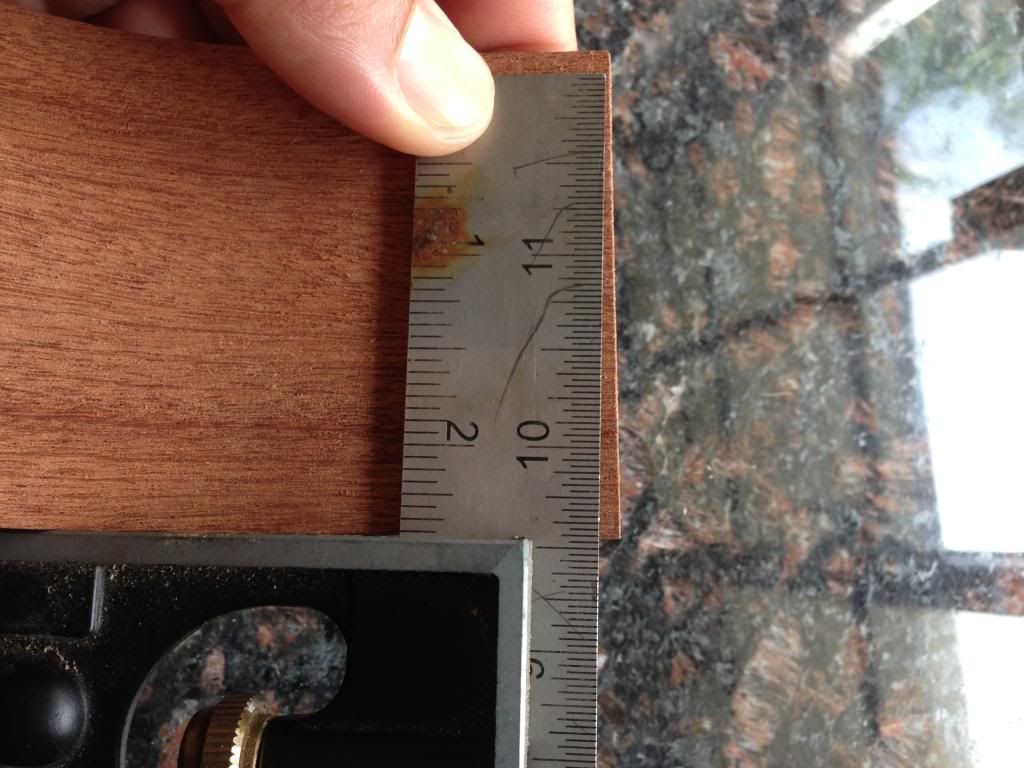
Material Preparation
-Mark Center Lines...DONE: 05/09!
-Cutout Template...DONE: 05/10!
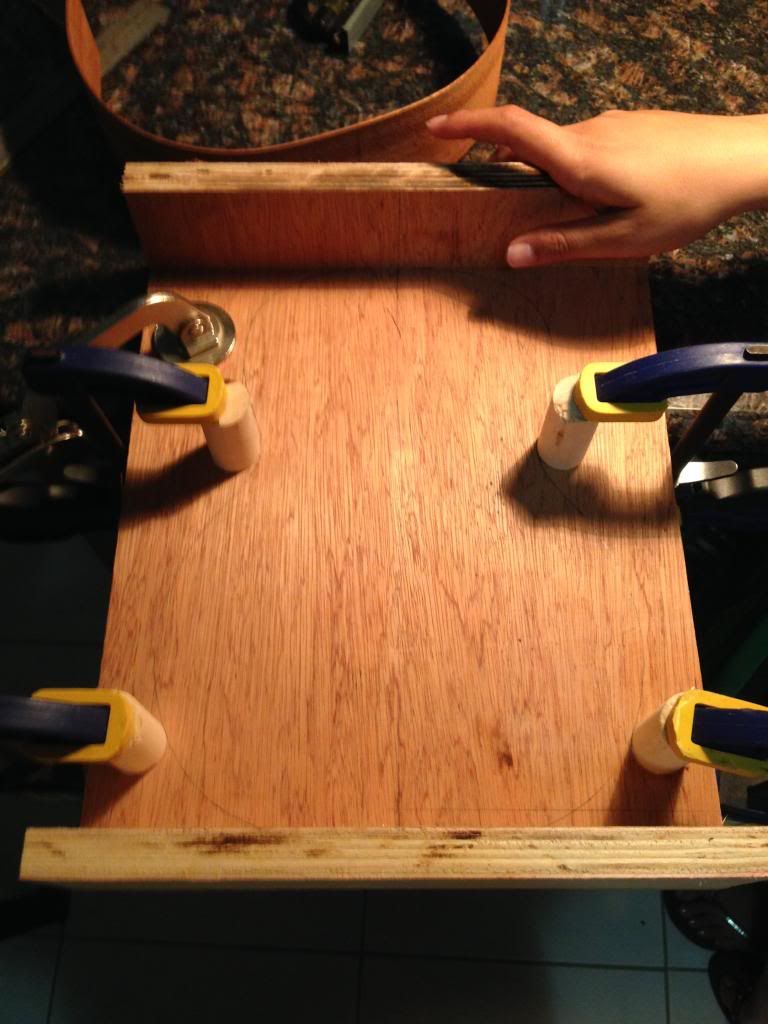
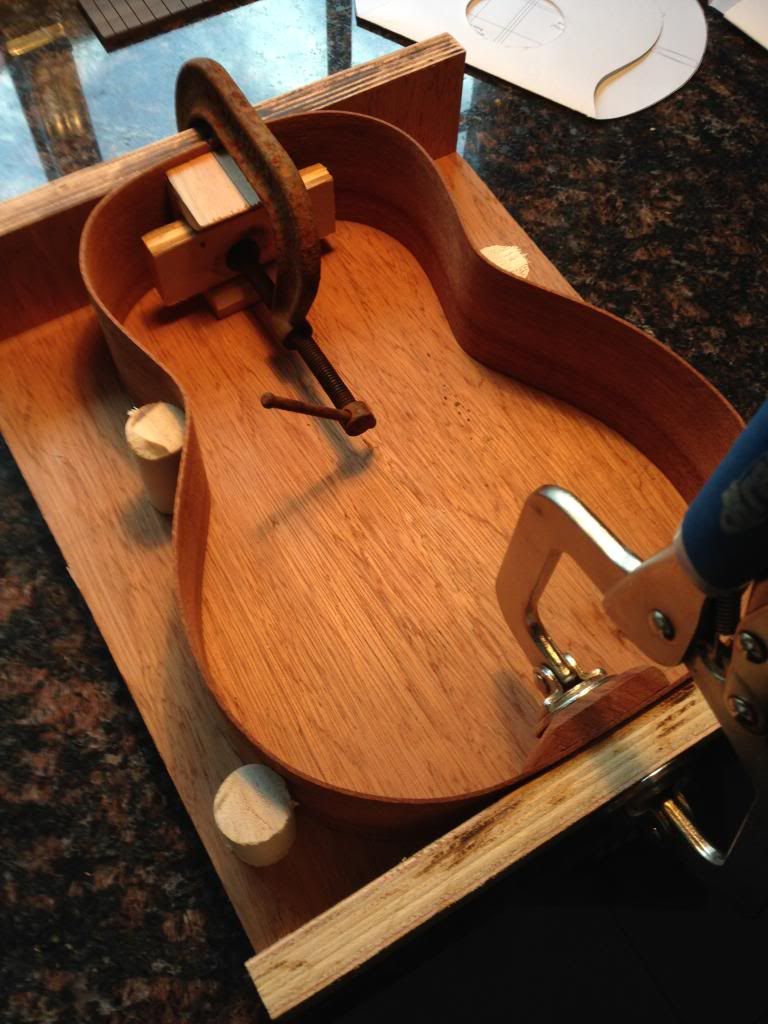
Build Jig
-Cut Plywood & Dowels...DONE: 05/11!
-Assemble Jig...DONE: 05/11!
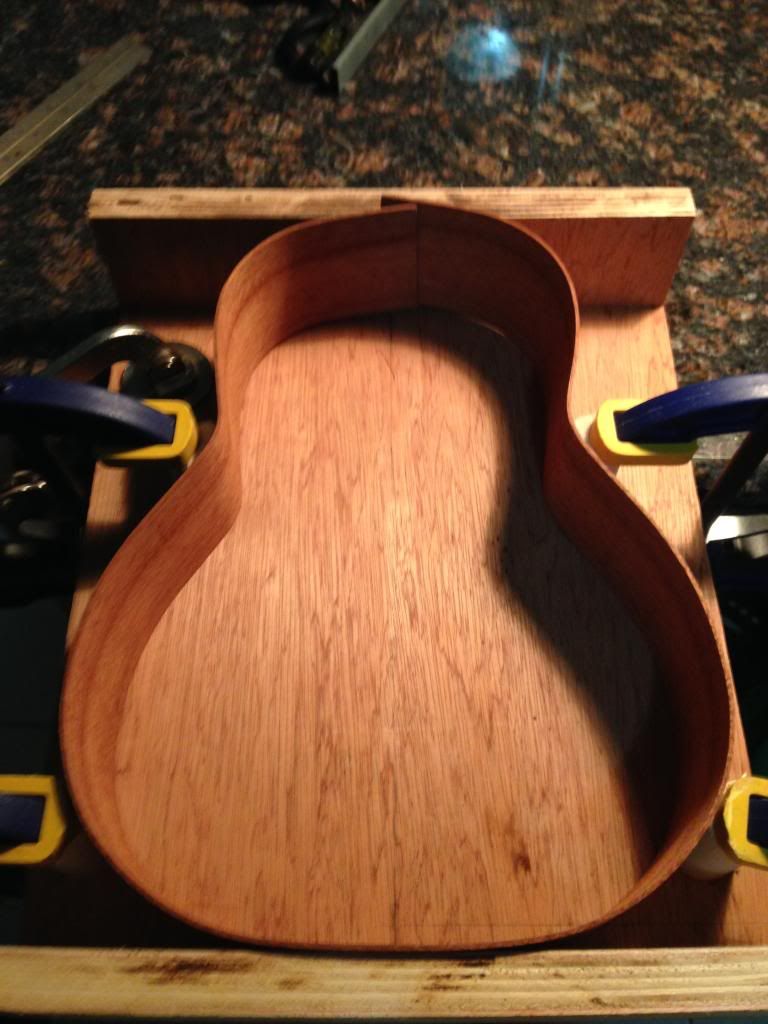
Headblock & Tailblock
-Dry Fit Headblock & Tailblock...DONE: 05/12!
-Square-Sand Side Ends...DONE: 05/12!
-2nd Dry Fit Headblock & Tailblock...DONE: 05/12!
-Glue Headblock & Tailblock...DONE: 05/12!
-Glue Dry Time...DONE: 05/12!
Non-Kerfed Lining
-Size & Trim Back Lining...DONE: 05/12!
-Dry Fit Lining...DONE: 05/12!
-Glue Back Lining...DONE: 05/12!
-Glue Dry Time...DONE: 05/12!
-Size & Trim Top Lining...DONE: 05/13!
-Dry Fit Lining...DONE: 05/13!
-Glue Top Lining...DONE: 05/13!
-Glue Dry Time...DONE: 05/13!
Back Bracing
-Trace Template...DONE: 05/13!
-Dry Fit Back Braces...DONE: 05/13!
-Glue Back Braces...DONE: 05/14!
-Glue Dry Time...DONE: 05/15!
-Rough Sand Back...DONE: 05/16!
-Chalk Sides & Lining: Back...DONE: 05/16!
-Level Sand Back...DONE: 05/16!
-Trim Back Braces for Lining...DONE: 05/17!
-Scallop Back Braces...DONE: 05/24!
Rosette
-Design Rosette...DONE: 05/17!
-Trim Rosette...DONE: 05/17!
-Dry Fit Rosette...DONE: 05/18!
-Glue Rosette...DONE: 05/18!
-Glue Dry Time...DONE: 05/19!
-Level-Sand Rosette...DONE: 05/19!
-CA Glue Seal Rosette...DONE: 05/19!
-Final-Sand Rosette...DONE: 05/19!
Top Bracing
-Trace Template...DONE: 05/13!
-Dry Fit Top Braces...DONE: 05/24!
-Glue Top Braces...DONE: 05/24!
-Glue Dry Time...DONE: 05/24!
-Rough Sand Top...DONE: 05/17!
-Chalk Sides & Lining: Top...DONE: 05/17!
-Level Sand Top...DONE: 05/17!
-Trim Top Braces for Lining...DONE: 05/25!
-Scallop Top Braces...DONE: 05/25!
-Add Signature & Date Stamp...DONE: 05/25!
Assemble Top
-Dry Fit Top...DONE: 05/25!
-Glue Top...DONE: 05/25!
-Glue Dry Time...DONE: 05/25!
-Test Flush Trim...DONE: 05/25!
-Flush-Trim Top...DONE: 05/25!
Fretboard
-Fretboard Markers
--Remove plastic markers...DONE: 05/10!
--Seal Cavity Floor w/ CA Glue...DONE: 05/10!
--Fill Cavity w/ Sand and level with CA Glue...DONE: 05/18!
--Level Sand And Polish...DONE: 05/18!
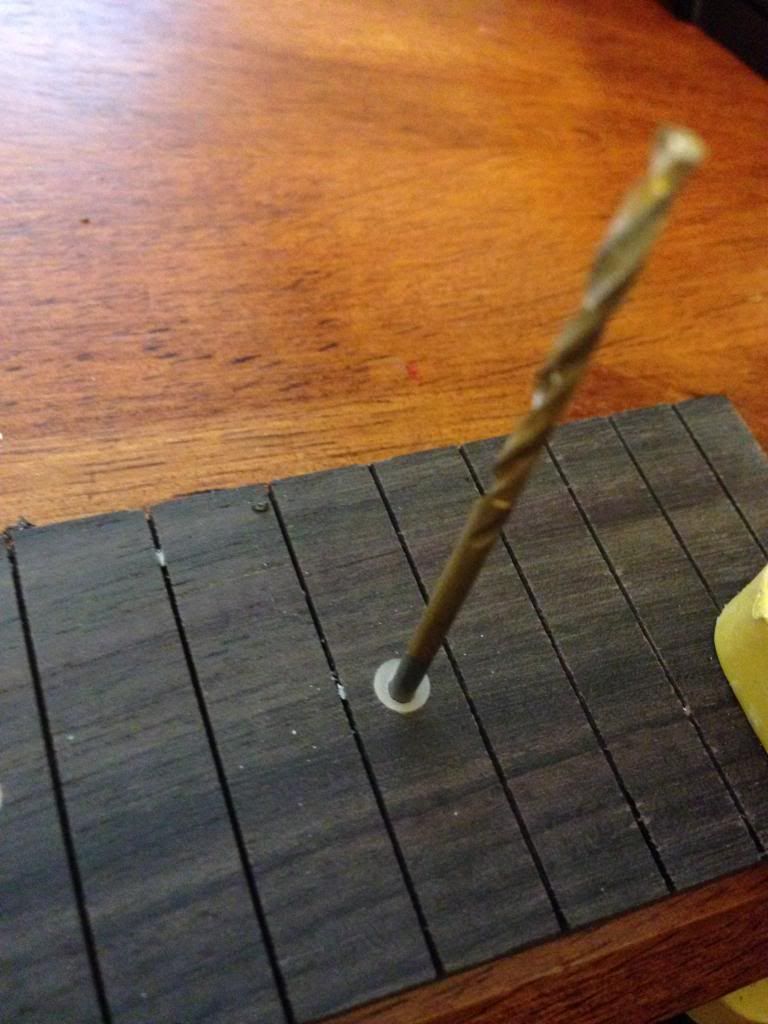
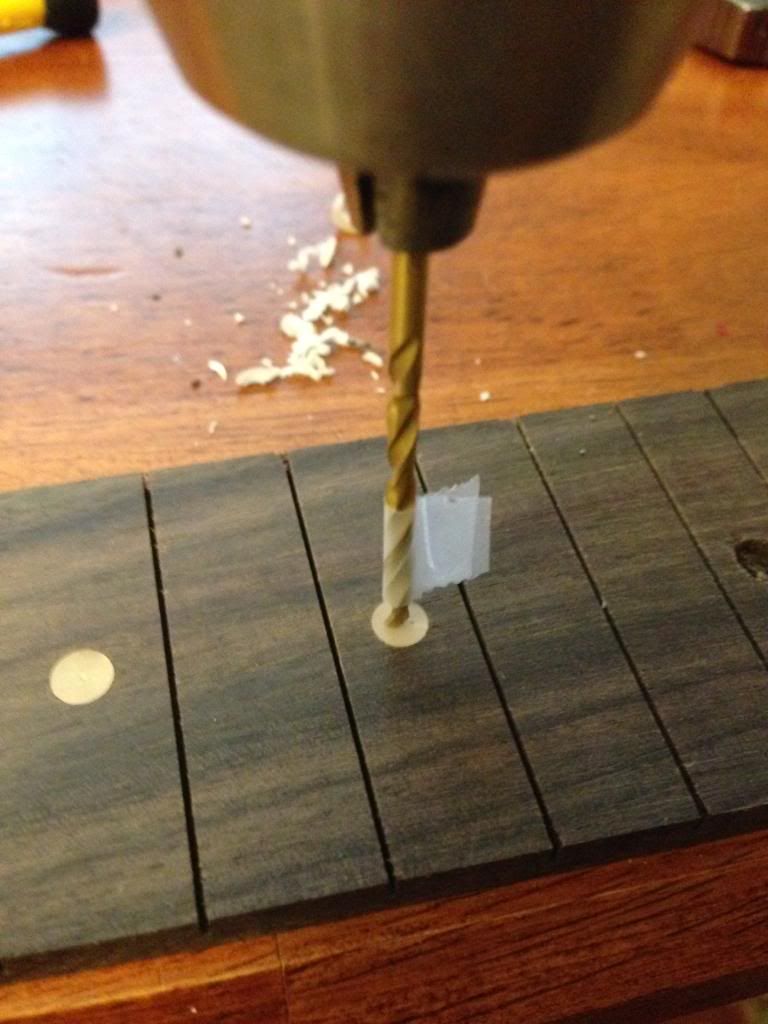
-Side Dots
--Mark Side Dots...DONE: 06/21!
--Drill Side Dots...DONE: 06/21!
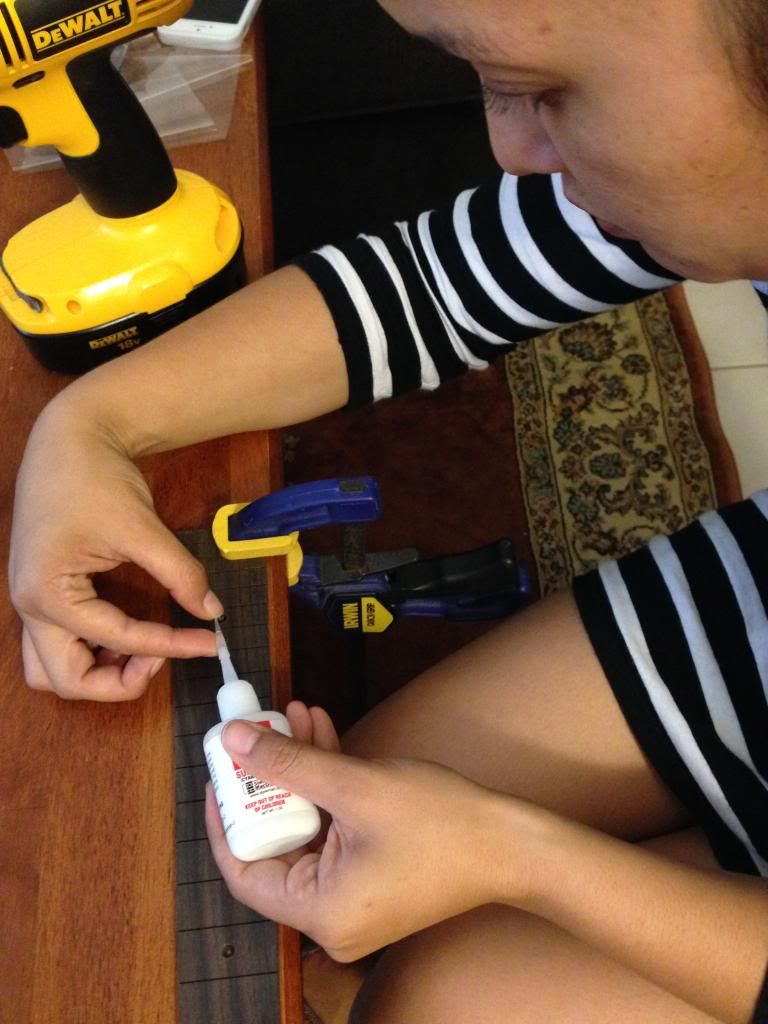
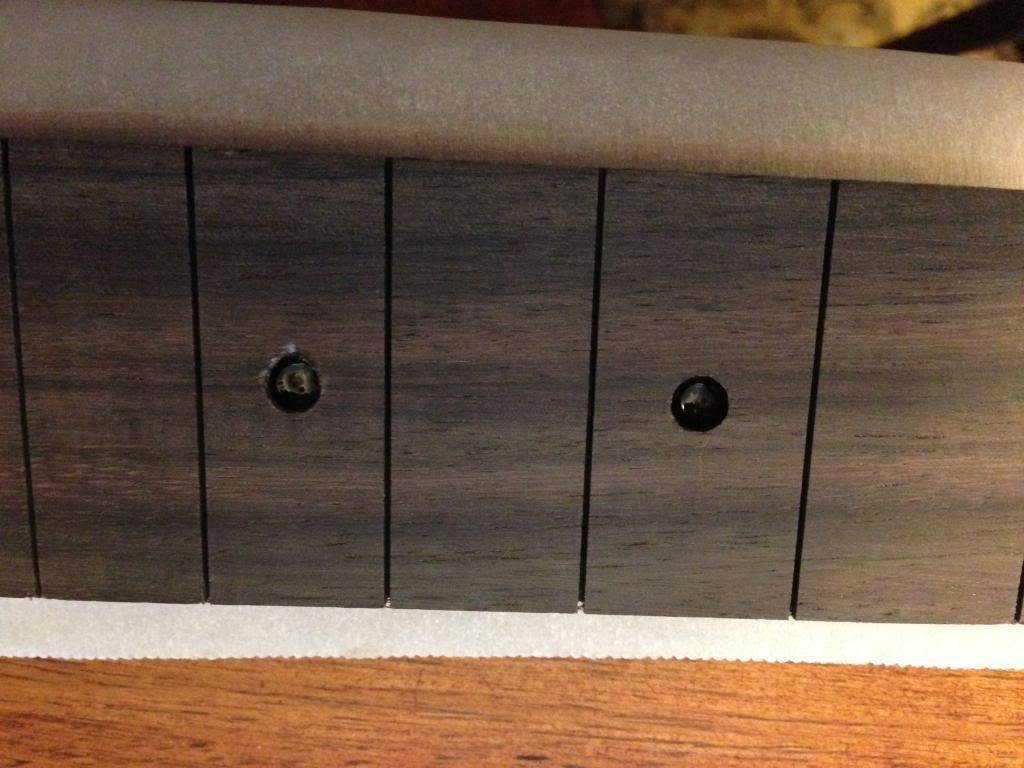
--Install & Glue Side Dots...DONE: 06/21!
--Glue Dry Time...DONE: 06/21!
-Frets
--Install Frets...DONE: 05/18!
--File Fret Ends...DONE: 05/18!
--Shape & Smooth Fret Ends
--Level Frets
--Crown Frets
--Dress Frets
--Mask Fret Tang Side Fill
--Fill Fret Tang Side Slots
-Sand Side Dots & Fret Tang Side Fill
Neck
-Sand-Fit Neck Heel...DONE: 05/26!...REDONE: 05/30!
-Dry Fit Neckheel & Body...DONE: 05/26!...REDONE: 05/30!
-Clamp Neckheel & Body...DONE: 05/26!
-Drill Bolt Hole from Body to Neckheel...DONE: 05/26!
-Install & Epoxy Threaded Inserts...DONE: 05/26!...REDONE: 05/30!
-Glue Dry Time...DONE: 05/26!...REDONE: 05/30!
-Install Finishing Nail/Dowel Locator Pin...DONE: 05/30!
-Clamp Neck & Tighten Body w/ Bolt...DONE: 05/30!
-Drill Dowel Hole: Neckheel & Body...DONE: 05/30!
-Dry Fit Fretboard to Neck...DONE: 06/01!
-Glue Fretboard to Neck...DONE: 06/01!
-Glue Dry Time...DONE: 06/01!
-Sand Neck Width to Fretboard...DONE: 06/01!
Assemble Back
-Dry Fit Back...DONE: 05/26!
-Glue Back...DONE: 05/26!
-Glue Dry Time...DONE: 05/26!
-Flush-Trim Back...DONE: 05/26!
Binding
-Measure Binding: Top, Back & End Graft...DONE: 05/26!
-IF ENOUGH MATERIAL: End Graft...DONE: 05/30!
--Measure End Graft & Scribe Outline...DONE: 05/30!
--Test End Graft Routing...DONE: 05/30!
---Measure Router Bit Depth...DONE: 05/30!
---Measure & Clamp Fences...CANCELED!
---Test Route End Graft...DONE: 05/30!
---Test Fit w/ End Graft...DONE: 05/30!
--Clamp Fences...CANCELED!
--Route End Graft...DONE: 05/30!
--Dry Fit End Graft...DONE: 05/30!
--Glue End Graft...DONE: 05/30!
--Glue Dry Time...DONE: 05/30!
-Test Binding Channel Route...DONE: 05/26!
-Route Binding Channel: Top...DONE: 05/26!
-Dry Fit Top Binding...DONE: 05/26!
-Glue Top Binding...DONE: 05/26!
-Glue Dry Time...DONE: 05/26!
-Route Binding Channel: Back...DONE: 05/26!
-Dry Fit Back Binding...DONE: 05/26!
-Glue Back Binding...DONE: 05/26!
-Glue Dry Time...DONE: 05/26!
-Round-over/Smooth Binding...DONE: 07/22!
Assemble Neck
-Bolt-On & Dowel Neck to Body...DONE: 06/01!
Assemble Fretboard
-Fit, Mark & Mask Fretboard...DONE: 06/01!
-Dry Fit Fretboard...DONE: 06/01!
-Glue Fretboard...DONE: 06/01!
-Glue Dry Time...DONE: 06/01!
Finishing
-Rough Sand: 80/120/220...DONE: 06/03!
-Mask Fretboard & Nut
-Locate, Mark & Mask Bridge...DONE: 06/01!...CANCELED!
-Pore Filling
--Z-Poxy: 1st Coat...DONE: 07/20!
--Z-Poxy: Dry Time...DONE: 07/20!
--Z-Poxy: Level Sand...DONE: 07/21!
--Z-Poxy: 2nd Coat...DONE: 07/21!
--Z-Poxy: Dry Time...DONE: 07/21!
--Z-Poxy: Level Sand...DONE: 07/22!
--Z-Poxy: 3rd Coat...CANCELED!
--Z-Poxy: Dry Time...CANCELED!
--Z-Poxy: Final Hand-Sand to 400...DONE: 07/22!
-Top Coats
--TruOil: 1st Coat...DONE: 07/22!
--TruOil: Dry Time...DONE: 07/22!
--TruOil: Scuff...DONE: 07/23!
--TruOil: 2nd Coat...DONE: 07/23!
--TruOil: Dry Time...DONE: 07/23!
--TruOil: Scuff...DONE: 07/23!
--TruOil: 3rd Coat...DONE: 07/23!
--TruOil: Dry Time...DONE: 07/23!
--TruOil: Scuff...DONE: 07/24!
--TruOil: 4th Coat...DONE: 07/24!
--TruOil: Dry Time...DONE: 07/24!
--TruOil: Scuff...CANCELED!
--TruOil: 5th Coat...DONE: 07/24!
--TruOil: Dry Time...DONE: 07/24!
--TruOil: Scuff...CANCELED!
--TruOil: 6th Coat...DONE: 07/24!
--TruOil: Dry Time...DONE: 07/25!
--TruOil: Scuff...CANCELED!
--TruOil: 7th Coat...ADDED 7/24...DONE: 07/25!
--TruOil: Dry Time...ADDED 7/24...DONE: 07/25!
--TruOil: 8th Coat...ADDED 7/24...
--TruOil: Dry Time...ADDED 7/24...
--TruOil: Polishing/Buffing
Bridge (Added on 06/03)
- Design Bridge and Print out...DONE: 06/03!
- Trace Design to RW...DONE: 06/03!
- Route Saddle Slot...DONE: 06/03!
- Cutout Shape...DONE: 06/03!
- Reduce Thickness to 6mm...DONE: 06/08!
- Carve Design...DONE: 06/08!
- Drill & Chamfer Bridge Pin Holes...DONE: 06/08!
- Final Smoothing and Polishing...DONE: 06/08!
Final Assembly: Bridge, Tuners, Nut & Saddle
-Bridge
--Dry Fit Bridge
--Glue Bridge
--Glue Dry Time
-Tuners
--Ream Holes to Clean From Finish
--Align & Drill Fastening Screw Hole
--Install Tuners
-Nut
--Rough Sand Nut
--Mark & Cut String Slots
--Final Nut Polishing
-Saddle
--Rough Sand Saddle
--Shape Saddle
-Strings
--Install Strings
Final Setup: Nut Height, Action, Intonation
-Nut Height
--File Slots to Depth
--Reshape Nut if Necessary
-Action
--Lower Saddle Height
-Intonation
--File Saddle for Intonation
Thanks again for viewing, I hope you all enjoy the journey!
...
Joe...along with my wife, Jackie!
I've decided to tackle my first build and starting out small with the StewMac Tenor Ukulele Kit, but converting it to a bolt on neck with a couple of customizations. Eventually, my dream is to build a solid uke from scratch/raw materials, but this is just as exciting! The best part of this build is that my newlywed wife of 9 months has decided to build this with me!
My sole intention with taking the time to document my experience in this thread is in hopes that it will help anyone who decides to take on this challenge as well. At anytime along the way, I would greatly appreciate any advice/suggestions from those who have more experience. Because I'm very new to this, at any point in this build for which I have learned from a mistake, I will highlight and describe it using this notation:
joeguam as LESSON LEARNED #0! said:This is the notation used to describe a lesson learned. At the end of the build, I will compile all of these entries as a final summary.
I'm a project manager by profession, so I forced myself to go through the Plan/Define/Design stages before I started building. Here are the steps I've laid out for myself, pretty much in the order I will go about this. I would appreciate if anyone has any recommendations to improve this strategy!
I'll be updating this post with dates as I complete each step:
Material Preparation
-Mark Center Lines...DONE: 05/09!
-Cutout Template...DONE: 05/10!
Build Jig
-Cut Plywood & Dowels...DONE: 05/11!
-Assemble Jig...DONE: 05/11!
Headblock & Tailblock
-Dry Fit Headblock & Tailblock...DONE: 05/12!
-Square-Sand Side Ends...DONE: 05/12!
-2nd Dry Fit Headblock & Tailblock...DONE: 05/12!
-Glue Headblock & Tailblock...DONE: 05/12!
-Glue Dry Time...DONE: 05/12!
Non-Kerfed Lining
-Size & Trim Back Lining...DONE: 05/12!
-Dry Fit Lining...DONE: 05/12!
-Glue Back Lining...DONE: 05/12!
-Glue Dry Time...DONE: 05/12!
-Size & Trim Top Lining...DONE: 05/13!
-Dry Fit Lining...DONE: 05/13!
-Glue Top Lining...DONE: 05/13!
-Glue Dry Time...DONE: 05/13!
Back Bracing
-Trace Template...DONE: 05/13!
-Dry Fit Back Braces...DONE: 05/13!
-Glue Back Braces...DONE: 05/14!
-Glue Dry Time...DONE: 05/15!
-Rough Sand Back...DONE: 05/16!
-Chalk Sides & Lining: Back...DONE: 05/16!
-Level Sand Back...DONE: 05/16!
-Trim Back Braces for Lining...DONE: 05/17!
-Scallop Back Braces...DONE: 05/24!
Rosette
-Design Rosette...DONE: 05/17!
-Trim Rosette...DONE: 05/17!
-Dry Fit Rosette...DONE: 05/18!
-Glue Rosette...DONE: 05/18!
-Glue Dry Time...DONE: 05/19!
-Level-Sand Rosette...DONE: 05/19!
-CA Glue Seal Rosette...DONE: 05/19!
-Final-Sand Rosette...DONE: 05/19!
Top Bracing
-Trace Template...DONE: 05/13!
-Dry Fit Top Braces...DONE: 05/24!
-Glue Top Braces...DONE: 05/24!
-Glue Dry Time...DONE: 05/24!
-Rough Sand Top...DONE: 05/17!
-Chalk Sides & Lining: Top...DONE: 05/17!
-Level Sand Top...DONE: 05/17!
-Trim Top Braces for Lining...DONE: 05/25!
-Scallop Top Braces...DONE: 05/25!
-Add Signature & Date Stamp...DONE: 05/25!
Assemble Top
-Dry Fit Top...DONE: 05/25!
-Glue Top...DONE: 05/25!
-Glue Dry Time...DONE: 05/25!
-Test Flush Trim...DONE: 05/25!
-Flush-Trim Top...DONE: 05/25!
Fretboard
-Fretboard Markers
--Remove plastic markers...DONE: 05/10!
--Seal Cavity Floor w/ CA Glue...DONE: 05/10!
--Fill Cavity w/ Sand and level with CA Glue...DONE: 05/18!
--Level Sand And Polish...DONE: 05/18!
-Side Dots
--Mark Side Dots...DONE: 06/21!
--Drill Side Dots...DONE: 06/21!
--Install & Glue Side Dots...DONE: 06/21!
--Glue Dry Time...DONE: 06/21!
-Frets
--Install Frets...DONE: 05/18!
--File Fret Ends...DONE: 05/18!
--Shape & Smooth Fret Ends
--Level Frets
--Crown Frets
--Dress Frets
--Mask Fret Tang Side Fill
--Fill Fret Tang Side Slots
-Sand Side Dots & Fret Tang Side Fill
Neck
-Sand-Fit Neck Heel...DONE: 05/26!...REDONE: 05/30!
-Dry Fit Neckheel & Body...DONE: 05/26!...REDONE: 05/30!
-Clamp Neckheel & Body...DONE: 05/26!
-Drill Bolt Hole from Body to Neckheel...DONE: 05/26!
-Install & Epoxy Threaded Inserts...DONE: 05/26!...REDONE: 05/30!
-Glue Dry Time...DONE: 05/26!...REDONE: 05/30!
-Install Finishing Nail/Dowel Locator Pin...DONE: 05/30!
-Clamp Neck & Tighten Body w/ Bolt...DONE: 05/30!
-Drill Dowel Hole: Neckheel & Body...DONE: 05/30!
-Dry Fit Fretboard to Neck...DONE: 06/01!
-Glue Fretboard to Neck...DONE: 06/01!
-Glue Dry Time...DONE: 06/01!
-Sand Neck Width to Fretboard...DONE: 06/01!
Assemble Back
-Dry Fit Back...DONE: 05/26!
-Glue Back...DONE: 05/26!
-Glue Dry Time...DONE: 05/26!
-Flush-Trim Back...DONE: 05/26!
Binding
-Measure Binding: Top, Back & End Graft...DONE: 05/26!
-IF ENOUGH MATERIAL: End Graft...DONE: 05/30!
--Measure End Graft & Scribe Outline...DONE: 05/30!
--Test End Graft Routing...DONE: 05/30!
---Measure Router Bit Depth...DONE: 05/30!
---Measure & Clamp Fences...CANCELED!
---Test Route End Graft...DONE: 05/30!
---Test Fit w/ End Graft...DONE: 05/30!
--Clamp Fences...CANCELED!
--Route End Graft...DONE: 05/30!
--Dry Fit End Graft...DONE: 05/30!
--Glue End Graft...DONE: 05/30!
--Glue Dry Time...DONE: 05/30!
-Test Binding Channel Route...DONE: 05/26!
-Route Binding Channel: Top...DONE: 05/26!
-Dry Fit Top Binding...DONE: 05/26!
-Glue Top Binding...DONE: 05/26!
-Glue Dry Time...DONE: 05/26!
-Route Binding Channel: Back...DONE: 05/26!
-Dry Fit Back Binding...DONE: 05/26!
-Glue Back Binding...DONE: 05/26!
-Glue Dry Time...DONE: 05/26!
-Round-over/Smooth Binding...DONE: 07/22!
Assemble Neck
-Bolt-On & Dowel Neck to Body...DONE: 06/01!
Assemble Fretboard
-Fit, Mark & Mask Fretboard...DONE: 06/01!
-Dry Fit Fretboard...DONE: 06/01!
-Glue Fretboard...DONE: 06/01!
-Glue Dry Time...DONE: 06/01!
Finishing
-Rough Sand: 80/120/220...DONE: 06/03!
-Mask Fretboard & Nut
-Locate, Mark & Mask Bridge...DONE: 06/01!...CANCELED!
-Pore Filling
--Z-Poxy: 1st Coat...DONE: 07/20!
--Z-Poxy: Dry Time...DONE: 07/20!
--Z-Poxy: Level Sand...DONE: 07/21!
--Z-Poxy: 2nd Coat...DONE: 07/21!
--Z-Poxy: Dry Time...DONE: 07/21!
--Z-Poxy: Level Sand...DONE: 07/22!
--Z-Poxy: 3rd Coat...CANCELED!
--Z-Poxy: Dry Time...CANCELED!
--Z-Poxy: Final Hand-Sand to 400...DONE: 07/22!
-Top Coats
--TruOil: 1st Coat...DONE: 07/22!
--TruOil: Dry Time...DONE: 07/22!
--TruOil: Scuff...DONE: 07/23!
--TruOil: 2nd Coat...DONE: 07/23!
--TruOil: Dry Time...DONE: 07/23!
--TruOil: Scuff...DONE: 07/23!
--TruOil: 3rd Coat...DONE: 07/23!
--TruOil: Dry Time...DONE: 07/23!
--TruOil: Scuff...DONE: 07/24!
--TruOil: 4th Coat...DONE: 07/24!
--TruOil: Dry Time...DONE: 07/24!
--TruOil: Scuff...CANCELED!
--TruOil: 5th Coat...DONE: 07/24!
--TruOil: Dry Time...DONE: 07/24!
--TruOil: Scuff...CANCELED!
--TruOil: 6th Coat...DONE: 07/24!
--TruOil: Dry Time...DONE: 07/25!
--TruOil: Scuff...CANCELED!
--TruOil: 7th Coat...ADDED 7/24...DONE: 07/25!
--TruOil: Dry Time...ADDED 7/24...DONE: 07/25!
--TruOil: 8th Coat...ADDED 7/24...
--TruOil: Dry Time...ADDED 7/24...
--TruOil: Polishing/Buffing
Bridge (Added on 06/03)
- Design Bridge and Print out...DONE: 06/03!
- Trace Design to RW...DONE: 06/03!
- Route Saddle Slot...DONE: 06/03!
- Cutout Shape...DONE: 06/03!
- Reduce Thickness to 6mm...DONE: 06/08!
- Carve Design...DONE: 06/08!
- Drill & Chamfer Bridge Pin Holes...DONE: 06/08!
- Final Smoothing and Polishing...DONE: 06/08!
Final Assembly: Bridge, Tuners, Nut & Saddle
-Bridge
--Dry Fit Bridge
--Glue Bridge
--Glue Dry Time
-Tuners
--Ream Holes to Clean From Finish
--Align & Drill Fastening Screw Hole
--Install Tuners
-Nut
--Rough Sand Nut
--Mark & Cut String Slots
--Final Nut Polishing
-Saddle
--Rough Sand Saddle
--Shape Saddle
-Strings
--Install Strings
Final Setup: Nut Height, Action, Intonation
-Nut Height
--File Slots to Depth
--Reshape Nut if Necessary
-Action
--Lower Saddle Height
-Intonation
--File Saddle for Intonation
Thanks again for viewing, I hope you all enjoy the journey!
...
Joe...along with my wife, Jackie!
Last edited: