OP
OP
Timbuck
Well-known member
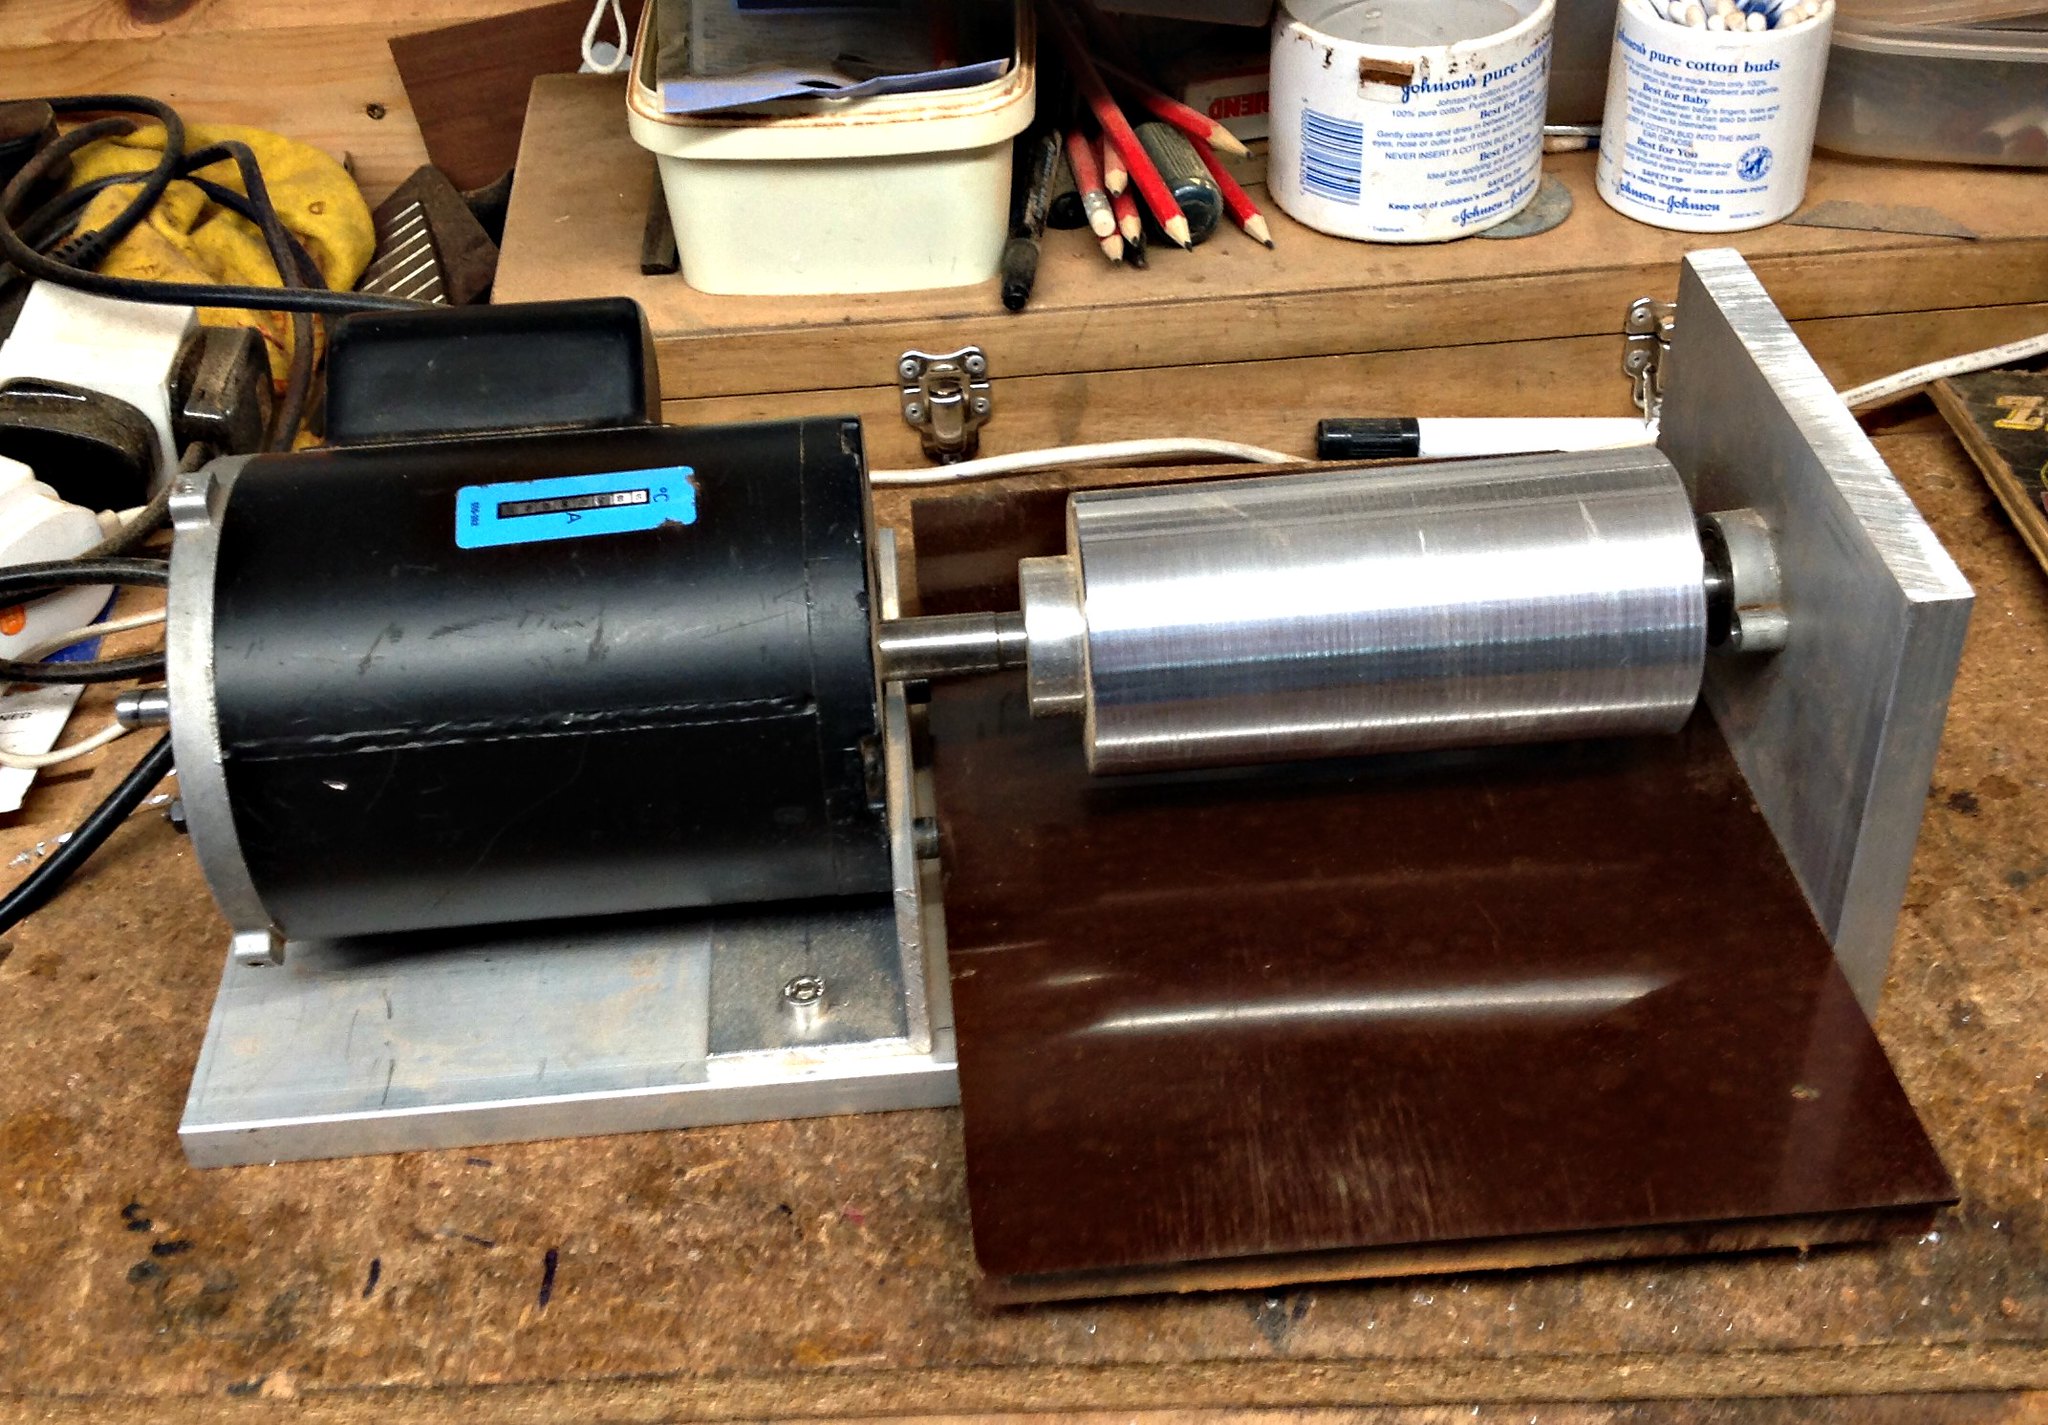
Chuck the latest version of the 16-32 has some 1 inch dia pinch rollers either side of the main drum and the shroud is a solid aluminium casting it would mean ruining the machine to modify it...I did consider the modification.Ken, I sand mine the same way as you showed on your video but without the sled. I simply ground away some of the metal housing on my 16/32 to allow for it.
")