Thanks for all the nice comments.
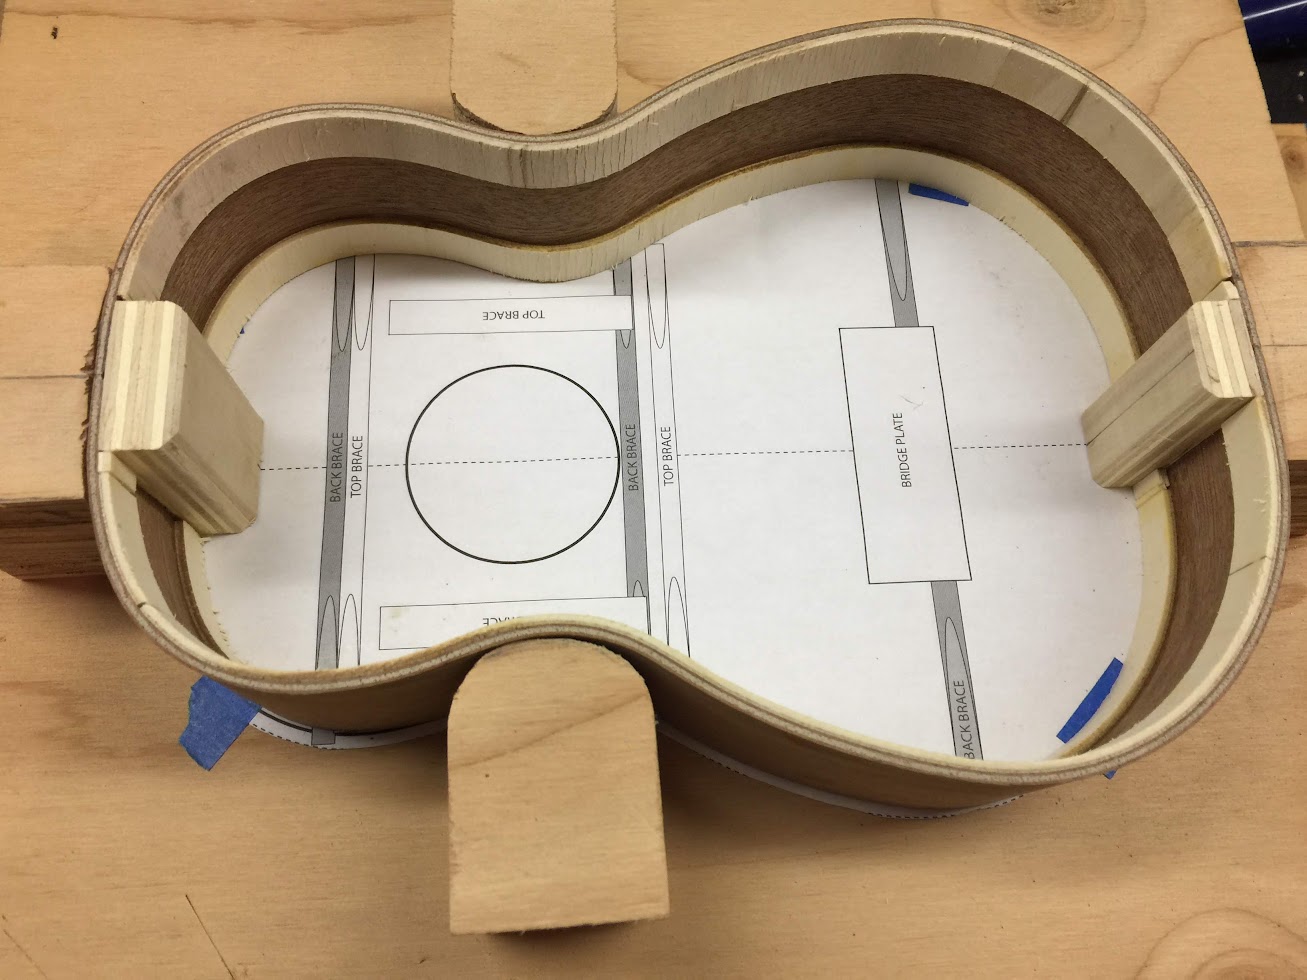
I think the neck angle problem started early in the build when I glued the sides to neck and tail blocks. When I built the mold, the tail and neck blocks were square to the base, but are not that strong. The sides require a lot of force to fit into the mold. I had this problem on all SM ukulele kits, especially the premium koa kit. The bent sides simply did not match the plan unless a lot of force was applied. Maybe the sides were bent perfectly in at the factory then had significant spring back after taking the wood out of their bender.
So when I forced the sides into the mold, the sides apply a lot of force to the mold's neck and tail braces, pushing it out of square.
For the later builds I used corner braces to support the blocks in the mold, but still found the mold was going out of square when the sides are forced into position. I added washers to shim the braces, to get them square with the base.
I also had problem with the dowels. First I had problems drilling holes in the body using my old cheap drill bits. The holes were slightly out of position. I carved two dowels to correct the offset and fit tighter in the holes.
To be honest it was a little overwhelming - dowel holes were off (my bad), the dowels from SM fit loosely in the holes (SM bad), the angle between top and sides was wrong (my bad), and the radius carved into the neck where it meets the body was wrong (SM bad). I spent hours and hours trying to get the heel-to-body to fit without gaps. The neck angle looked good when I dry fitted the neck before the glue-up.
After gluing I did not immediately notice the bad neck angle, I was just excited to be done with that difficult neck glue-up and eager to move on to finishing.
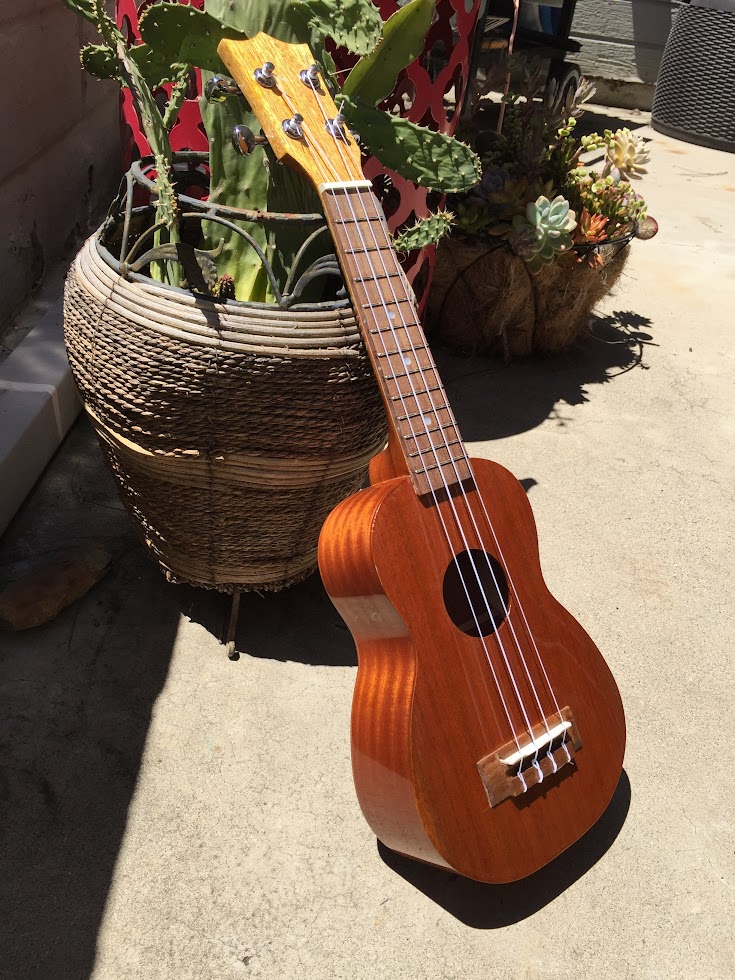
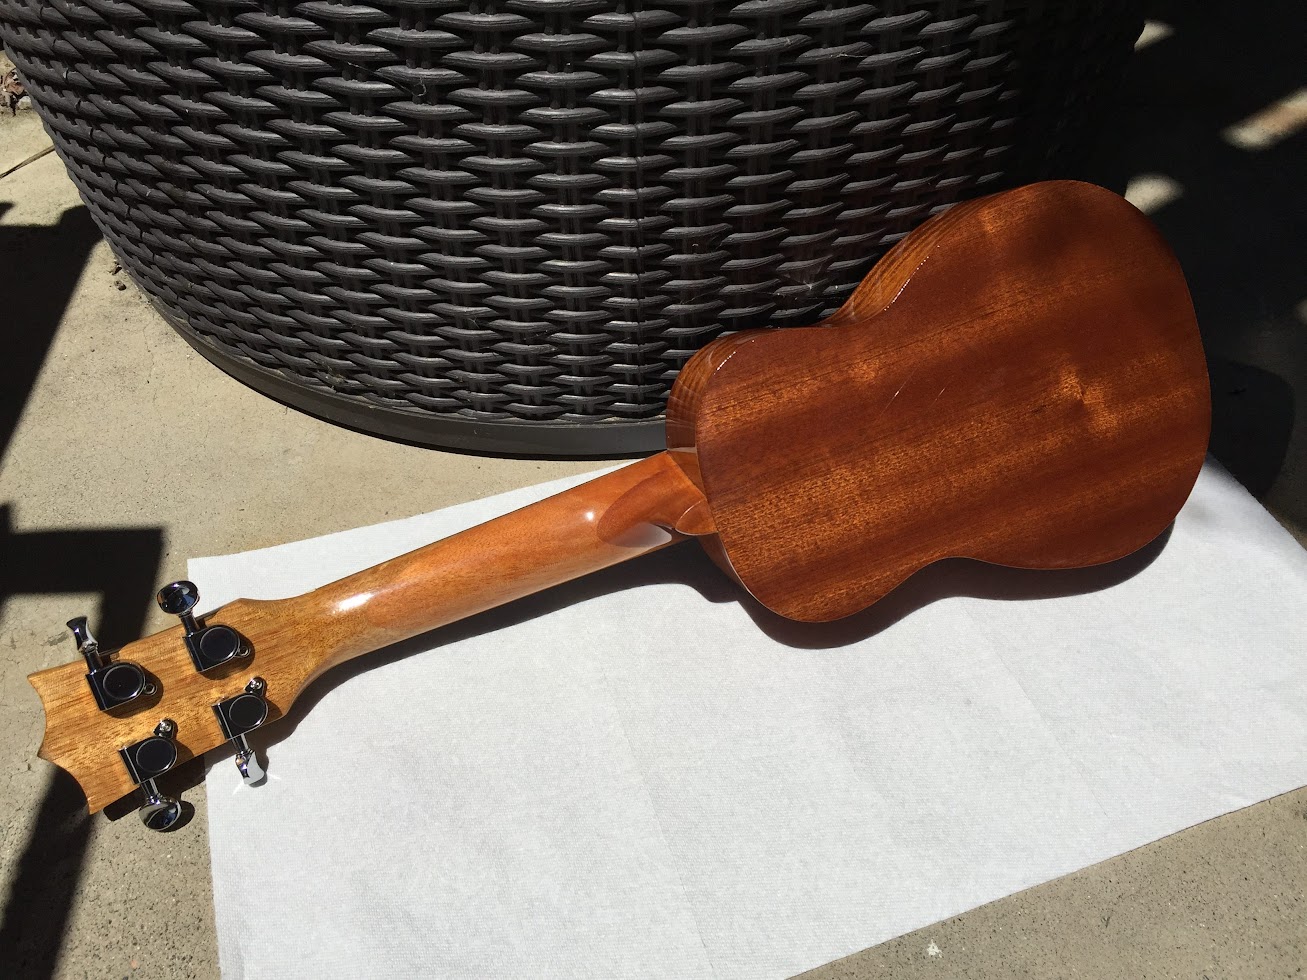
Rest assured that the finished uke is set up nicely. That's the one thing I know how to do well. I've played guitar for 48 years, and have lots of experience doing fretwork, and adjusting action at nut and saddle. The frets on the uke are perfectly level, crowned and polished, I even added some additional compensation on the saddle to get the intonation spot-on.
Lessons learned:
- Use a sharp new brad point bit for drilling dowel holes. "The right tool for the job"
- A full body mold is worth the effort. I need to get a band saw.
- Focus on neck angle when fitting the neck to body
- Doweled & glued butt joints are not very good for attaching neck to body. Bolt on neck would be much easier.
- Don't rush the grain filler step during finishing