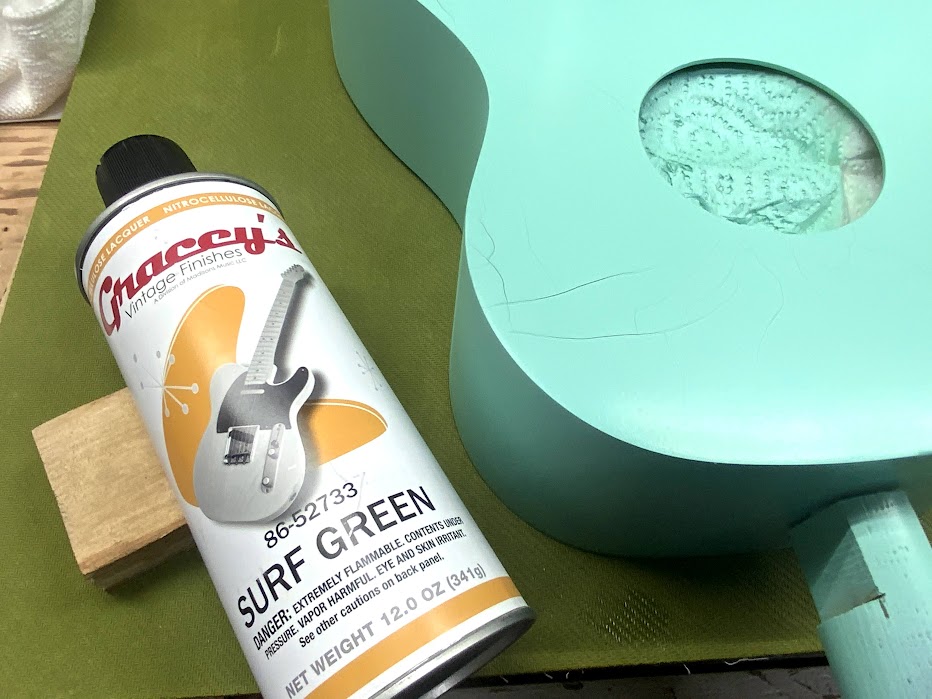
My Stewmac Baritone kit does not want to cooperate. To make a long story short, I messed up the original build. Neck angle was way off. I sawed the neck off and am rebuilding it as a bolt-on neck. To hide all my mistakes, I am painting it surf green nitro. Well, trying to paint it surf green.
The body was sanded to bare wood after removing the neck. I used Zpoxy as pore filler and applied a very thin coat of shellac as a barrier between epoxy and nitro.
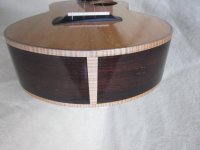
As you can see in the pics below, the color coats cracked, probably because the big temperature swings here, where it drops to 60degF at night and up to 100degF during the day at this time of year.
So the next challenge is to figure out how I recover from this disaster and how to avoid the problem next time. I wanted this build to be a learning experience. Gotta be more careful what I wish for.
The body was sanded to bare wood after removing the neck. I used Zpoxy as pore filler and applied a very thin coat of shellac as a barrier between epoxy and nitro.
As you can see in the pics below, the color coats cracked, probably because the big temperature swings here, where it drops to 60degF at night and up to 100degF during the day at this time of year.
So the next challenge is to figure out how I recover from this disaster and how to avoid the problem next time. I wanted this build to be a learning experience. Gotta be more careful what I wish for.


")
