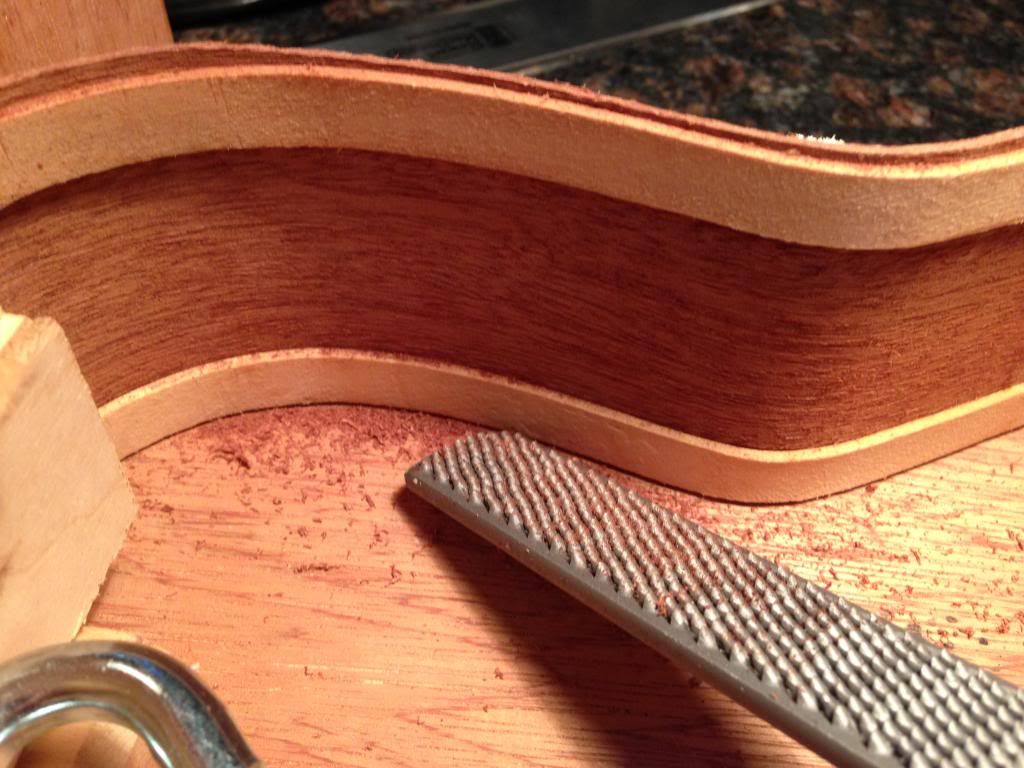
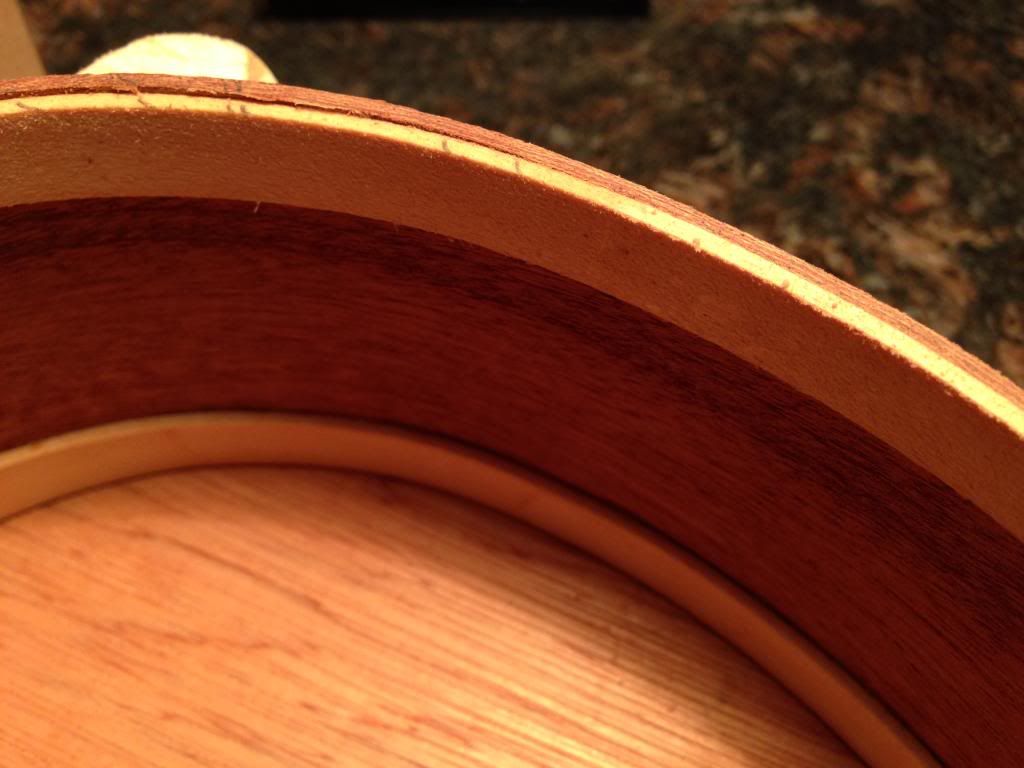
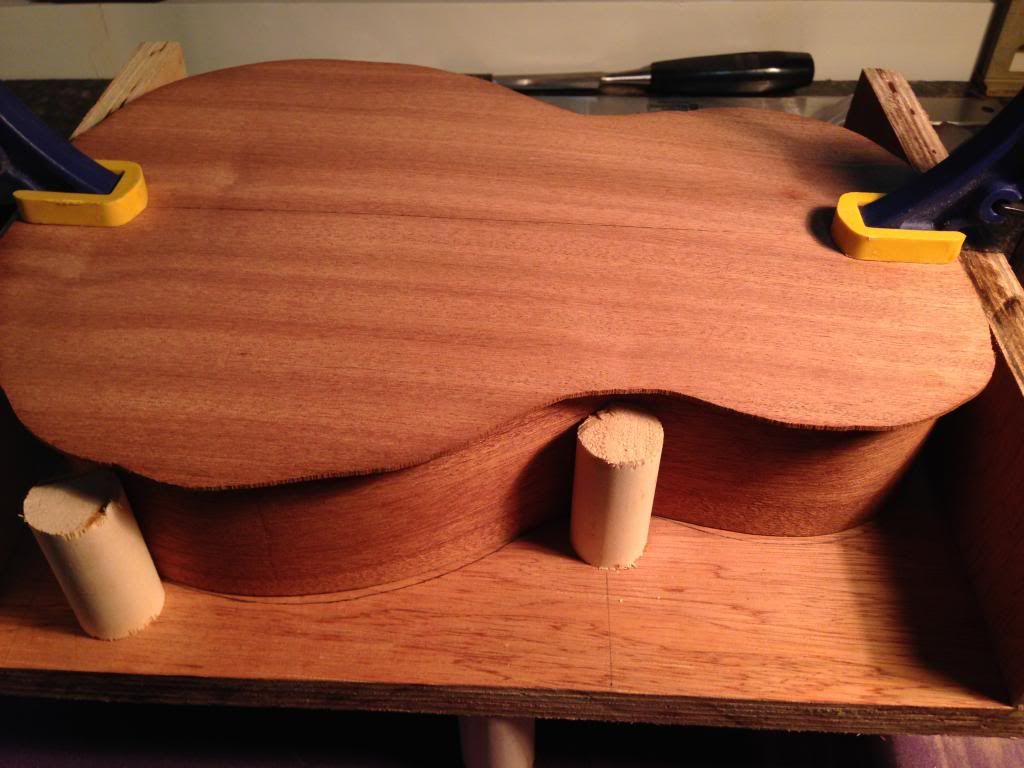
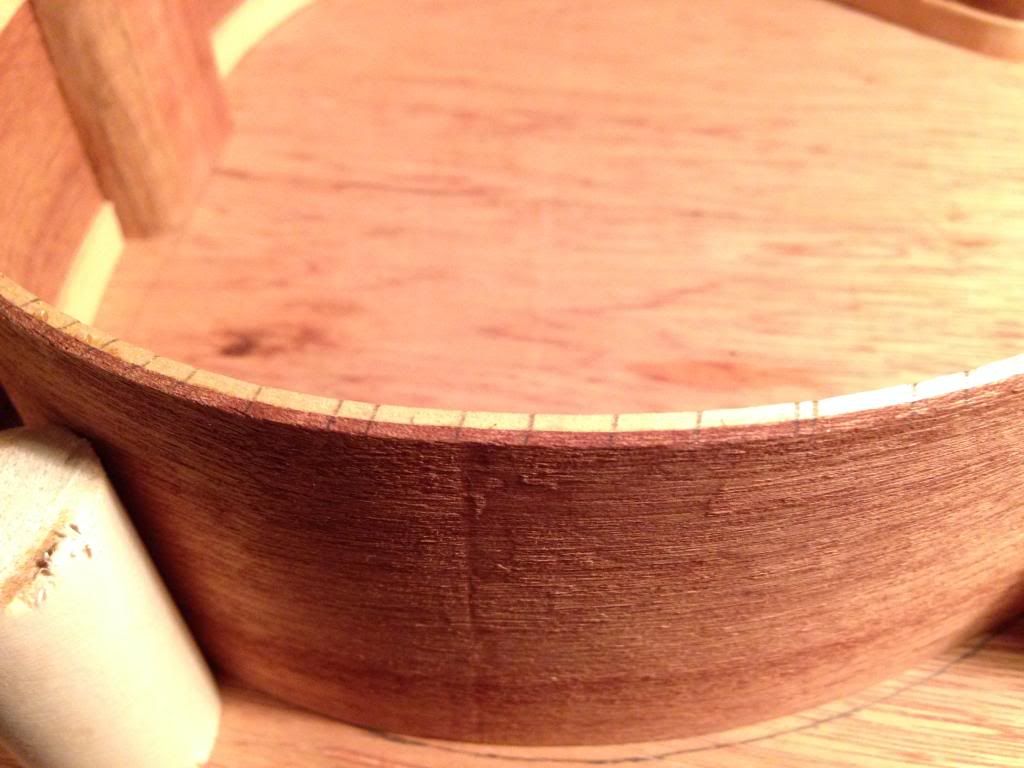
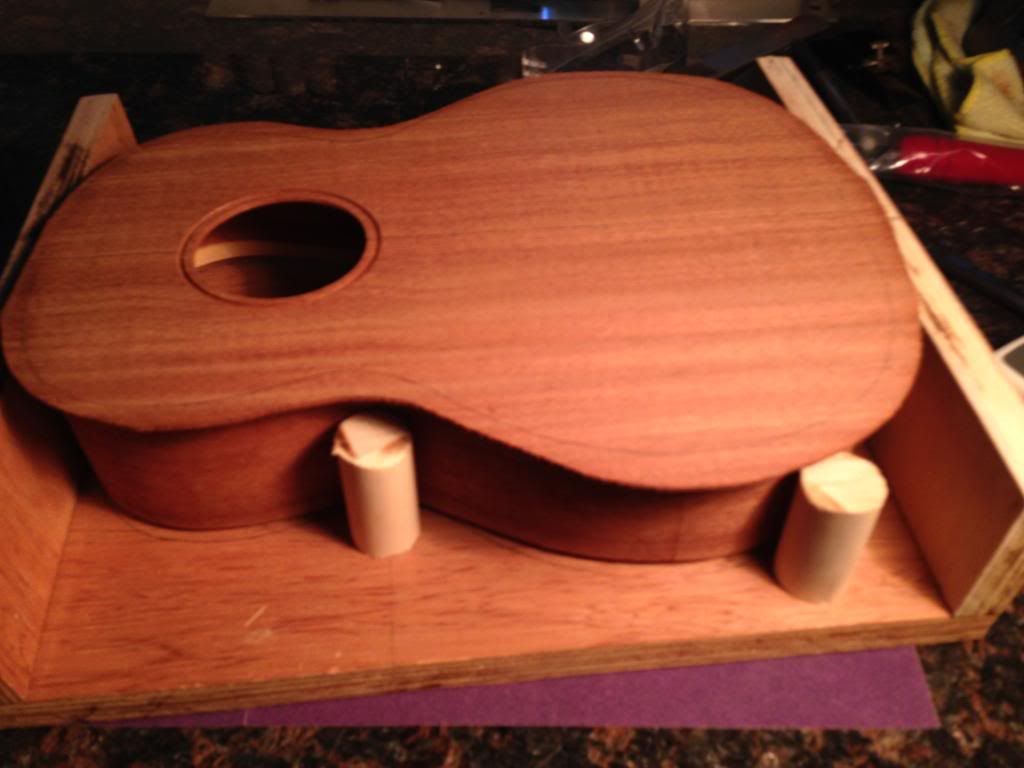
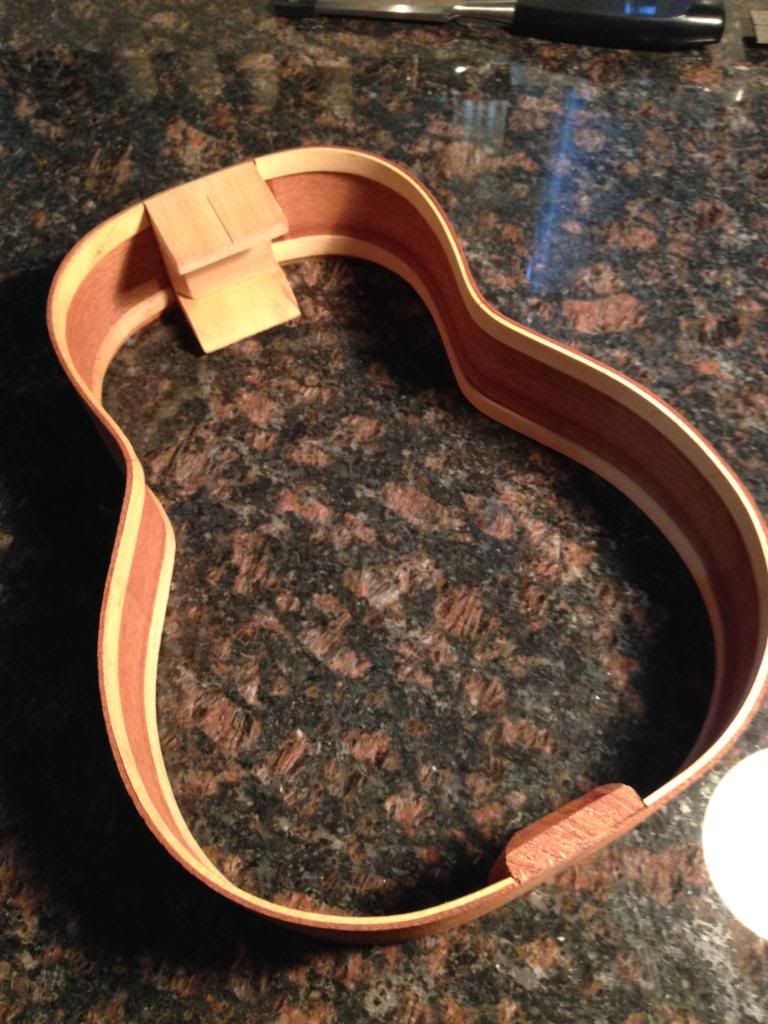
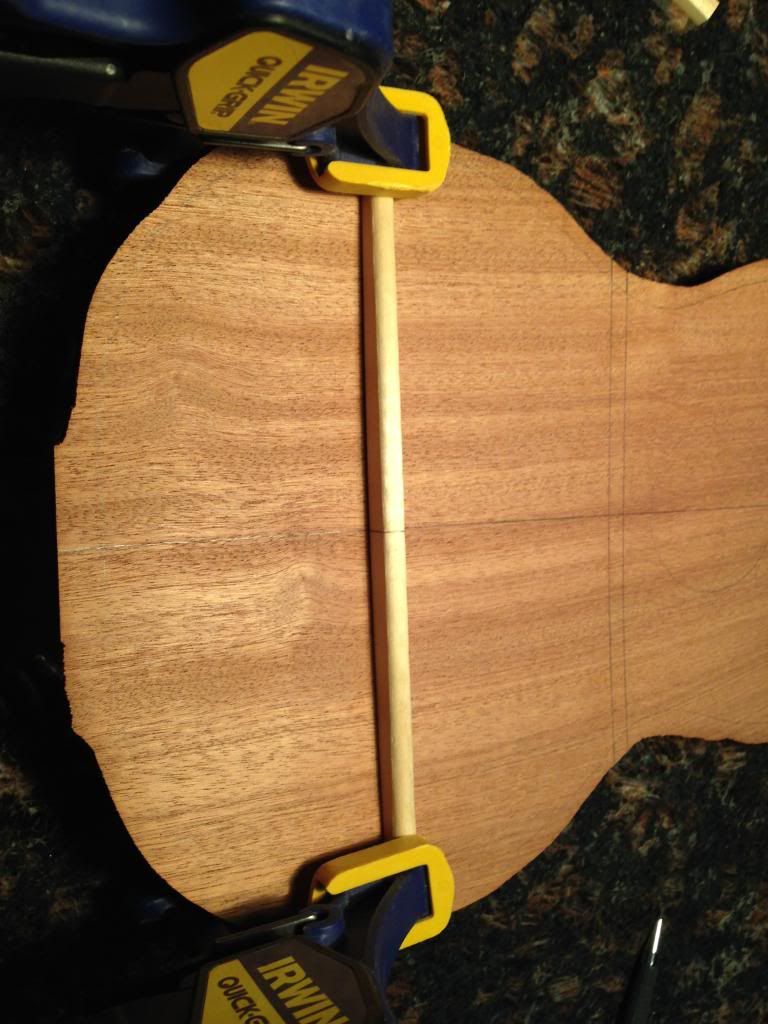
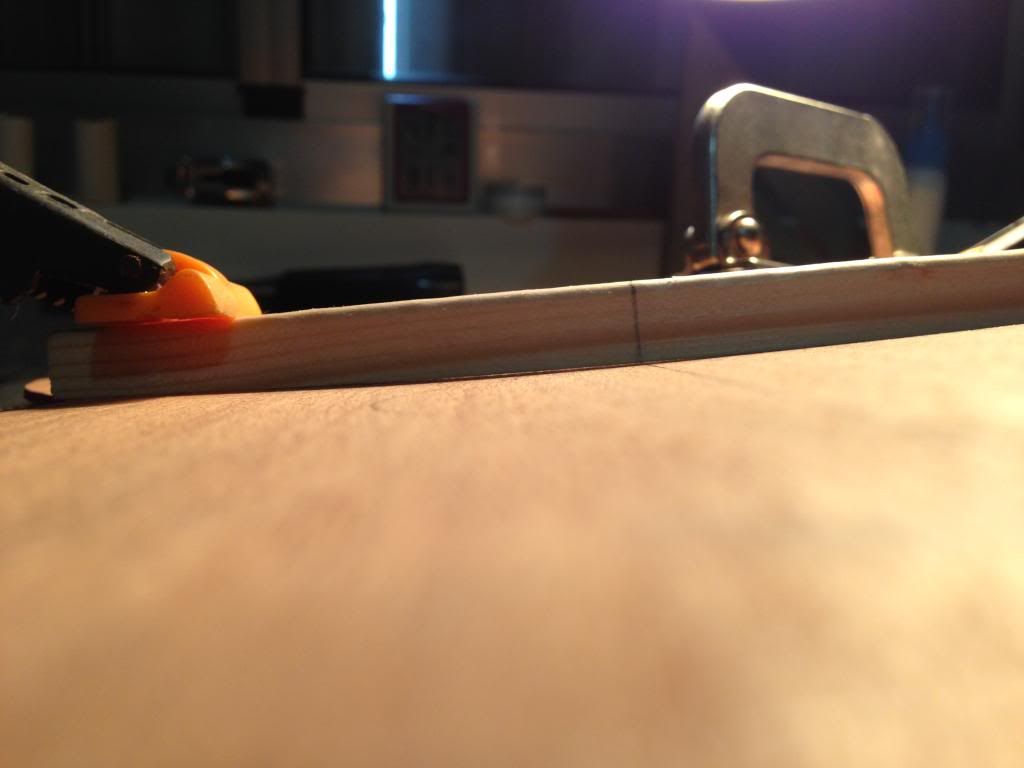
The top and back linings are all installed.
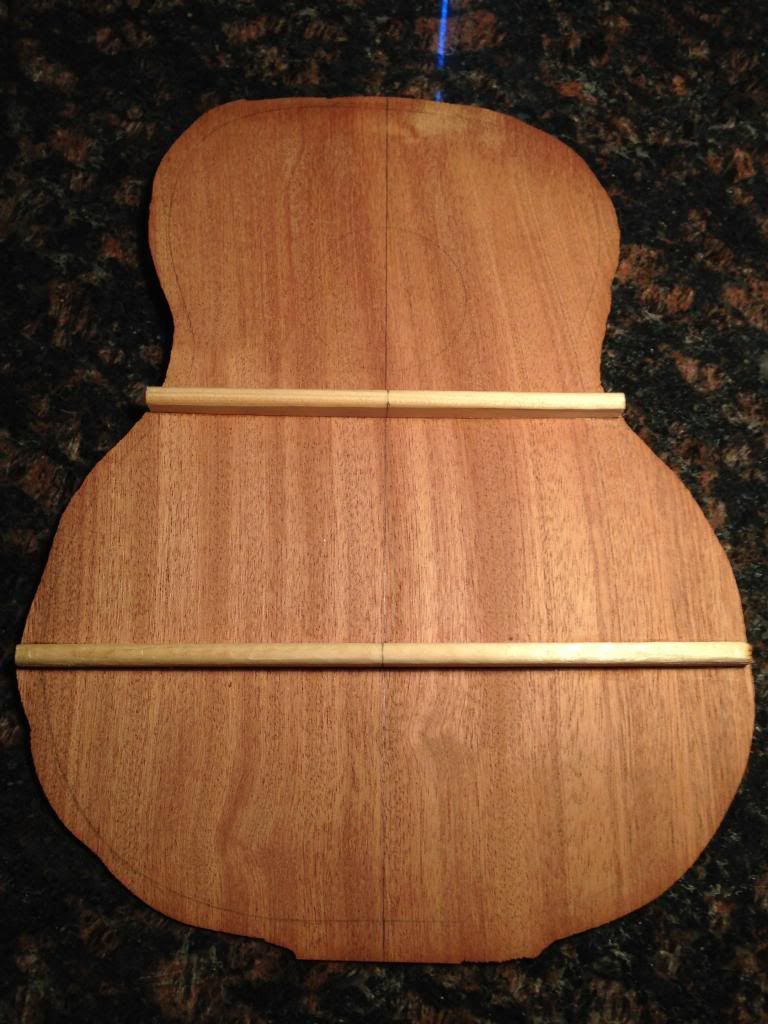
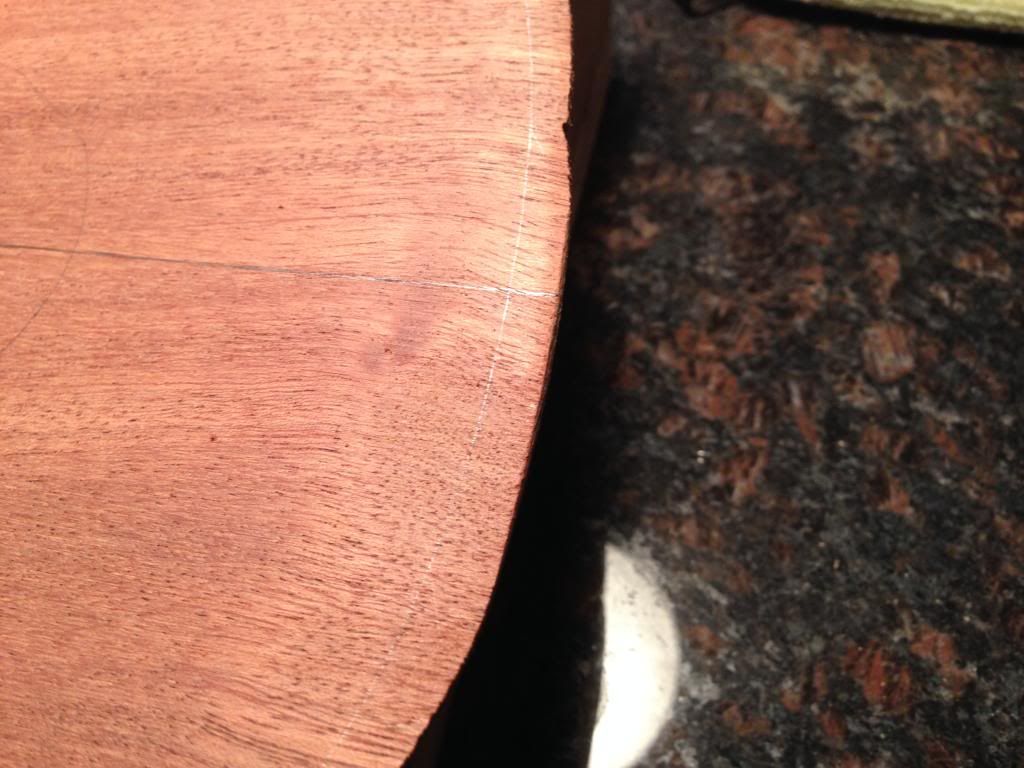
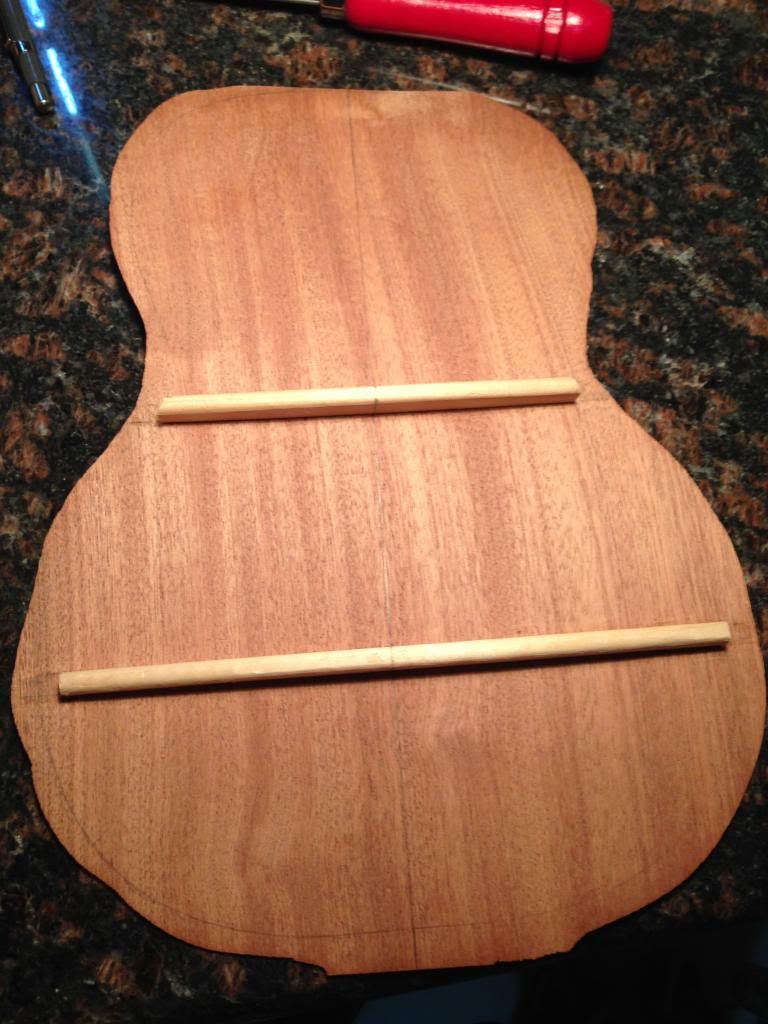
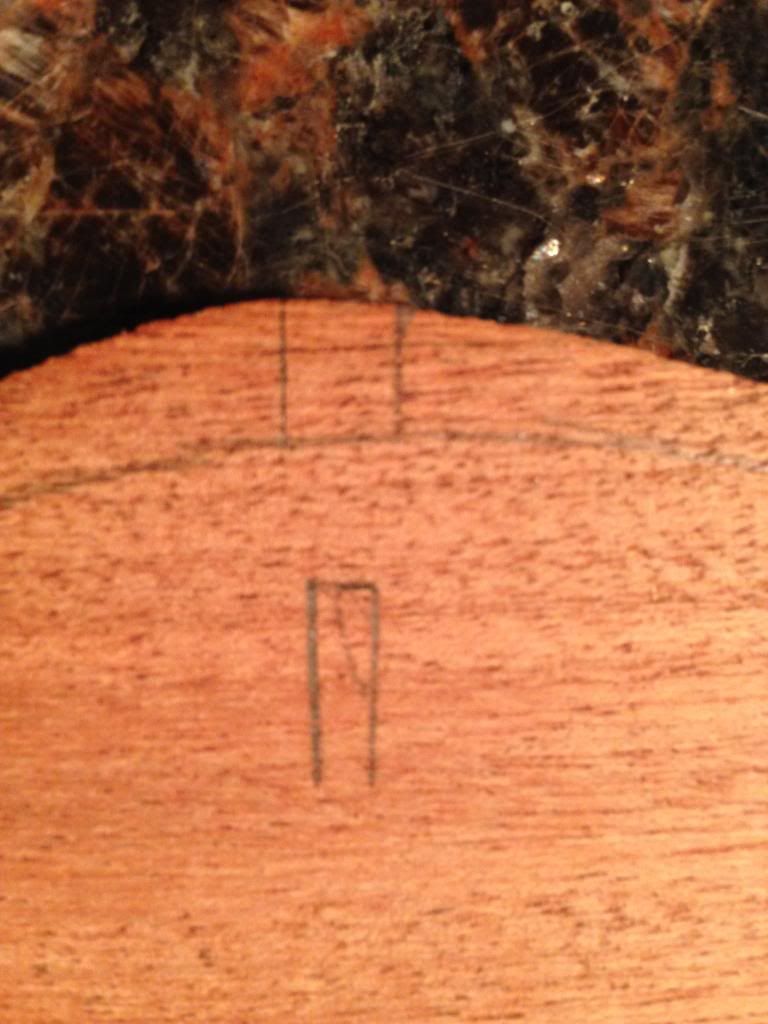
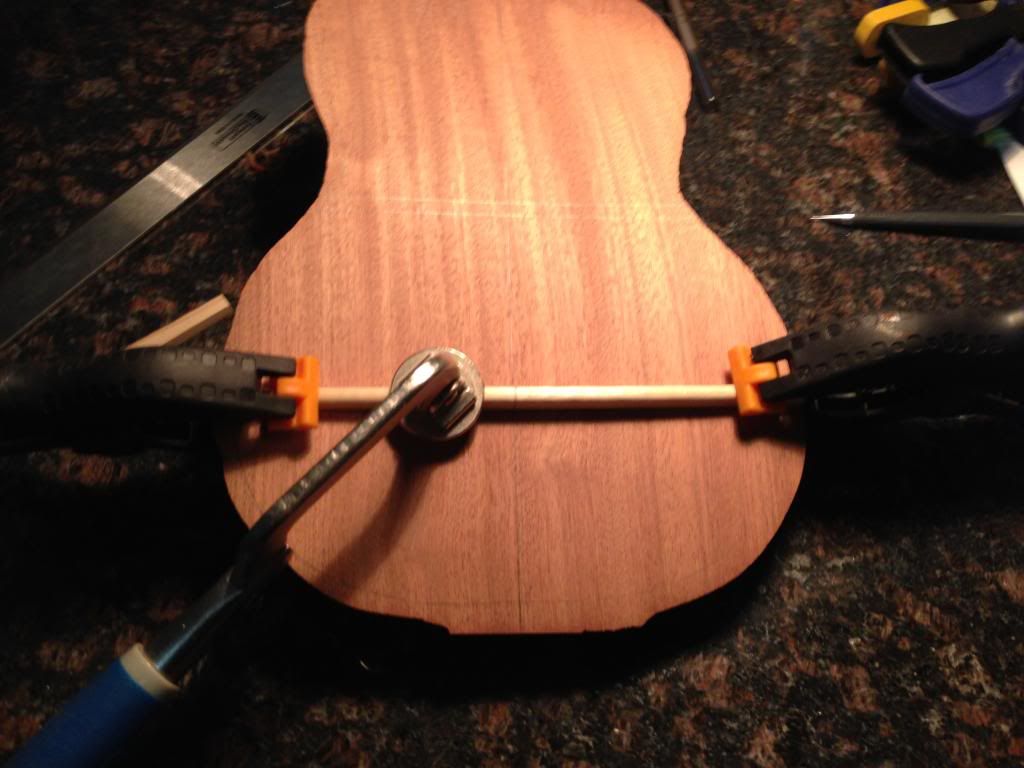
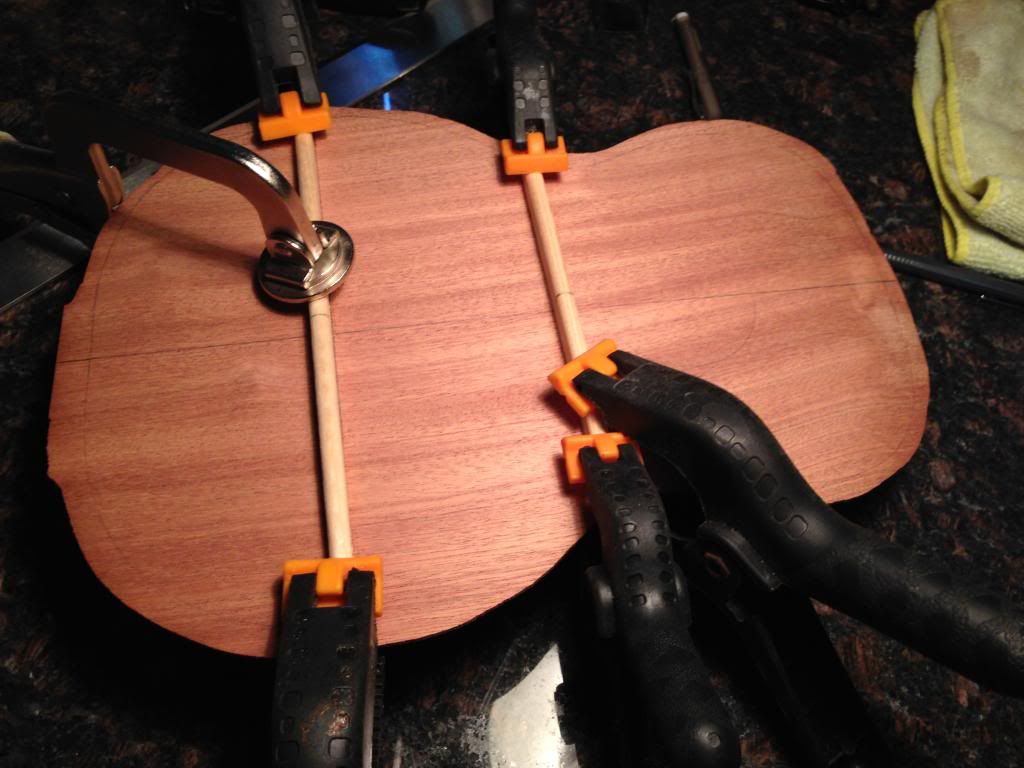
The next step is to trace the template for the bracing onto the top and back. As you can see in the pictures below, the tracing that shipped with the kit were a quite off. Early in this build thread, I showed a picture of the center line also being drawn inaccurately on the top. The wider lines are the ones I redrew and actually fit the width of the braces.
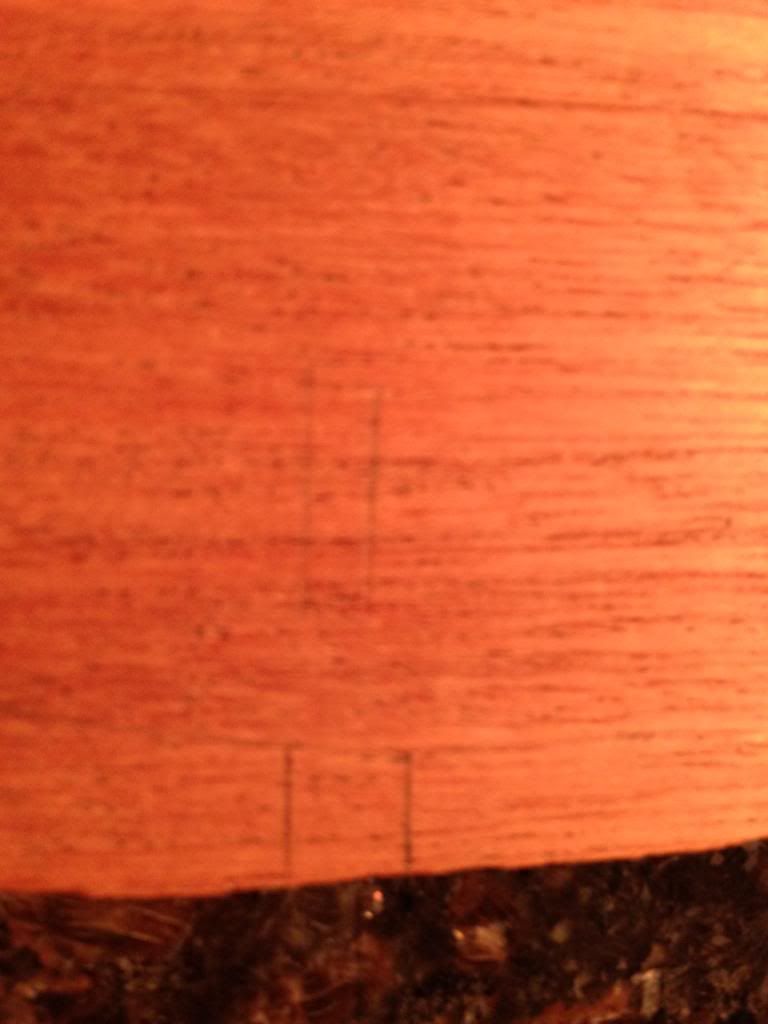
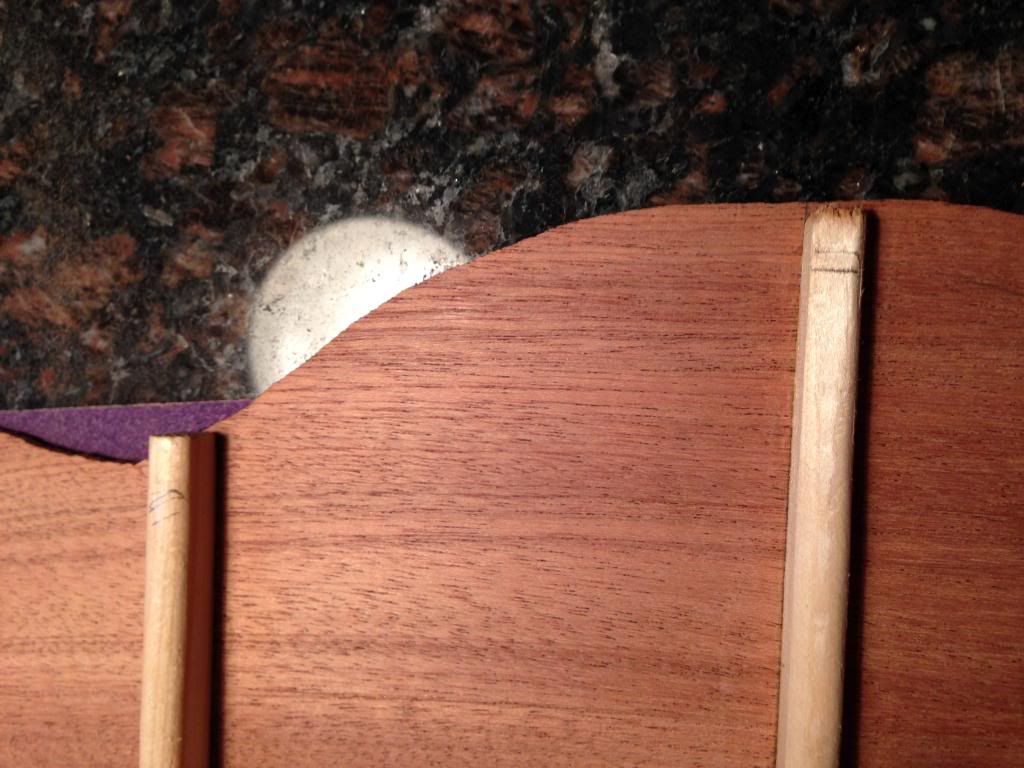
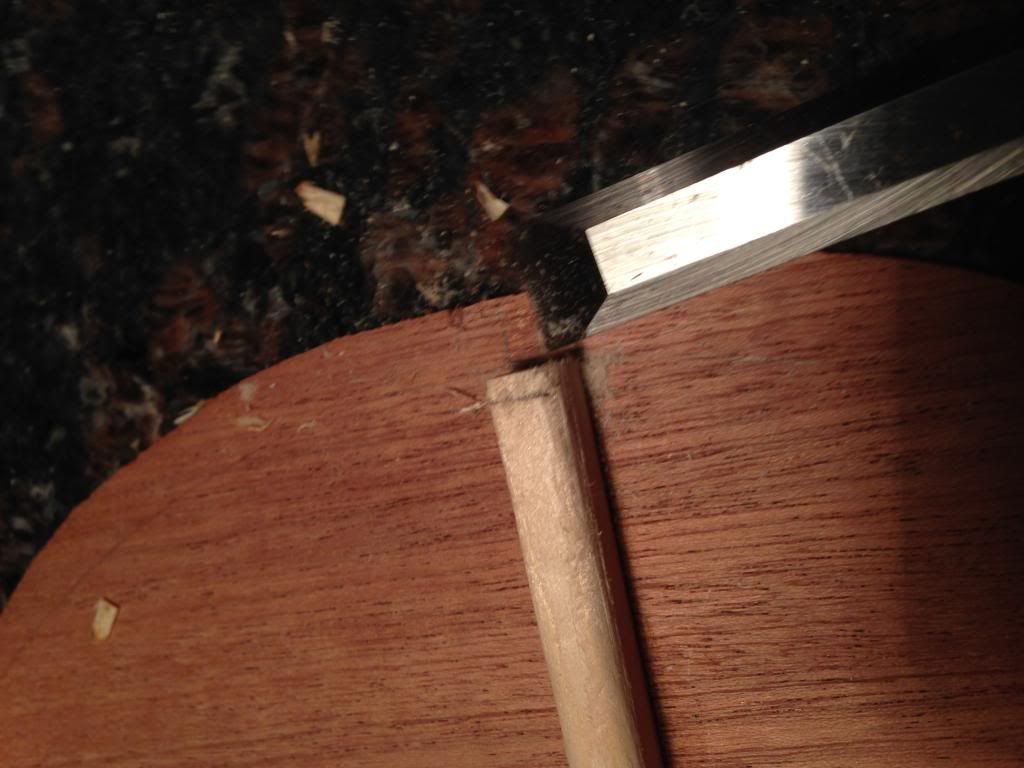
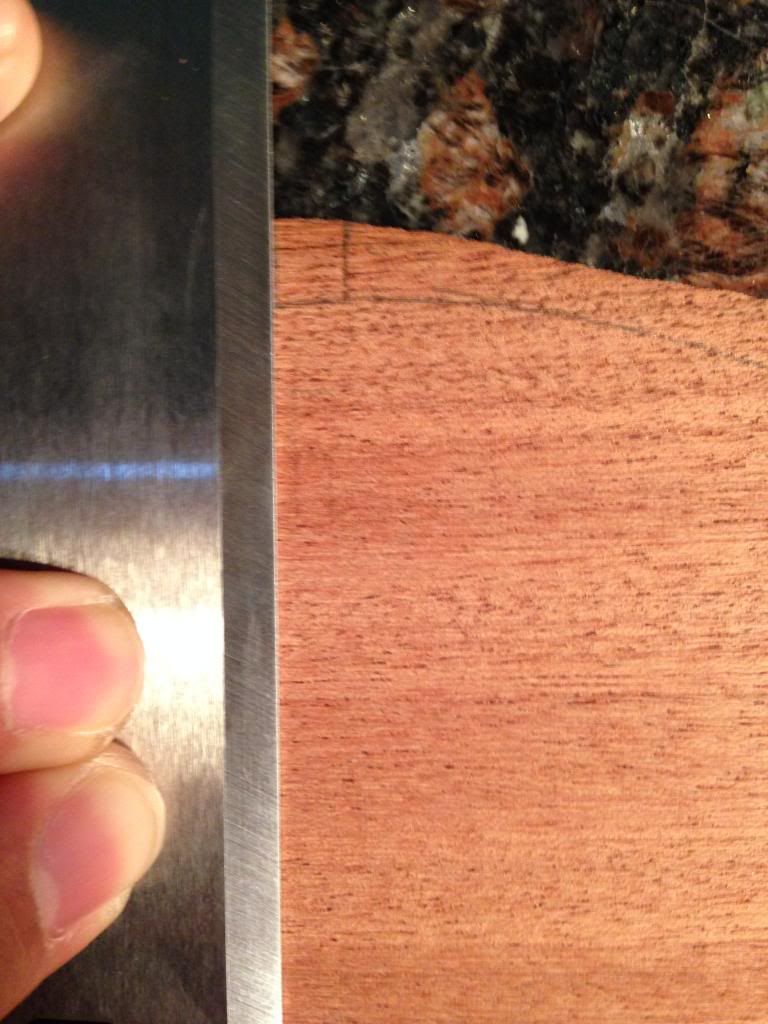
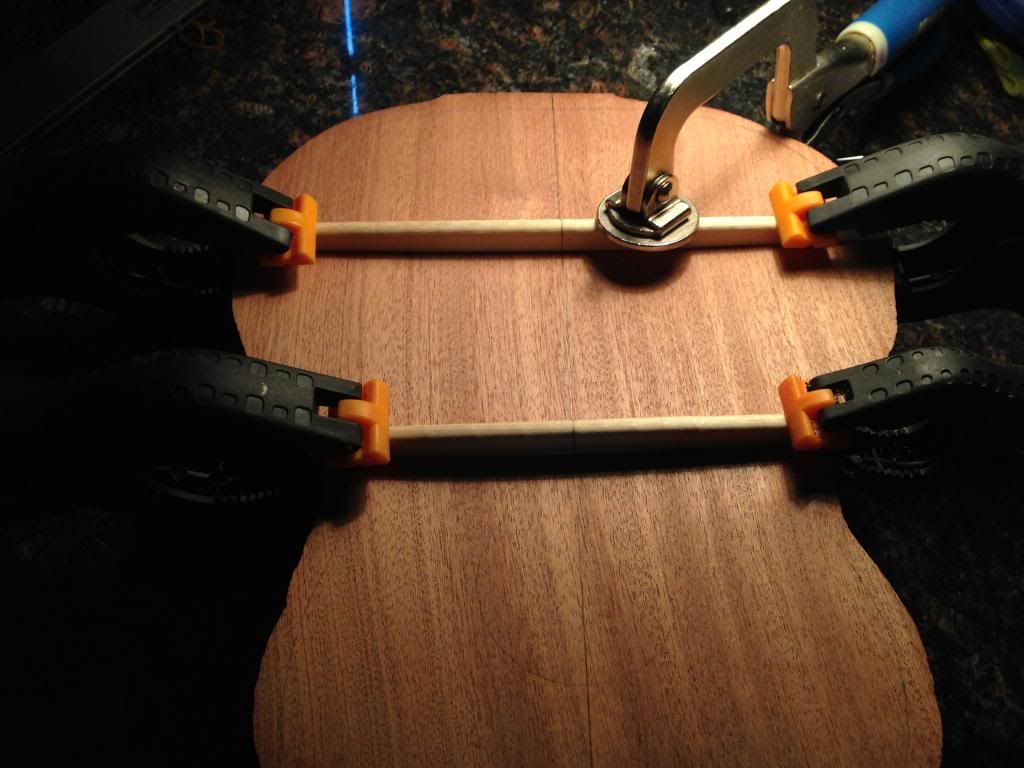
To retrace the lines, I laid the template over the top/back lining it up with the centerline and the soundhole (for the top). Then, using a good straight edge, I marked the lines on the wood outside the paper template. When all the lines were marked outside the paper template, I removed the template and connected them.
The next step is to trace the template for the bracing onto the top and back. As you can see in the pictures below, the tracing that shipped with the kit were a quite off. Early in this build thread, I showed a picture of the center line also being drawn inaccurately on the top. The wider lines are the ones I redrew and actually fit the width of the braces.
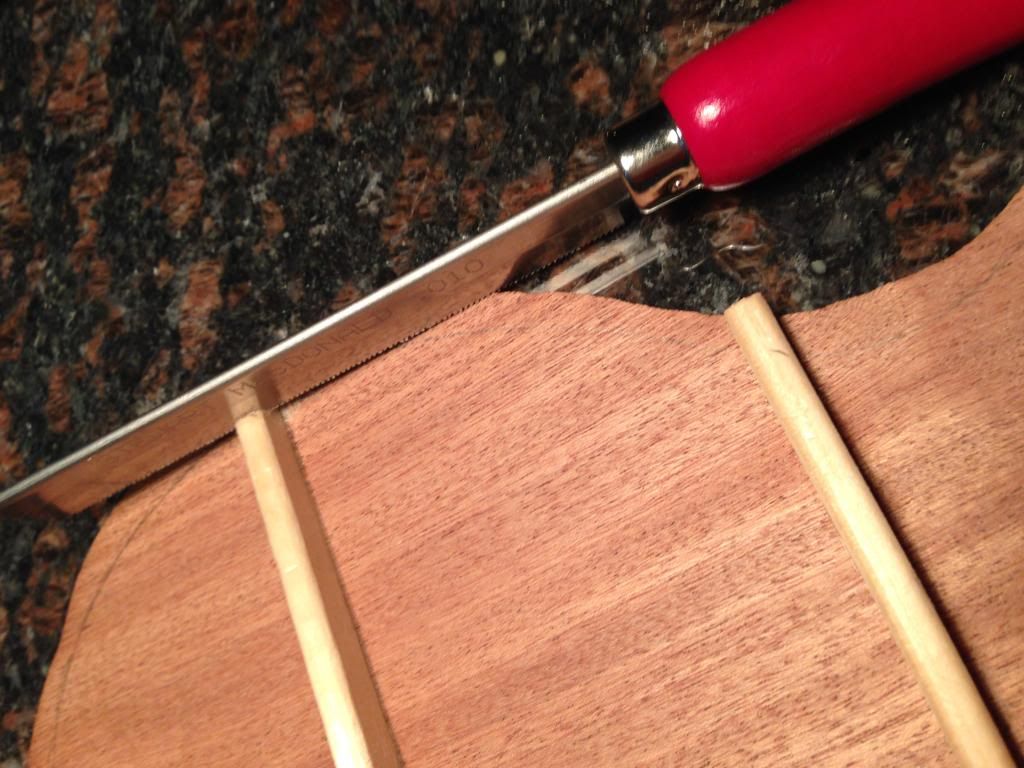
joeguam as LESSON LEARNED #7! said:Don't trust the pre-penciled template tracing, there are many signs of carelessness. Just take the time to redraw it yourself.
To retrace the lines, I laid the template over the top/back lining it up with the centerline and the soundhole (for the top). Then, using a good straight edge, I marked the lines on the wood outside the paper template. When all the lines were marked outside the paper template, I removed the template and connected them.

") hope your enjoying it
hope your enjoying it